To check your CV shaft effectively, you’ll need to start with the right tools and a systematic approach.
Checking the CV shaft begins with safely elevating the vehicle and removing the wheel for clear access.
Next, inspect the CV boot carefully for cracks or grease leaks, which are common indicators of damage.
Manually test the shaft for any binding or excessive play to assess its condition.
Understanding these initial steps is essential before moving on to identify specific signs of wear.
This will help you decide whether repair or replacement is necessary.
Key Takeaways
- Safely elevate the vehicle and remove the wheel for clear access to the CV shaft and boot.
- Use proper lighting and a clean rag to inspect the CV boot for cracks, tears, or grease leaks.
- Manually rotate and flex the CV shaft to detect binding or excessive play in the joint.
- Listen for clicking noises during sharp turns and check for vibrations during acceleration as signs of wear.
- Decide on repair or replacement based on the severity of boot damage, grease leakage, and shaft integrity.
Tools You’ll Need to Check Your CV Shaft
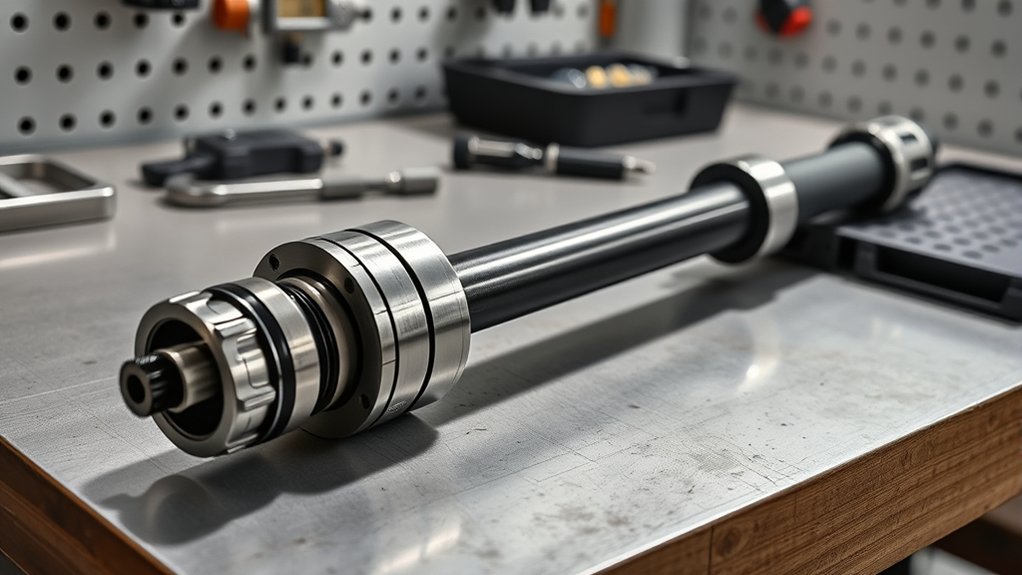
To accurately check your CV shaft, you’ll need a specific set of tools designed for inspection and minor repairs. The essential tools needed include a jack and jack stands to safely elevate the vehicle, a flashlight or inspection light for clear visibility, and a mechanic’s gloves for protection.
Additionally, have a pry bar or flathead screwdriver handy to gently manipulate the CV boot during inspection steps. A torque wrench is useful if you plan to tighten any fasteners afterward. You should also prepare a clean rag to wipe grease and dirt away, enabling a thorough examination.
These tools will ensure you can methodically inspect the CV shaft for cracks, boot tears, or leaks, facilitating a precise evaluation before deciding on repairs or replacements.
How to Inspect Your CV Shaft, Step by Step
Where should you begin when inspecting your CV shaft? Start with a clear checklist for maintenance to avoid common inspection mistakes. Follow these steps methodically:
- Securely elevate the vehicle and remove the wheel for full access.
- Visually examine the CV boot for cracks, tears, or grease leaks.
- Manually rotate and flex the shaft to detect binding or unusual resistance.
- Check for excessive play by moving the shaft in and out of the joint.
Each step ensures you catch early signs of wear without overlooking critical details. Stick to this checklist for maintenance to maintain accuracy and prevent missing subtle defects. Avoid rushing, as common inspection mistakes often stem from inadequate lighting or incomplete evaluation of the boot and shaft movement. This methodical approach safeguards your CV shaft’s integrity.
Recognizing Visual and Audible Signs of CV Shaft Wear
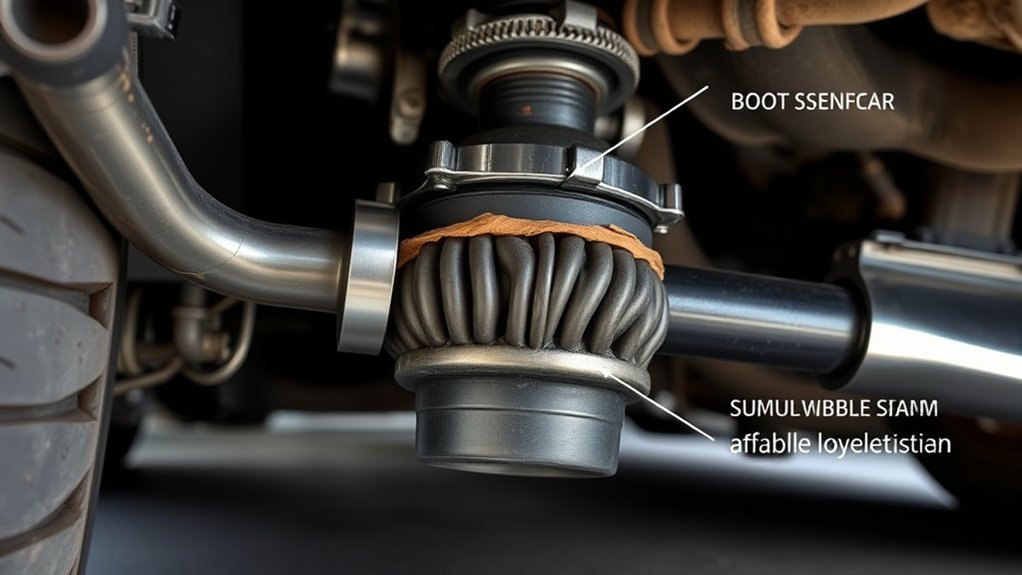
How can you quickly identify if your CV shaft is wearing out? Start by conducting a thorough visual inspection. Look for torn or cracked CV boots, as these allow contaminants in and lubricants out, accelerating wear.
Next, perform a fluids check around the joint area; grease leakage is a clear sign of deterioration. Listen carefully for audible signs such as clicking or popping noises during sharp turns, which often indicate joint damage.
Additionally, vibration analysis while driving can reveal imbalance or shaft wear. Noticeable vibrations, especially during acceleration, warrant further inspection.
How to Spot and Diagnose Common CV Shaft Problems
Identifying early signs of CV shaft wear through inspection and auditory cues sets the foundation for diagnosing specific problems. To accurately spot and diagnose common CV shaft problems, focus on the following key areas:
Early detection of CV shaft wear through inspection and sound is crucial for effective diagnosis.
- Boot Damage: Look for cracks or tears in the CV boot, which can lead to grease leakage and contamination.
- Grease Leakage: Excess grease around the joint indicates boot failure and potential joint wear.
- Clicking Noise: Listen for a clicking noise during sharp turns; this often signals joint wear or damage.
- Axle Play: Check for excessive axial or radial play by manually moving the shaft; abnormal movement suggests joint or bearing failure.
When to Repair or Replace Your CV Shaft
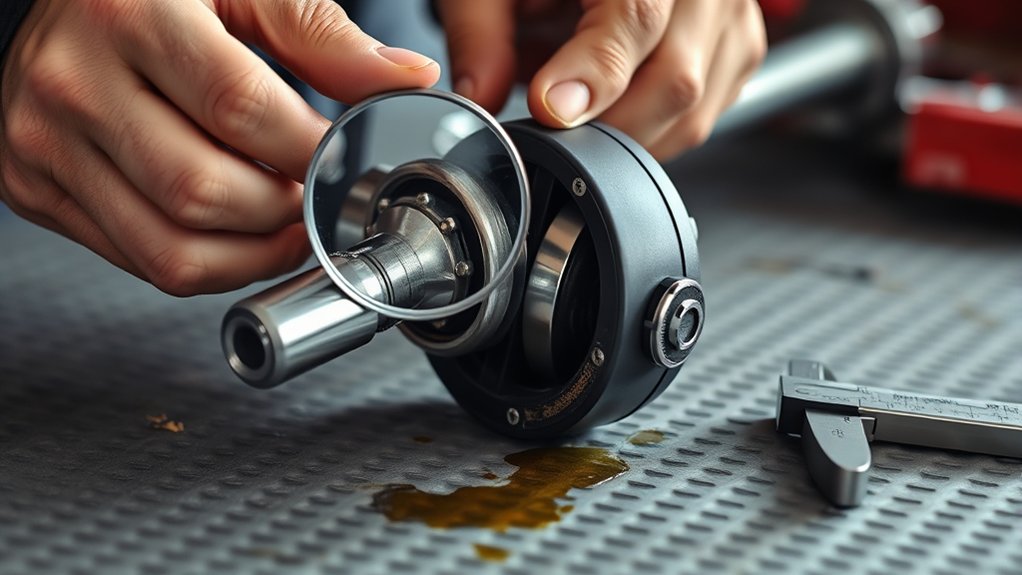
When should you decide between repairing and replacing your CV shaft? If the damage is limited to the boot or minor joint wear, repairing might suffice. However, significant joint damage or shaft bending requires replacement to ensure safety and performance.
| Condition | Recommended Action |
|---|---|
| Torn or leaking boot | Repair (boot replacement) |
| Excessive joint play/noises | Replace CV shaft |
| Bent or cracked shaft | Replace CV shaft |
Inspect the shaft for cracks or bends and check joint play by hand. If noise persists after boot repair, replacement is necessary. Prioritize replacement if the shaft integrity is compromised, as failure can cause loss of vehicle control.
Your decision should balance cost, safety, and longevity.
Frequently Asked Questions
Can a Damaged CV Shaft Affect My Car’s Fuel Efficiency?
Yes, a damaged CV shaft can reduce your A/C fuel economy by increasing drivetrain resistance. It may also cause uneven tire wear, forcing your engine to work harder. This decreases overall fuel efficiency and vehicle performance.
How Long Does a Typical CV Shaft Last Under Normal Driving?
A stitch in time saves nine: your CV shaft lifespan typically ranges 70,000–130,000 miles. Maintaining it prevents fuel economy impact and costly repairs.
Regular inspection ensures optimal performance and longevity under normal driving conditions.
Is It Safe to Drive With a Cracked CV Boot Temporarily?
You shouldn’t drive long with a cracked CV boot; dirt damages joints, affecting tire balance and wheel alignment.
Temporarily OK for short trips, but inspect and replace it promptly to avoid costly repairs and safety risks.
Are Aftermarket CV Shafts Reliable Compared to OEM Parts?
You’ll find aftermarket reliability varies, offering a cost-effective alternative with decent durability. However, OEM vs aftermarket differences lie in material quality and precision, so weigh your priorities carefully before choosing between them for optimal performance and longevity.
Can a Faulty CV Shaft Cause Transmission Damage?
Yes, cv joint failure can increase transmission risk by causing uneven power transfer and excessive drivetrain stress. If you ignore it, you risk damaging the transmission.
Address any cv shaft issues promptly to avoid costly repairs.
Conclusion
By carefully inspecting your CV shaft, you’re giving your vehicle a chance to keep performing smoothly and safely. Remember, a little wear and tear is just the car’s way of asking for some attention. With the right tools and a methodical approach, you can spot early signs of trouble before they become serious headaches.
Prioritize timely care to avoid unexpected surprises and keep your drives steady and secure. Regular checks help ensure that your CV shaft remains in good condition, preventing costly repairs down the road. Make checking your CV shaft a part of your routine vehicle maintenance for optimal performance.