When you finish jump-starting a vehicle, knowing the correct order to remove jumper cables is essential to avoid sparks, electrical shocks, or damage. You’ll want to disconnect the negative clamps first, followed by the positive ones.
However, there are specific steps and precautions to follow to ensure safety. Understanding this sequence not only protects your safety but also safeguards your vehicle’s electrical system.
Let’s explore why this order matters and how to do it properly.
Key Takeaways
- Always remove the negative clamp from the dead battery first to reduce the risk of sparks.
- Next, remove the negative clamp from the booster battery to safely disconnect the ground.
- Remove the positive clamp from the booster battery third to prevent accidental short circuits.
- Finally, remove the positive clamp from the dead battery to complete the safe disconnection process.
- Ensure engines are off and cables do not touch metal surfaces during removal to avoid shocks and damage.
How to Tell Your Jumper Cable Clamps Apart
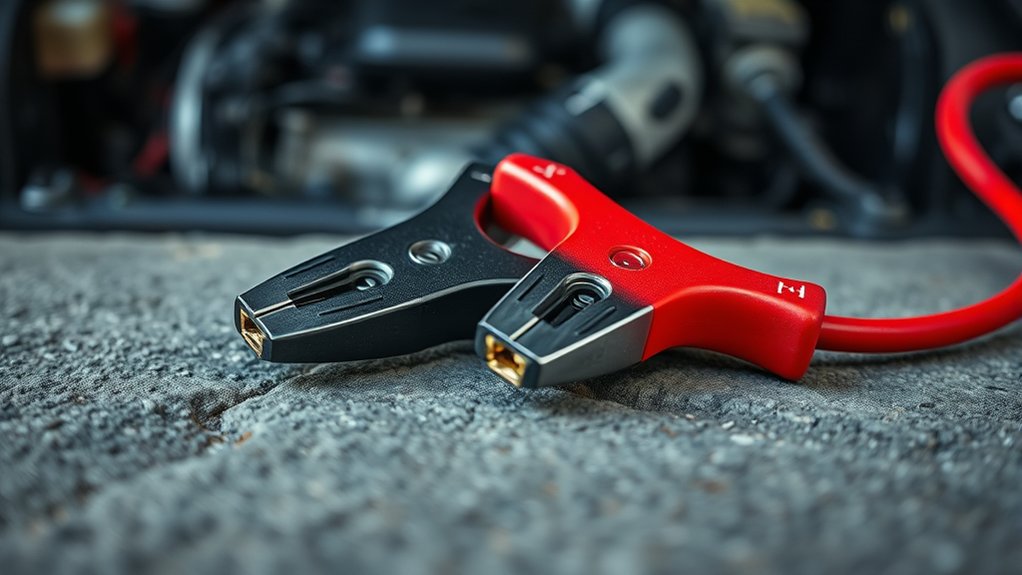
How can you quickly identify the positive and negative clamps on your jumper cables? The key is to focus on how to identify clamps by their color coded handles. Typically, the positive clamp has a red handle, while the negative clamp features a black handle.
Identify jumper cable clamps quickly by their color: red for positive, black for negative.
This standardized color coding helps prevent connection errors. Additionally, the positive clamp may have a plus (+) symbol stamped or molded near the handle, and the negative clamp may carry a minus (–) symbol.
When preparing to connect or remove jumper cables, always verify these visual cues. Ensuring you consistently recognize the positive and negative clamps by their color coded handles reduces the risk of electrical shorts or damage.
This methodical approach guarantees safe and effective jumper cable use every time.
Why Getting the Removal Order Right Can Save You Trouble
You need to remove jumper cables in the correct order to prevent electrical damage to both vehicles. Failing to do so can cause voltage spikes that harm the battery or sensitive electronics.
Following the proper sequence also minimizes the risk of sparks and personal injury.
Preventing Electrical Damage
Why does the order of removing jumper cables matter so much? Removing them incorrectly can cause voltage spikes, damaging sensitive electrical components in both vehicles.
When you disconnect cables, start by removing the negative (-) clamp from the dead battery, then from the booster battery. This method prevents accidental grounding and reduces the risk of sparks, which could fry circuits.
Ignoring this sequence isn’t just an unrelated topic; it directly impacts the vehicle’s electrical system integrity. Avoiding a decorative theory or unrelated discussion about cable aesthetics, focus on functional safety.
Note that a safety disclaimer applies: proper removal protects the alternator and onboard computers from surges. Following the precise order ensures you prevent electrical damage effectively, saving time and costly repairs.
Ensuring Personal Safety
When exactly should you remove jumper cables to protect yourself from potential harm? The answer lies in following a strict removal order that prevents electrical shocks and sparks. Contrary to common safety misconceptions, removing cables in the wrong sequence can cause arcing or damage.
Begin by disconnecting the negative (-) cable from the previously dead battery, then the negative from the booster battery. Next, remove the positive (+) cable from the booster battery, and finally from the dead battery. Always perform quick check routines before removal—ensure engines are off and cables aren’t touching metal surfaces.
Step-by-Step Guide to Removing Jumper Cables Safely
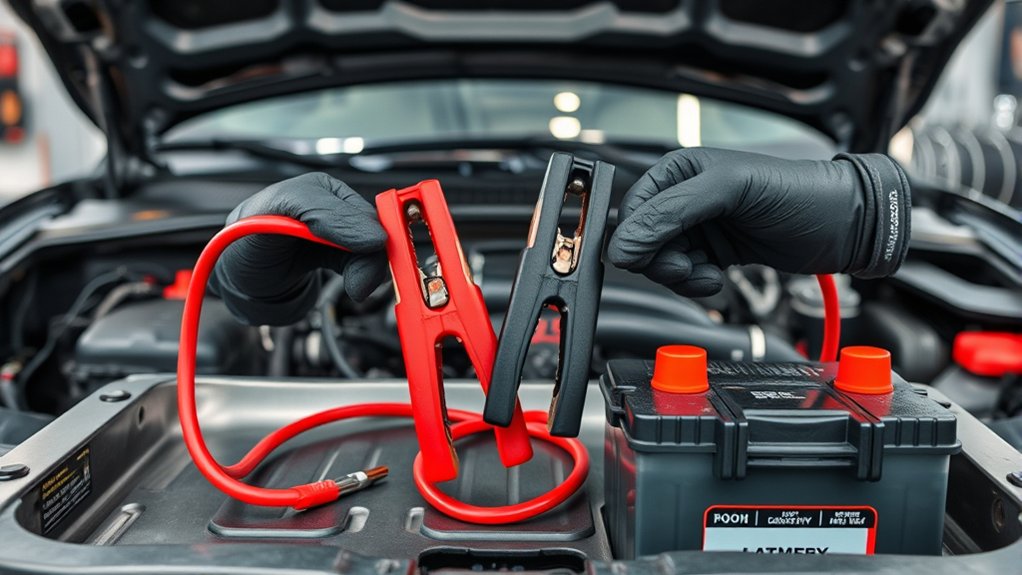
How should you remove jumper cables to prevent sparks or damage? First, ensure the vehicles are turned off to eliminate electrical flow. Next, disconnect the black (negative) clamp from the grounded metal surface of the disabled vehicle, verifying insulation integrity to avoid accidental contact.
Then, remove the black clamp from the booster battery’s negative terminal, followed by detaching the red (positive) clamp from the booster battery. Finally, remove the red clamp from the disabled vehicle’s positive terminal.
Throughout the process, inspect cable insulation for cracks or wear, following maintenance schedule best practices to maintain cable safety and performance. Handle cables by insulated sections only, avoiding contact with metal connectors. This methodical sequence minimizes risk and preserves equipment integrity.
Common Hazards and Mistakes When Removing Jumper Cables
When removing jumper cables, you must avoid the risk of electrical shock by following the correct sequence. Removing cables out of order can cause sparks or short circuits, potentially damaging your vehicle’s electronics.
Understanding these common hazards helps you protect both yourself and your car’s electrical system.
Risk of Electrical Shock
Why does removing jumper cables pose a risk of electrical shock? When you disconnect cables, live electrical current can arc between terminals or through your body if contact occurs. Maintaining risk awareness during this process is crucial to shock prevention.
You must ensure the vehicle ignition is off and avoid touching both clamps simultaneously or allowing them to contact metal surfaces. Use insulated gloves if available and remove cables in the correct order to minimize potential current flow.
Be alert for damaged insulation or exposed wires that increase shock risk. By methodically following safety protocols and staying focused, you reduce the chance of electrical shock, protecting yourself from injury.
Prioritize deliberate movements and maintain control throughout the cable removal to ensure shock prevention.
Incorrect Cable Removal Sequence
Even with precautions against electrical shock, removing jumper cables in the wrong order introduces additional hazards that can compromise safety and damage vehicle electronics. The incorrect sequence is a common mistake rooted in safety myths that can lead to serious consequences.
When you don’t follow the precise removal order, you risk:
- Creating sparks that may ignite flammable gases.
- Causing sudden voltage surges.
- Damaging delicate electronic components.
- Increasing the chance of accidental contact with live cables.
Avoid these pitfalls by adhering strictly to the recommended removal sequence: disconnect the negative cable from the dead battery first, then from the booster battery, followed by the positive cable from the booster, and finally from the dead battery. This methodical approach counters safety myths, ensuring you minimize risk and protect both yourself and your vehicle.
Damage to Vehicle Electronics
How can improper removal of jumper cables cause damage to your vehicle’s electronics? When you disconnect jumper cables incorrectly, you risk creating voltage spikes or short circuits that can damage sensitive electronic components.
Modern vehicles rely heavily on microprocessors and sensors; a sudden surge or reversed polarity can fry control modules, leading to costly repairs.
To minimize this, always remove cables in the proper sequence: negative cable from the grounded terminal first, then positive cables. Avoid touching clamps together or letting them contact metal surfaces unrelated to the battery, as these unrelated hazards can cause sparks or electrical faults.
How to Protect Your Car After Removing Jumper Cables
What steps should you take immediately after removing jumper cables to ensure your vehicle remains protected? First, prioritize safety by wearing protective footwear to guard against accidental acid spills or electrical shocks. Next, perform a thorough visual check for any battery acid leaks or corrosion to address spill containment promptly. Then, inspect the cable connections for secure attachment and absence of damage. Finally, start your vehicle and monitor the dashboard for warning lights or irregular electrical behavior.
- Wear protective footwear before handling cables.
- Check for battery acid leaks and contain spills immediately.
- Inspect cable clamps and battery terminals for damage.
- Start the engine; observe all electronic indicators closely.
Following these steps methodically minimizes risk and preserves your vehicle’s electrical system integrity.
Tips for Keeping Your Jumper Cables Ready for Next Time

When should you inspect and maintain your jumper cables to guarantee they perform reliably when needed? Regular inspection after each use or at least quarterly is essential. Check the clamps for corrosion or damage and clean them using a wire brush to ensure consistent conductivity.
Avoid leaving cables exposed to moisture or extreme temperatures, as these conditions degrade the insulation and metal contacts. For jumper cable storage, coil the cables neatly without kinking to prevent internal wire breaks.
Store them in a dry, accessible container, away from chemicals that could cause deterioration. Additionally, keep battery terminals clean and free of corrosion before use, as dirty terminals can reduce jumper cable effectiveness.
Following these methodical steps ensures your jumper cables remain in optimal condition for the next emergency.
Frequently Asked Questions
Can I Use Jumper Cables on Any Type of Vehicle Battery?
You can use jumper cables on most vehicles, but jumper cables compatibility depends on battery types differences, like voltage and size.
Always check both batteries are 12V to avoid damage or improper connection.
How Long Does It Take to Charge a Dead Battery With Jumper Cables?
Time is money, so don’t waste it. The jump start nuances mean charging a dead battery usually takes 5 to 15 minutes, depending on battery health.
Avoid irrelevant topics; this two word discussion focuses strictly on timing.
Are There Alternatives to Jumper Cables for Starting a Car?
You can use a portable jump starter or a battery charger as alternatives to jumper cables.
Regular battery maintenance and alternator testing guarantee reliable starts and prevent unexpected failures, reducing reliance on emergency jump-starting methods.
Can Jumper Cables Cause Damage to My Car’s Electrical System?
If you connect jumper cables incorrectly, you risk damaging your car’s electrical system. For example, reversing polarity can fry the alternator.
Avoiding sparks and following safety precautions methodically prevents costly electrical harm effectively.
What Should I Do if My Car Still Won’t Start After Jump-Starting?
If your car still won’t start after jump-starting, you should call for emergency towing. Avoid further attempts that might damage your system.
Have your battery tested, and if faulty, arrange for proper battery disposal at a certified facility.
Conclusion
Removing jumper cables in the correct order is essential to avoid sparks and electrical shocks—don’t put the cart before the horse. Always start by disconnecting the negative clamp from the booster battery, then from the dead battery.
Next, remove the positive clamps in reverse order. Keep engines off, clamps apart, and cables inspected.
By following these precise steps every time, you’ll protect both yourself and your vehicle. Ensuring you remove jumper cables in the correct order guarantees a safe jump-start experience every time.