You might not realize that testing a starter with jumper cables requires more than just a quick connection; it demands precise steps to avoid damage or injury. Before you even touch the cables, you need to prepare your vehicle and identify the correct terminals, ensuring safety and accuracy throughout the process.
Understanding how to properly connect and interpret the starter’s response can save you time and frustration. But there’s more to it than just making the connections. Taking the right precautions is key to a successful test.
Key Takeaways
- Locate the starter’s positive and negative terminals before connecting jumper cables securely.
- Connect the red jumper cable to the starter’s positive terminal and the black cable to a clean engine ground.
- Wear insulated gloves and ensure all connections are firm to prevent slipping and electric shock during testing.
- Turn the ignition to the “start” position and observe the starter’s operation for cranking or unusual noises.
- Interpret results by noting slow crank, clicking sounds, or no response to identify starter health or faults.
Prepare Your Car for Starter Testing
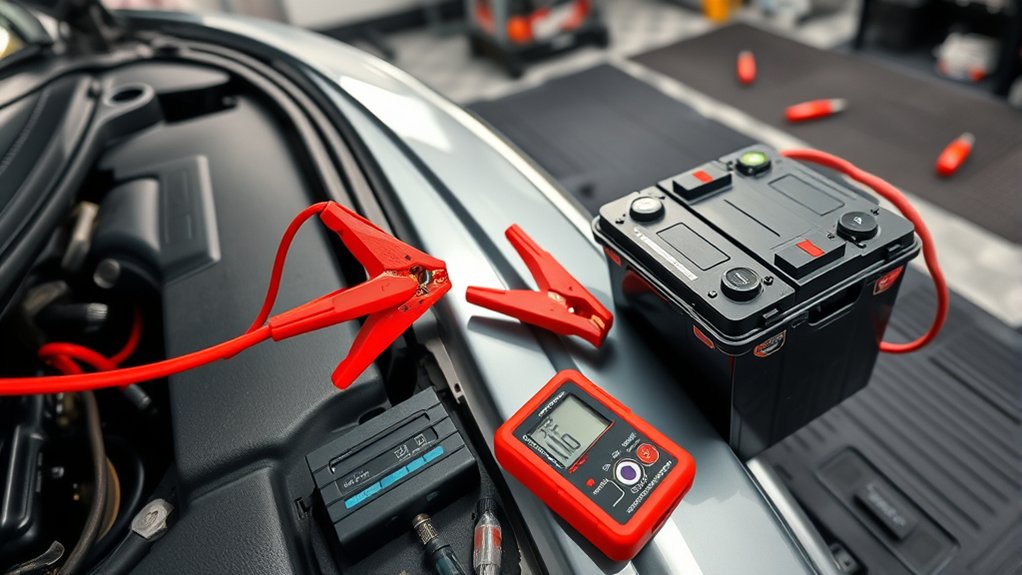
Before you begin testing your starter with jumper cables, ensure your car is securely parked on a flat surface and the ignition is turned off. This prevents unintended movement and electrical hazards.
Verify that your vehicle uses compatible fuels; if it runs on alternate fuels, confirm that handling procedures align with safety standards.
Next, perform thorough battery maintenance before testing. Check the battery terminals for corrosion and clean them if necessary to ensure a solid connection.
Inspect the battery’s charge level with a multimeter to rule out power issues unrelated to the starter. Proper battery maintenance is crucial because a weak or faulty battery can mimic starter problems, leading to inaccurate test results.
Once these preparatory steps are complete, you’ll be ready to proceed with jumper cable testing safely and effectively.
Gather Tools to Test the Starter With Jumper Cables
Before testing the starter with jumper cables, gather the essential tools, including a set of quality jumper cables and a reliable battery source. Make sure you have safety gear like gloves and eye protection to prevent injury.
Organizing these items beforehand ensures a safe and efficient testing process.
Essential Tools Needed
To effectively test a starter with jumper cables, you’ll need a specific set of tools that guarantee safety and accuracy. Using proper equipment minimizes economic repercussions from potential damage and addresses climate considerations by reducing waste through efficient diagnostics.
Ensure you gather:
- High-quality jumper cables with sufficient length and gauge
- A reliable multimeter for voltage and continuity checks
- Insulated gloves to prevent electric shock
- A flashlight or work light for visibility in low-light conditions
- A battery terminal cleaner to ensure secure connections
These tools allow you to perform the test precisely, avoiding false readings and preventing further starter or battery damage. Preparing your tools carefully sets the foundation for a successful and safe starter test using jumper cables.
Safety Gear Preparation
How should you prepare your safety gear to ensure a secure starter test with jumper cables? Begin by reviewing safety training materials specific to automotive electrical systems.
Follow PPE guidelines meticulously: wear insulated gloves rated for electrical work to protect against shocks, and safety goggles to shield your eyes from sparks or debris. Avoid loose clothing or metallic accessories that could cause accidental shorts.
Ensure your workspace is dry and well-ventilated to minimize hazards. Confirm your footwear offers electrical insulation and slip resistance.
Before starting, inspect all PPE for damage or wear, replacing any compromised items. Proper safety gear preparation minimizes risk, enabling you to test the starter confidently and effectively while adhering to professional safety standards.
Identify Starter Problems Before Testing
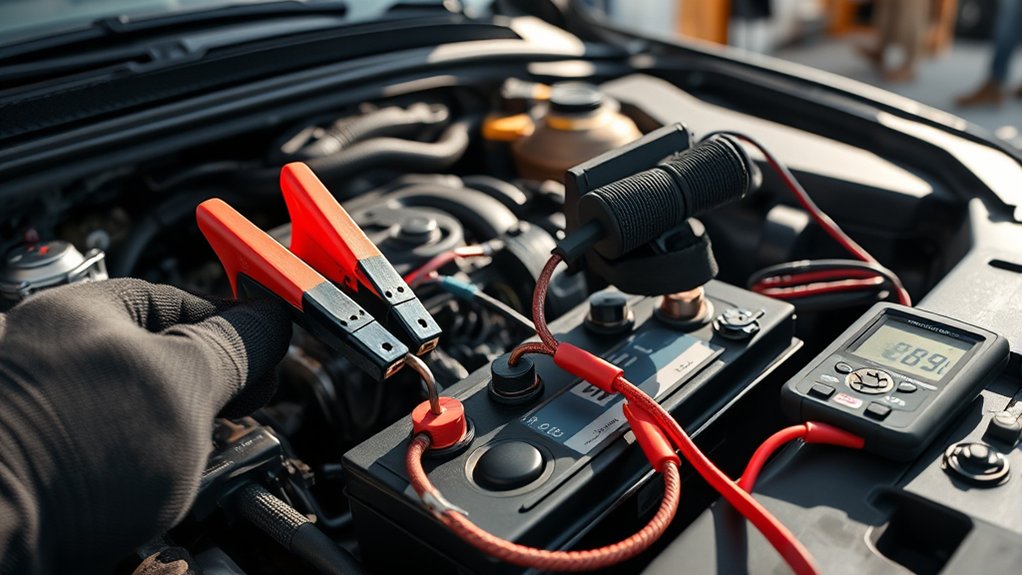
Why is it essential to identify starter problems before testing with jumper cables? Pinpointing issues ensures you don’t waste time on irrelevant components like battery maintenance or engine torque. Focus on the starter system itself to diagnose effectively.
Before testing, check for:
- Corroded or loose wiring connections at the starter
- Faulty ignition switch or relay affecting starter engagement
- Signs of physical damage or wear on the starter motor
- Unusual noises indicating internal starter issues
- Proper voltage supply to the starter terminal
Ignoring these may lead you to misdiagnose the problem. By isolating starter-specific faults first, you streamline testing and avoid unnecessary procedures tied to unrelated systems. This targeted approach enhances accuracy and safety before applying jumper cables.
Safely Connect Jumper Cables to the Starter
First, locate the starter’s positive and negative terminals to guarantee correct connections. Next, match the jumper cables’ polarity carefully: red to positive, black to negative. Finally, clamp the cables firmly to prevent slipping during testing.
Identify Starter Terminal Locations
Where exactly should you connect the jumper cables to test the starter? To accurately test engine cranking, you need to identify the starter terminal locations on the starter motor. Focus on the starter wiring terminals, which typically include the battery terminal and the solenoid terminal. Follow these steps to locate them:
Locate the large battery terminal, usually a thick cable connected directly from the battery. Find the smaller solenoid terminal, which controls the starter engagement. Inspect for any labels or markings indicating positive (+) and control terminals.
Note the ground connection, often the starter’s metal housing bolted to the engine. Verify terminals are clean and free of corrosion to ensure solid electrical contact.
Correct identification ensures safe and effective connection of jumper cables for accurate starter testing.
Ensure Proper Cable Polarity
After identifying the starter terminals, connect the jumper cables with attention to proper polarity to avoid electrical damage or injury. Attach the positive (red) cable clamp firmly to the starter’s positive terminal, then connect the negative (black) cable clamp to a clean, unpainted metal ground near the starter.
Avoid connecting the negative cable directly to the battery’s negative terminal during testing. Incorrect cable routing can cause a polarity flip, leading to sparks or damage to the starter and electrical system. Double-check that the red cable only contacts positive terminals and the black cable contacts ground points.
Maintain clear separation between cables to prevent accidental contact. Proper polarity and precise cable routing ensure a safe and accurate starter test without risking component failure.
Secure Cable Connections Firmly
How tightly should you secure the jumper cable clamps to the starter terminals? You need a firm connection to ensure proper current flow without risking damage. Over-tightening can deform terminals, potentially causing irreparable damage or voiding your vehicle’s warranty.
Conversely, loose connections lead to sparks or intermittent contact, compromising the test.
Follow these key steps to secure cables safely:
- Attach clamps firmly, avoiding excessive force
- Confirm clamps fully grip clean, corrosion-free terminals
- Prevent clamps from touching each other or grounded metal
- Keep cables clear of moving engine parts
- Double-check polarity before powering the starter
Test the Starter Using Jumper Cables
Why use jumper cables to test your starter? They provide a direct power source, allowing you to bypass potential battery or wiring issues and focus on the starter itself.
To test the starter using jumper cables, first ensure all cable connections are secure. Then, connect the positive cable to the starter’s positive terminal and the negative cable to a grounded metal surface on the engine block.
| Step | Action |
|---|---|
| 1 | Attach positive cable to starter |
| 2 | Attach negative cable to ground |
| 3 | Ensure all connections are firm |
| 4 | Turn ignition to “start” position |
| 5 | Observe starter operation |
If the starter engages, it’s functional; if not, it may need replacement. This is how to test a starter precisely with jumper cables.
Recognize Signs of a Faulty Starter During Testing
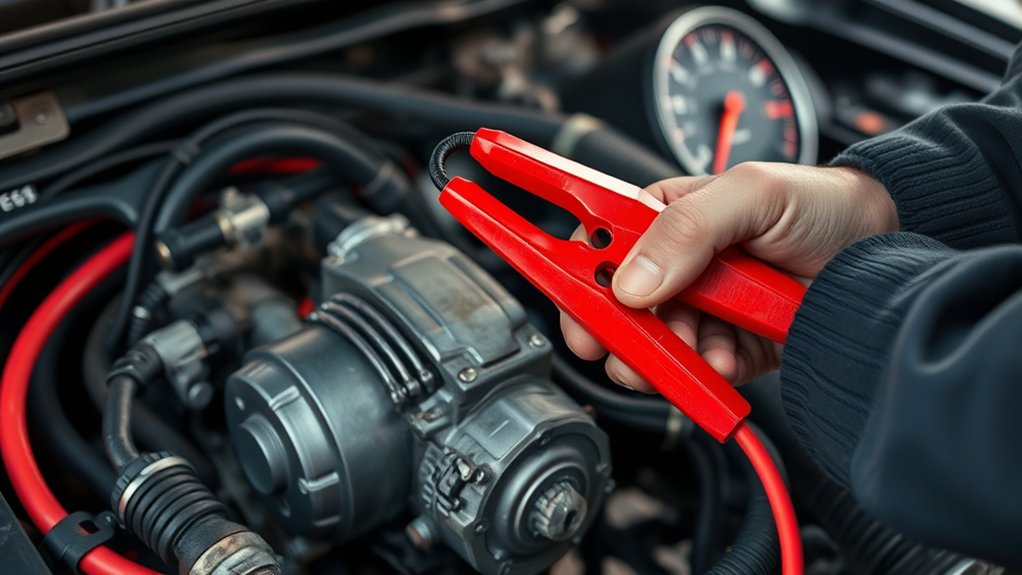
When testing the starter with jumper cables, watch for common failure symptoms like a slow crank or no response at all. Listen carefully for unusual noises such as clicking, grinding, or whining that indicate internal issues.
These signs help you determine whether the starter needs repair or replacement.
Common Starter Failure Symptoms
What signs should you watch for to identify a faulty starter during testing? Recognizing common starter failure symptoms is essential for effective starter maintenance and deciding if jump start alternatives are necessary.
During your test with jumper cables, observe these indicators closely:
- Engine fails to crank or turns slowly despite a strong battery connection
- Starter motor does not engage or intermittently engages
- Visible sparking or overheating at the starter terminals
- Electrical clicking sound without engine turnover
- Starter remains engaged after the engine starts
If you notice any of these symptoms, the starter likely requires repair or replacement. Addressing these issues promptly prevents further electrical damage and ensures reliable vehicle operation.
Use this knowledge to diagnose starter problems accurately during your testing process.
Audible Signs of Trouble
How can you tell if a starter is failing without seeing it? Listen carefully during your inspection checklist for distinct audible signs of trouble.
A consistent clicking noise when you turn the key often indicates the starter solenoid is engaging but not spinning the motor, commonly due to insufficient battery power or internal starter failure. Grinding sounds suggest worn starter gears or flywheel teeth, signaling mechanical damage.
A whirring noise without engine turnover points to a disengaged starter drive. Before concluding starter issues, ensure proper battery maintenance; a weak or discharged battery can mimic starter faults.
Interpret Starter Test Results
Interpreting starter test results requires careful attention to voltage readings and sound cues. Just like understanding weather patterns or mastering cooking techniques, you need to analyze subtle signs for accurate diagnosis.
When you test the starter with jumper cables, note the following:
- Voltage drop below 9.6 volts during cranking indicates a weak or failing starter.
- A clicking sound without engine turnover suggests insufficient power or a faulty solenoid.
- Smooth engine turnover with stable voltage confirms a healthy starter.
- Intermittent sounds or sudden voltage spikes point to loose connections or corrosion.
- No sound and no voltage change often means a dead starter or electrical failure.
Use these indicators to assess starter health precisely and avoid misdiagnosis.
Troubleshoot Common Starter and Electrical Issues
Once you’ve analyzed the starter test results, the next step involves pinpointing common starter and electrical problems that might affect performance. Check for loose or corroded battery terminals, as poor connections can mimic starter issues.
Inspect the starter relay and solenoid for proper function; a faulty relay can prevent power delivery. Also, examine wiring for frays or damage that disrupt electrical flow.
Remember, improper parking etiquette, like leaving the vehicle in gear or on steep inclines, can strain the starter system. Additionally, poor fuel efficiency may signal electrical faults causing inefficient engine starts.
Use a multimeter to verify voltage across the starter circuit during cranking. Address these issues systematically to ensure reliable starting and maintain optimal fuel efficiency, avoiding unnecessary wear on the starter motor and related components.
What to Do When Your Starter Test Shows No Problems
What steps should you take if your starter test indicates no issues? First, rule out unrelated topic causes such as battery health or wiring faults. Next, systematically inspect components unrelated to the starter motor but essential for engine start-up.
Focus on battery voltage and terminal corrosion, ignition switch functionality, neutral safety switch operation, relay and fuse integrity, and wiring harness continuity.
Avoid distractions with cosmetic considerations; these do not affect starter performance and can mislead diagnostics. Ensure your troubleshooting prioritizes electrical and mechanical elements directly influencing engine start.
When to Replace the Starter and Seek Professional Help
If your starter consistently fails tests despite verifying battery health, wiring, and related components, you should consider replacing it. Before proceeding, check battery voltage and connections thoroughly to rule out a weak battery as the cause.
If the battery and wiring are in good condition, a faulty starter motor is likely. When replacing the starter, remember it’s also wise to inspect the alternator’s functionality.
A failing alternator can cause electrical issues that mimic starter problems, so you might need to replace alternator components as well. If you’re unsure about diagnosing these parts or lack proper tools, seek professional help to avoid unnecessary replacements or damage.
Accurate diagnosis ensures you replace only faulty components, improving system reliability and vehicle performance.
Frequently Asked Questions
Can Jumper Cables Damage My Car’s Electrical System?
Yes, jumper cables risks include damaging your car’s electrical system if connected improperly. Always guarantee correct polarity and secure connections to maintain electrical system safety and prevent voltage spikes that could harm sensitive components.
How Long Does a Starter Test With Jumper Cables Usually Take?
Think of testing a starter with jumper cables like a quick engine heartbeat check. It usually takes 5 to 10 minutes.
Don’t forget to monitor long-term battery health and perform alternator load testing afterward for accurate diagnostics.
Are Jumper Cables Safe to Use on All Vehicle Types?
Jumper cables are generally safe across most vehicle types for battery testing, but you must avoid electrical shocks by following proper connection order and wear protective gear.
Always consult your vehicle’s manual to prevent damage.
Can a Weak Battery Affect Starter Testing Results?
Yes, a weak battery can compromise testing accuracy by providing insufficient power. To ensure jumper cables safety and avoid electrical system risk, always verify battery strength before starter tests. This prevents misleading results and potential damage.
What Precautions Should I Take to Avoid Electrical Shocks?
Like a cautious electrician, you’ll take precautionary steps: disconnect the battery, wear insulated gloves, avoid metal jewelry, and ensure the area is dry. These electrical safety measures help you prevent shocks and ensure safe starter testing.
Conclusion
Now that you know how to test your starter with jumper cables, you can pinpoint issues faster than a lightning bolt striking metal. Always prioritize safety and double-check your connections before starting the test.
If the starter doesn’t respond as expected, troubleshoot electrical problems or consider professional help.
Remember, a faulty starter is no minor hiccup—it’s the heart of your engine’s ignition. Don’t hesitate to replace it when necessary to keep your vehicle running smoothly. Testing a starter with jumper cables is a valuable skill to ensure your car starts reliably.