It’s a coincidence that many people overlook the correct way to disconnect jumper cables, even though doing it wrong can cause sparks or damage. Knowing how to disconnect jumper cables properly is essential for safety. You’ll want to follow a precise order—starting with the negative cable—to ensure safety and protect both vehicles.
Knowing this procedure isn’t just about caution; it’s about preventing costly mistakes. Before you move on, consider why the sequence matters so much and how it helps avoid common hazards. Following the right steps can save you from unexpected trouble and keep the jump-start process smooth.
Key Takeaways
- Always start by turning off both vehicles before disconnecting jumper cables to ensure safety.
- Remove the negative (black) clamp from the previously dead battery first to safely break the circuit.
- Next, detach the negative clamp from the booster battery to minimize spark risks.
- Disconnect the positive (red) clamp from the booster battery before removing it from the dead battery.
- Avoid touching metal surfaces and ensure clamps do not contact each other during removal to prevent shorts or sparks.
What Order Should You Remove Jumper Cables In?
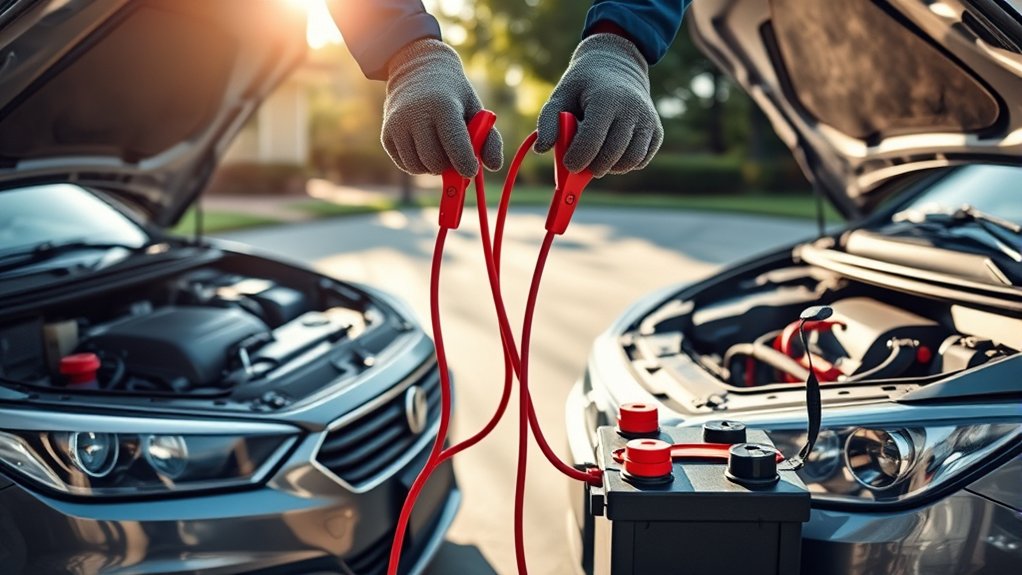
When removing jumper cables, you should always start with the negative (black) clamp connected to the previously dead battery. This step minimizes jump start risks by preventing accidental short circuits. Next, detach the negative clamp from the booster battery, followed by the positive (red) clamp from the booster battery, and finally the positive clamp from the dead battery.
Following this precise order ensures safety and reduces the chance of sparks or electrical damage. After removal, inspect your cables for any wear or corrosion as part of routine cable maintenance. Proper care extends their lifespan and maintains reliable conductivity.
How to Safely Disconnect the Negative Cable First
Why should you always disconnect the negative cable first during jumper cable removal? Following this disconnecting protocol minimizes the risk of electrical short circuits and sparks.
Disconnecting the negative cable first reduces the risk of sparks and electrical short circuits during jumper cable removal.
The negative terminal is connected to the vehicle’s chassis, which acts as a ground. Removing the negative cable first breaks the circuit safely, preventing accidental contact with other metal parts.
To do this, firmly grip the negative clamp and lift it off the terminal without letting it touch any part of the engine or frame. Safety reminders include wearing gloves and ensuring both vehicles are off before starting.
Always keep the cable clamps clear of each other and vehicle surfaces during removal. Adhering strictly to this step in the disconnecting protocol protects you and your vehicle from electrical hazards.
How to Safely Remove the Positive Cable
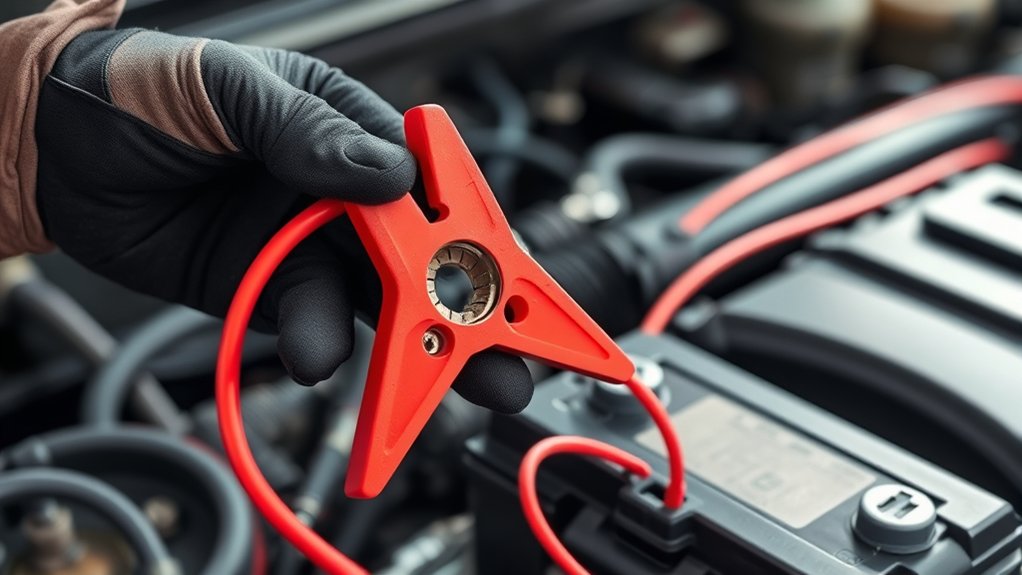
First, locate the positive cable, usually marked with a plus sign or red color. Always grip the insulated clamp to avoid electrical shock.
Remember to disconnect the positive cable before removing the negative one to prevent sparks.
Identify The Positive Cable
How can you quickly spot the positive cable among the jumper cables? Correct identification is crucial to avoid creating ground loops or damaging vehicle electronics. Here’s how to identify the positive cable precisely:
- Color Coding: The positive cable typically has red insulation, while the negative cable is black. This visual cue helps distinguish polarity immediately.
- Terminal Markings: Look for a plus sign (+) on the clamp or cable near the terminal. This symbol confirms the positive connection point.
- Avoid Alternating Current Confusion: Jumper cables carry direct current (DC), unlike alternating current (AC). Recognizing this distinction helps prevent misidentifying cables based on AC-related markings or devices.
Grip Insulated Clamp Only
When removing the positive cable, always grip only the insulated clamp to prevent electrical shock and avoid accidental contact with the vehicle’s metal surfaces. Proper clamp safety requires you to hold the rubber or plastic-covered part firmly, never touching the metal jaws. This minimizes risk and guarantees a controlled removal.
| Step | Action |
|---|---|
| 1. Grip insulated clamp | Hold the clamp by its insulated handle only |
| 2. Avoid metal contact | Keep fingers away from exposed metal parts |
| 3. Pull firmly but steady | Remove clamp smoothly without jerking |
| 4. Secure clamp away | Place clamp on a non-conductive surface |
Following these steps guarantees you maintain clamp safety and prevent sparks or shocks when disconnecting the positive jumper cable.
Disconnect Before Negative Cable
After securely removing the positive cable by gripping the insulated clamp, your next step is to disconnect the negative cable. Maintaining disconnecting safety and following the proper sequence is essential to prevent sparks or electrical shorts.
Here’s how to safely remove the positive cable before the negative:
- Confirm the vehicle’s ignition is off to eliminate current flow.
- Firmly grip the insulated clamp of the positive cable; never touch the metal clamp directly.
- Carefully lift the positive clamp straight off the terminal without allowing it to contact any metal surfaces.
Why It’s Important to Disconnect Jumper Cables the Right Way
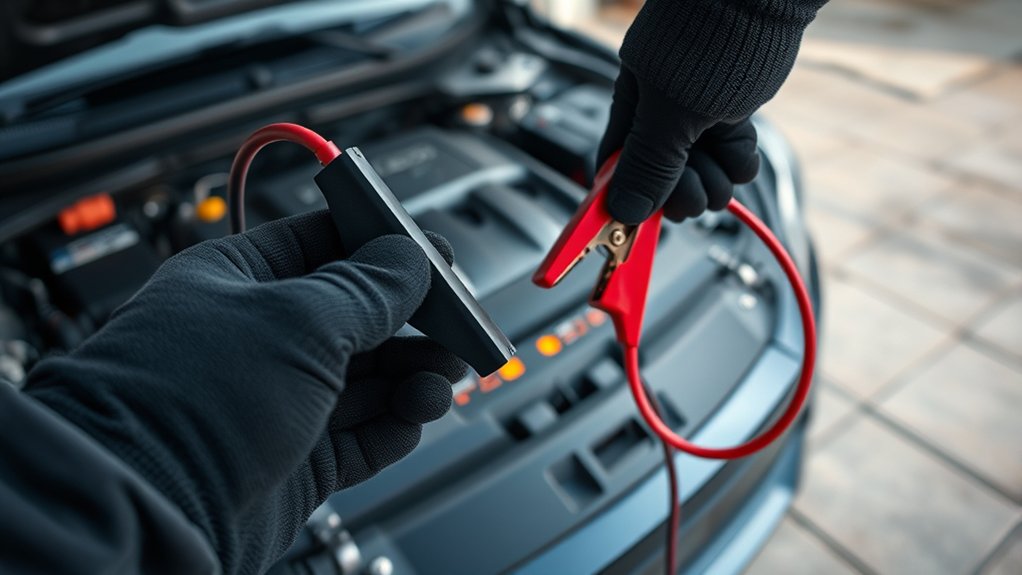
Why should you prioritize disconnecting jumper cables correctly? Proper disconnection prevents electrical shorts, sparks, and potential damage to vehicle electronics. Incorrect removal can cause voltage spikes that harm sensitive components or even lead to battery explosions.
Focusing on this task is essential, so avoid treating it as an unrelated topic or irrelevant discussion. You must follow the precise sequence, usually removing the negative cable first, to minimize risks.
This procedure safeguards both you and your vehicle, ensuring the jump-start process concludes safely. Neglecting proper technique increases the chance of accidents or costly repairs.
Consequently, understanding and executing the correct disconnection method is critical for maintaining vehicle integrity and personal safety every time you use jumper cables.
How to Avoid Sparks and Damage When Disconnecting Jumper Cables
How exactly can you prevent sparks and damage while disconnecting jumper cables? First, always wear safety gloves to protect your hands from accidental sparks or battery acid exposure. Next, avoid incorrect connection issues by ensuring you disconnect the cables in the correct order to minimize electrical hazards.
Wear safety gloves and disconnect jumper cables in the correct order to prevent sparks and electrical hazards.
- Remove the black (negative) clamp from the grounded metal surface on the disabled vehicle first.
- Then detach the black clamp from the assisting vehicle’s negative terminal.
- Finally, disconnect the red (positive) clamps from both vehicles, starting with the disabled vehicle.
This sequence prevents circuit shorts and sparks caused by residual current flow. Maintain steady, deliberate movements to avoid metal contact between clamps, which can create dangerous arcs or damage battery terminals.
What to Do Immediately After Removing Jumper Cables
Once you’ve removed the jumper cables, start by checking that your engine is running smoothly without any warning lights.
Next, turn off the engine and carefully coil the cables to prevent damage or tangling. Store the cables in their designated case or compartment to keep them clean and ready for future use.
Check Engine Functionality
After removing the jumper cables, you should immediately start the engine and observe its behavior closely. This step is crucial to check engine functionality and ensure safe handling of your vehicle post-jumpstart.
- Listen for Unusual Noises: Pay attention to any irregular sounds like knocking or sputtering, which may indicate engine issues.
- Monitor Dashboard Indicators: Check for warning lights, especially the battery or check engine light, signaling potential electrical or mechanical problems.
- Assess Engine Performance: Note if the engine runs smoothly without stalling or hesitation, confirming the battery and alternator are functioning correctly.
Perform these checks promptly to verify the jumpstart’s success and maintain safe handling, preventing further damage or breakdowns.
Store Cables Safely
Properly storing jumper cables immediately after use preserves their functionality and guarantees safety for future use. First, ensure the cables are free from dirt, oil, or moisture; wipe them down with a clean cloth if necessary.
Next, neatly coil the cables without twisting to prevent internal wire damage. Use a cable tie or Velcro strap to secure the coils firmly.
Then, place the cables in a designated storage compartment or a sturdy storage bag to protect them from environmental exposure. Incorporate this step into your regular safety checklist to avoid cable deterioration and accidental hazards.
Frequently Asked Questions
Can Jumper Cables Damage My Car’s Battery?
Yes, jumper cables can damage your car’s battery if ignition risks aren’t managed properly. Incorrect connections or abrupt disconnections disrupt battery chemistry, causing sparks or corrosion.
Always follow precise procedures to protect your battery’s integrity.
How Long Should Jumper Cables Be Connected?
Think of jumper cables as a lifeline. Keep them connected just long enough for the dead battery to charge, usually 3-5 minutes.
Avoid disabling safety features or messing with ignition timing by disconnecting promptly once the engine starts.
Are All Jumper Cables Compatible With Every Car?
Not all jumper cables fit every car; you need cables rated for your vehicle’s battery size and voltage. Don’t fall for car battery myths. Ensure jumper cable safety by matching specifications and following proper connection procedures precisely.
Can I Jump-Start a Car in Cold Weather?
You absolutely can jump-start a car in freezing Arctic-like cold! Cold weather does affect battery performance, reducing power.
Always follow safety considerations when jumping: wear gloves, avoid sparks, and connect cables correctly to prevent damage or injury.
What Should I Do if the Car Doesn’T Start After Jump-Starting?
If your car doesn’t start after jump-starting, check battery connections and voltage (discussion idea1). If issues persist, test the starter and alternator (discussion idea2). Seek professional help to avoid further damage.
Conclusion
Now that you know the exact order to disconnect jumper cables, you’ll avoid sparks and damage—think of it like defusing a ticking clock from a bygone era. Always remove the negative clamp first, then the positive, keeping clamps insulated and apart.
After disconnecting, inspect your connections and store cables safely. Following these steps guarantees your vehicle starts smoothly and prevents electrical mishaps.
Stay precise and cautious to keep your jump-start process safe and effective every time. Properly disconnect jumper cables to ensure safety and protect your vehicle’s electrical system.