Choosing the right driver shaft is essential for improving your golf game.
Changing the driver shaft involves removing the old one safely and installing the new shaft with precise alignment to ensure optimal performance.
You’ll need to understand how to select materials based on your swing.
Handling tools correctly is important to avoid damage during the process.
Applying epoxy properly is also crucial for a secure fit.
Mastering these details will help you get the most out of your driver shaft replacement.
However, this is just the beginning of what you need to know to make the best choice and installation.
Key Takeaways
- Secure the driver in a padded vise and heat the hosel evenly with a heat gun to soften the epoxy bond.
- Use a shaft puller or steady twisting force to carefully remove the old shaft without damaging the clubhead.
- Clean epoxy residue from the hosel with a suitable solvent before installing the new shaft.
- Align the new shaft correctly, apply high-quality epoxy inside the hosel, and allow proper curing time.
- After curing, wipe off excess epoxy, inspect the shaft for damage, and store it properly to maintain performance.
Why Change Your Driver Shaft?
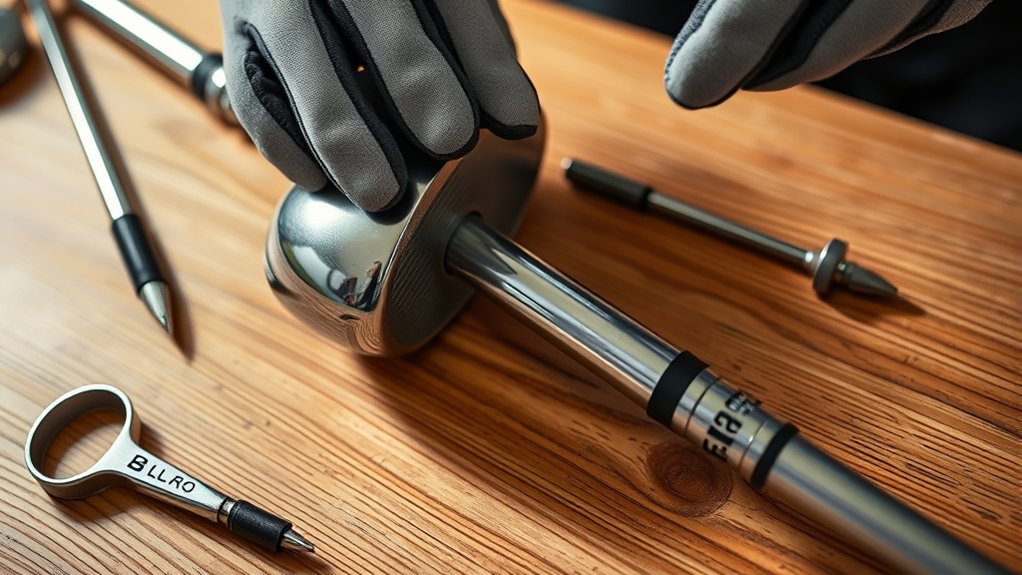
A driver shaft substantially influences your swing performance and shot accuracy. When considering why to change your driver shaft, idea one is to optimize clubhead speed and control. Different shaft flexes, weights, and torque ratings directly affect how energy transfers during your swing, enabling you to fine-tune shot dispersion and distance.
Idea two involves adapting to changes in your swing mechanics or physical condition. As your swing evolves, the original shaft may no longer complement your tempo or release point, leading to inconsistent ball striking. By selecting a shaft that matches your current swing characteristics, you maintain or improve performance.
Understanding these technical aspects helps you make informed decisions, ensuring the shaft aligns precisely with your playing style and goals.
Tools Needed to Change a Driver Shaft
To change your driver shaft effectively, you’ll need a specific set of tools designed for golf club repair. Make sure you have the essential equipment like a shaft puller, epoxy, and a torque wrench.
Don’t forget to use proper safety gear, including gloves and eye protection, to prevent injury during the process.
Essential Tools Overview
Successful driver shaft replacement hinges on having the right tools at your disposal. Without them, the process becomes inefficient and prone to errors. Here’s a precise overview of essential tools you’ll need:
- Shaft Puller: Specifically designed to remove the old shaft without damaging the clubhead.
- Epoxy Remover: Facilitates clean separation of the shaft from the clubhead.
- Torque Wrench: Ensures proper tightening of the new shaft to manufacturer specifications.
- Measuring Device: Critical for precise length adjustments and proper alignment.
While some off topic exploration or discussion ideas might tempt you toward unconventional tools, sticking to this list guarantees efficiency and accuracy. Avoid improvising; precision tools minimize risk and optimize performance during the replacement process.
Safety Equipment Required
Having the right tools from the previous overview is only part of the equation; protecting yourself during the shaft replacement is equally important. You must wear appropriate safety clothing to shield your skin from sharp edges and potential debris.
Long sleeves, durable gloves, and closed-toe shoes are essential to prevent cuts and abrasions. Eye protection is non-negotiable. Use safety goggles or glasses designed to guard against flying particles when loosening or tightening components.
Additionally, ensure your workspace is well-lit and free of distractions to maintain focus. By prioritizing safety clothing and eye protection, you minimize the risk of injury, allowing you to execute the driver shaft change efficiently and securely. Always inspect your safety gear before starting to confirm it’s in good condition.
How to Remove Your Old Driver Shaft Safely
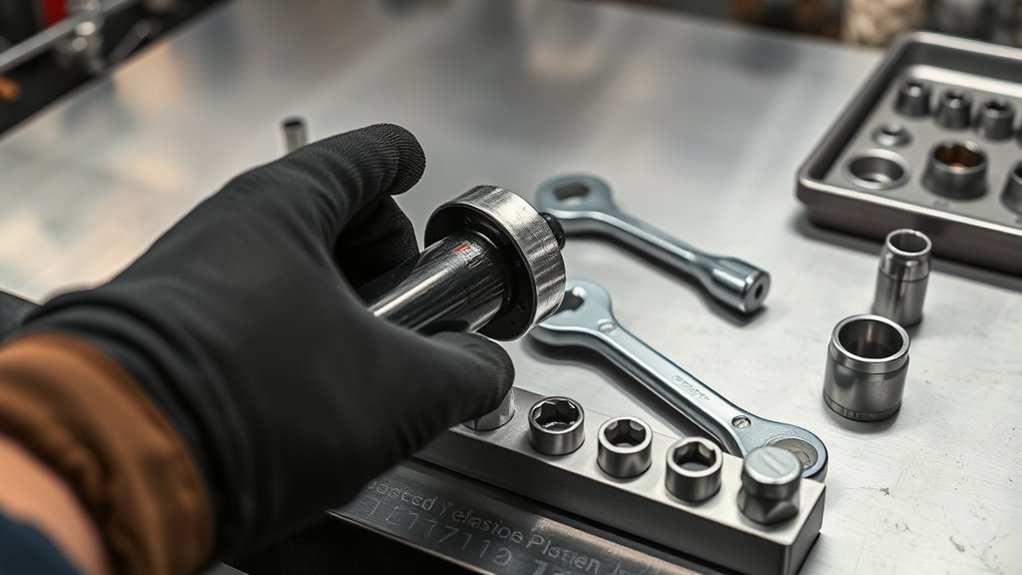
How do you guarantee you remove your old driver shaft without causing damage? Follow these steps carefully to maintain your clubhead and prepare for proper disposal:
- Secure the driver in a padded vise to prevent movement and damage.
- Heat the hosel evenly with a heat gun to soften the epoxy bond; avoid overheating to protect the clubhead finish.
- Use a shaft removal tool or apply steady twisting force to separate the shaft from the clubhead gently.
- Clean any remaining epoxy residue with a solvent suitable for golf clubs to prepare for disposal.
After removal, consider how to discard the shaft responsibly. Check local regulations for where to recycle composite materials or metal shafts to minimize environmental impact. Proper disposal ensures safety and sustainability.
Choosing and Preparing Your New Driver Shaft
Once you’ve safely removed your old driver shaft and prepared the clubhead, selecting the right replacement shaft is key to optimizing your performance. Start by choosing the appropriate shaft material. Graphite offers lightweight flexibility, while steel provides durability and control.
Consider your swing speed and desired ball flight when deciding flex and weight. Before installation, measure and set the correct shaving depth on the hosel to ensure a secure fit without compromising structural integrity. Accurate shaving depth prevents excess adhesive use and maintains optimal shaft alignment.
Additionally, verify that the new shaft’s tip dimensions match the hosel specifications precisely. Proper preparation at this stage ensures consistent feel and maximizes energy transfer, setting the foundation for a successful driver shaft replacement.
Installing the New Driver Shaft and Aligning the Driver Head
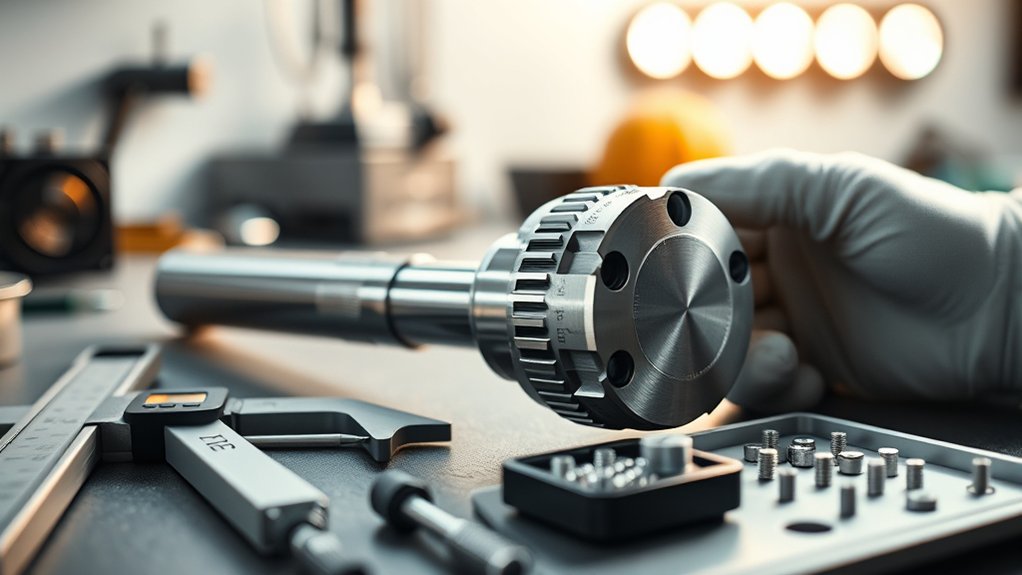
Where should you begin when installing your new driver shaft and aligning the driver head? Start by ensuring drill accuracy to prevent damaging the hosel. Follow these steps:
- Secure the driver head in a vise with soft jaws to avoid marring.
- Use a precise drill guide to remove the old shaft, maintaining a straight bore.
- Test fit the new shaft, paying close attention to grip feel and ensuring it matches your preferences.
- Align the driver head’s face angle by rotating the shaft to the desired loft setting before epoxy application.
After alignment, apply a high-quality epoxy evenly inside the hosel and insert the shaft fully, wiping excess glue promptly. Let it cure undisturbed for optimal bonding. Proper installation guarantees performance consistency and durability.
Maintaining Your Driver Shaft for Long-Lasting Performance
You should regularly clean your driver shaft using a soft cloth and mild detergent to remove dirt and debris. Inspect the shaft for any signs of wear, cracks, or damage before each use to ensure safety and performance.
Store the shaft in a dry, temperature-controlled environment to prevent corrosion and maintain its structural integrity.
Regular Cleaning Techniques
How often should you clean your driver shaft to maintain ideal performance? Regular cleaning prevents dust and debris buildup that can affect your swing’s consistency. Use appropriate cleaning chemicals designed for graphite or steel shafts to avoid damage.
Follow these steps for effective dust removal and maintenance:
- Wipe the shaft with a soft, damp cloth to remove surface dust.
- Apply a mild cleaning chemical specifically formulated for your shaft type.
- Gently scrub with a soft brush or microfiber cloth to eliminate stubborn dirt.
- Dry the shaft thoroughly to prevent moisture-related issues.
Consistent cleaning ensures optimal shaft integrity and performance. Avoid harsh chemicals that compromise the shaft’s material, and always perform dust removal after each round or practice session to extend your driver shaft’s lifespan.
Inspecting for Wear
A thorough inspection of your driver shaft is essential to identify signs of wear that could compromise performance and safety. Begin your wear inspection by examining the shaft surface for cracks, nicks, or abrasions, especially near the tip and hosel areas where stress concentrates. Use a magnifying glass if necessary to detect fine fractures.
Check for any shaft straightness deviations by rolling it on a flat surface. Inspect the ferrule for looseness or damage, as this can indicate underlying shaft issues. Be mindful that improper shaft storage may accelerate wear through environmental exposure or mechanical stress.
After inspection, document any irregularities and plan for repair or replacement. Regular wear inspections, combined with careful shaft storage, will extend your driver shaft’s functional lifespan and maintain optimal performance.
Proper Storage Methods
Where should you store your driver shaft to preserve its integrity and performance? Proper storage is critical to maintain its structural soundness and prevent damage. Follow these essential storage tips:
- Store the shaft horizontally in a padded rack to avoid bending or warping.
- Maintain controlled humidity levels around 40-60% to prevent corrosion and material degradation.
- Keep the shaft away from direct sunlight and extreme temperatures, which can weaken composites.
- Use a protective cover or tube to shield it from dust, moisture, and accidental impacts.
Frequently Asked Questions
Can I Change My Driver Shaft Without Professional Help?
You can change your driver shaft yourself, but be aware that improper installation risks damaging the club or affecting performance.
DIY risks include misalignment and poor fit, so ensure you have precise tools and knowledge before attempting installation.
How Does Shaft Flex Affect My Golf Swing?
Shaft flex influences your swing tempo, affecting shaft stiffness and launch angle. Too stiff or too flexible shafts cause inconsistent trajectory dispersion, reducing accuracy.
Matching flex to your swing ensures optimal ball flight and improved performance.
What Is the Average Cost of a Driver Shaft Replacement?
You’ll typically spend $100 to $300 on driver shaft replacement, depending on shaft customization and brand. Considering your swing tempo during selection ensures optimal performance and feel, making this investment worthwhile for improved consistency and distance.
Are Graphite Shafts Better Than Steel for Drivers?
Think of graphite vs steel shafts like choosing between a feather and a hammer. You’ll find graphite lighter and better for swing speed, while steel offers durability and control.
Your choice depends on preference and playing style.
How Often Should I Upgrade My Driver Shaft?
You should consider driver shaft upgrade frequency every 1-2 years or after about 2,000 swings, balancing performance loss and driver shaft replacement cost.
Monitor wear and feel to decide if timely upgrading benefits your game.
Conclusion
Changing your driver shaft might seem like a simple swap, but it’s anything but trivial. You’ll carefully heat, pull, clean, epoxy, and align—because a misstep turns your prized driver into an expensive paperweight.
Ironically, the more precise you are, the better your swing feels, proving that a perfect shot isn’t just about power—it’s about the meticulous work you put in behind the scenes.
So, take your time; your game depends on it. Mastering how to change driver shaft correctly will ensure your performance stays on point.