You could easily cause serious damage if you connect jumper cables incorrectly, so knowing exactly where to put jumper cables on the battery is crucial.
Start by identifying the positive terminals, which are usually marked with a plus sign or covered in red.
Then move carefully to the negative connections.
The exact spots for those black clamps aren’t always obvious, and choosing the wrong point can create sparks or worse.
Let’s clarify these critical steps to get your car started safely.
Key Takeaways
- Connect the red jumper cable clamp to the positive terminal marked with a plus (+) on both batteries.
- Attach the black jumper cable clamp to the negative terminal of the live battery only.
- Connect the other black clamp to a clean, unpainted metal surface on the dead vehicle’s engine block, not the dead battery.
- Ensure all clamps are tight, clean, and free of corrosion for proper conductivity.
- Avoid connecting clamps to corroded terminals or mixing positive and negative clamps to prevent damage and sparks.
Identifying Positive and Negative Battery Terminals
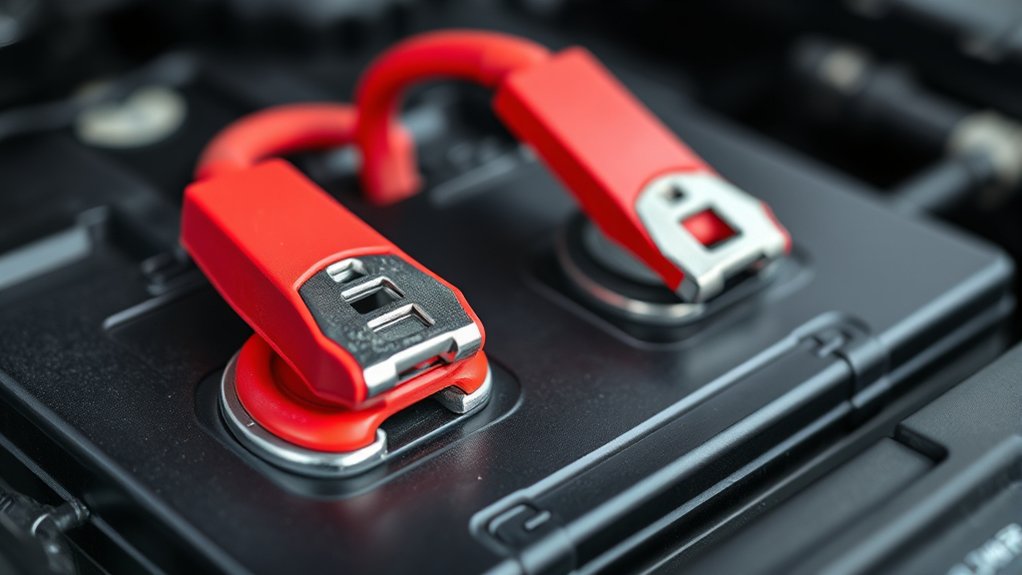
How do you quickly identify the positive and negative terminals on a car battery? First, look for the plus (+) symbol, which marks the positive terminal, and the minus (–) symbol for the negative terminal.
Quickly identify car battery terminals by locating the plus (+) for positive and minus (–) for negative.
The positive terminal usually has a red plastic cover or red cable attached, while the negative terminal connects to a black cable or is bare metal. Avoid common jump starting myths, such as assuming the larger terminal is positive or that color coding is always consistent.
Accurate identification prevents mistakes that could cause sparks or damage during a jump start. Remember, a battery discharge can occur if you connect cables incorrectly, potentially harming your vehicle’s electrical system.
Always double-check terminal markings before attaching jumper cables to ensure safety and effectiveness.
Where to Put the Red Jumper Cable on the Battery
You’ll want to connect the red jumper cable clamp securely to the positive battery terminal, usually marked with a plus sign (+) or red cover. Make certain the connection is tight and free of corrosion to guarantee proper current flow.
Always handle the red cable carefully to avoid accidental contact with metal parts that could cause sparks or short circuits.
Identifying Positive Battery Terminal
Where exactly should you connect the red jumper cable on a car battery? Begin by identifying the positive battery terminal, which is crucial for a safe connection. The positive terminal typically features a red-colored plastic cover or a red cable attached, making identifying color your first guide.
It’s often marked with a plus sign (+) stamped or molded near the terminal. Avoid terminals near battery venting points, as these areas release gases and can be hazardous. The positive terminal is usually larger in diameter than the negative one, providing an additional physical clue.
Always double-check these indicators before connecting the red jumper cable to prevent accidental reverse polarity, which can damage electrical components or cause sparks. Accurate identification ensures a safe and effective jump start.
Proper Red Cable Connection
Connecting the red jumper cable requires attaching the clamp directly to the positive battery terminal identified earlier. This terminal is usually marked with a plus sign (+) and often has a red cover or cable attached.
When you connect the red clamp, ensure it makes a firm, clean contact with the metal of the positive terminal to ensure efficient current flow. This step is crucial in jump start fundamentals, as improper connection can prevent the battery from charging or cause sparks.
Remember, battery basics dictate that the positive terminal must be connected first to avoid electrical shorts. Avoid touching the red clamp to any other metal parts or the negative terminal.
Proper red cable connection ensures a safe and effective jump start, setting the foundation for the next steps in the process.
Safety Tips For Red Cable
After securing the red jumper cable to the positive battery terminal, focus on maintaining safety to prevent damage or injury. Always wear safety gloves to protect your hands from sparks or acid exposure. Avoid touching the metal clamps together to prevent short circuits.
Ensure the cable is firmly attached and won’t slip off during the jump-start process. Keep a fire extinguisher rated for electrical fires nearby in case sparks ignite flammable gases emitted by the battery.
Never lean directly over the battery while connecting the red cable, as explosive gases can cause injury. Finally, double-check the cable connections before starting the engine to ensure proper contact and minimize risk.
Following these safety tips will help you handle the red jumper cable responsibly.
Where to Put the Black Jumper Cable Safely
How can you guarantee safety when attaching the black jumper cable? First, connect the black cable clamp to the negative terminal of the live battery. Avoid connecting it directly to the dead battery’s negative terminal, as this can cause sparks.
Instead, attach the black clamp to a clean, unpainted metal surface on the dead vehicle’s engine block or chassis, which acts as a grounding point. This ensures a proper circuit and reduces the risk of sparks near the battery.
Why You Should Avoid Connecting Negative to Dead Battery
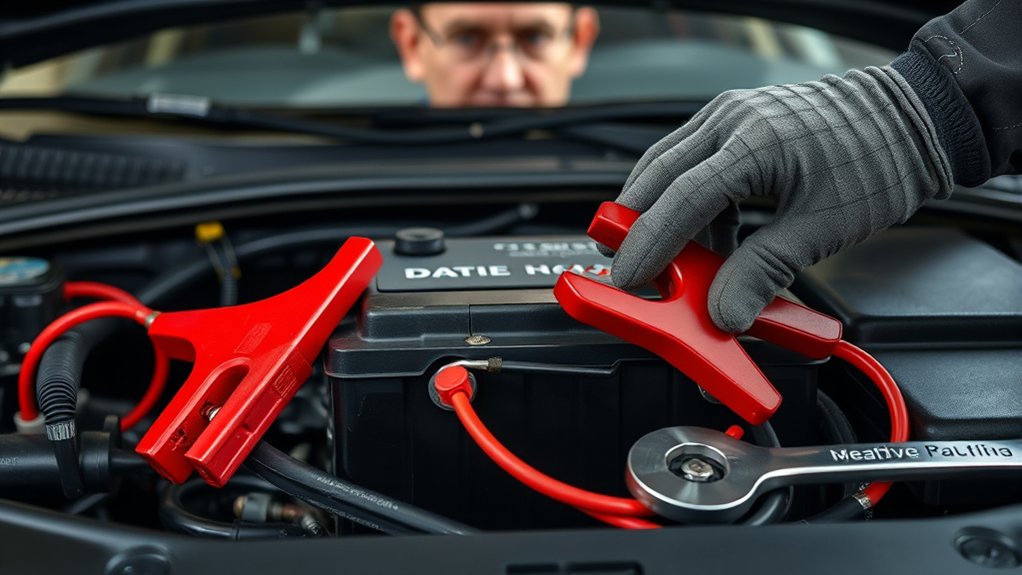
You shouldn’t connect the negative jumper cable directly to the dead battery because it can cause dangerous electrical sparks. These sparks risk igniting hydrogen gas emitted by the battery, potentially damaging the battery or causing injury.
Instead, connect the negative cable to a grounded metal surface away from the battery to ensure safety.
Risk of Electrical Sparks
Why should you avoid connecting the negative jumper cable directly to the dead battery? Doing so can generate electrical sparks due to the battery’s chemical reaction and voltage imbalance. When you attach the negative cable to the dead battery’s terminal, the electrical current flows through unstable battery chemistry, increasing the risk of sparking.
These sparks can ignite hydrogen gas emitted by the battery, causing potential explosions. Instead, connect the negative cable to a grounded metal component away from the battery to minimize this risk.
Additionally, modern vehicles have identifying sensors near the battery, which can be sensitive to sudden electrical surges caused by sparking. By grounding away from the battery, you protect these sensors and reduce fire hazards, ensuring a safer jump-start procedure.
Potential Damage to Battery
What happens to the dead battery when you connect the negative jumper cable directly to its terminal? Doing so can cause a rapid surge of current, potentially damaging the battery’s internal plates. This improper connection risks intensifying existing battery corrosion, which you should always check before jump starting.
Finding battery corrosion is essential because it impedes electrical flow and increases resistance, leading to overheating or even battery rupture. For jump start safety, always connect the negative cable to a grounded, unpainted metal surface on the dead vehicle’s chassis, not the battery terminal.
This practice prevents sparks near the battery, reduces the chance of damage, and guarantees a controlled flow of electricity. Following these steps helps protect both your battery and vehicle’s electrical system.
Safety Hazards Explained
How exactly does connecting the negative jumper cable directly to the dead battery create safety risks? When you attach the negative clamp to the dead battery’s negative terminal, you risk sparks near the battery, which can ignite hydrogen gas emitted during charging.
This explosive hazard compromises safety awareness and can cause serious injury. Instead, connect the negative cable to a grounded metal part away from the battery to ensure electrical isolation.
This method minimizes sparking near volatile gases and prevents short circuits. By following this procedure, you maintain a safer environment during jump-starting.
Always prioritize safety awareness by avoiding direct negative-to-battery connections on the dead unit, reducing the risk of electrical shocks, burns, or battery damage due to uncontrolled electrical discharge.
Step-by-Step Jumper Cable Connection Guide
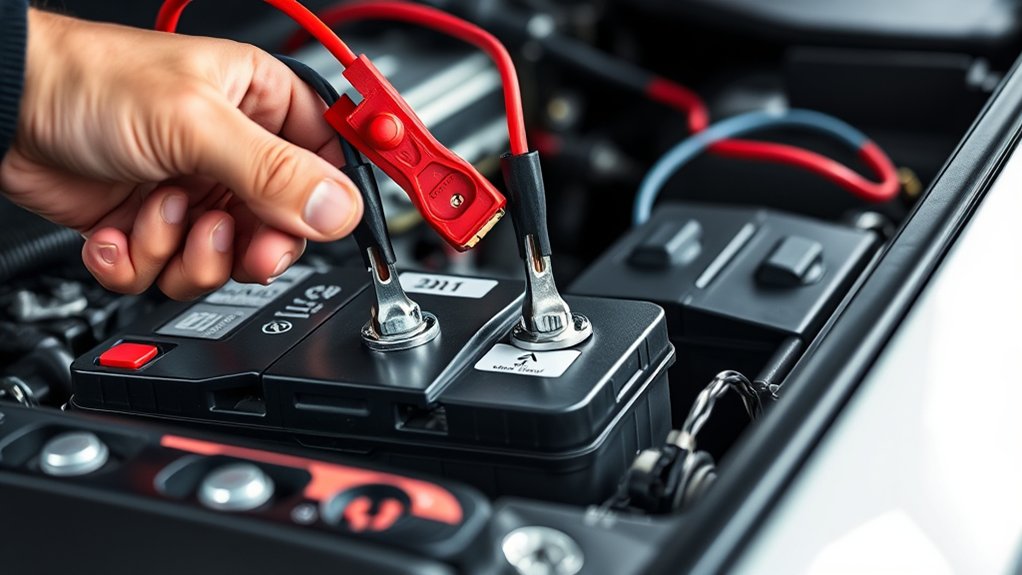
Where should you begin when connecting jumper cables to a battery? First, identify the positive (+) and negative (−) terminals on both batteries. Avoid any irrelevant topic or unrelated concept that doesn’t focus on terminal identification.
Attach the red clamp to the positive terminal of the dead battery. Then, connect the other red clamp to the positive terminal of the live battery.
Next, attach the black clamp to the negative terminal of the live battery. Finally, connect the remaining black clamp to an unpainted metal surface on the dead car’s engine block, away from the battery.
This grounding step prevents sparks near the battery, reducing explosion risk. Follow this precise sequence to ensure a safe, effective jump start without confusion or error.
What to Do After Connecting Jumper Cables to Start the Car
Once the jumper cables are securely connected following the correct order, proceed to start the engine of the live vehicle. Allow it to run for a few minutes to stabilize its electrical system. Then, attempt to start the dead vehicle.
If it doesn’t start immediately, wait another minute or two before trying again. Avoid prolonged cranking, as excessive attempts increase jump start risks, including battery damage or electrical issues.
Once the dead vehicle starts, carefully disconnect the cables in reverse order to prevent sparks. Keep the engine running for at least 15-20 minutes to recharge the battery.
Afterward, consider immediate battery maintenance, such as testing its charge and inspecting terminals for corrosion, to prevent future failures and ensure reliable performance. This careful process minimizes risks and preserves battery life.
Common Jumper Cable Mistakes to Avoid
Why do so many jump-start attempts fail despite following basic steps? Often, it’s due to common mistakes that interfere with proper electrical connection and function. To improve your jump start troubleshooting, avoid these errors:
- Connecting cables to corroded battery terminals. Battery corrosion impedes current flow.
- Reversing polarity by mixing positive and negative clamps. This can damage electronics.
- Attaching the negative cable directly to the dead battery’s terminal instead of a grounded metal surface. This increases risk of sparks.
- Not ensuring tight, secure clamp connections. Loose clamps reduce conductivity and prevent a successful start.
Safety Tips to Keep You Safe When Jump-Starting
Avoiding common mistakes with jumper cable connections is only part of ensuring a successful jump start. First, focus on identifying battery compatibility; mismatched voltages or battery types can cause damage or hazards. Verify both vehicles have 12-volt batteries unless otherwise specified.
Wear safety glasses and gloves to protect against sparks or acid exposure. Ensure both vehicles are turned off and in park or neutral with parking brakes engaged. Avoid smoking or open flames near the batteries, as hydrogen gas may ignite.
Always wear safety gear, keep vehicles off and secured, and avoid open flames near batteries to prevent hazards.
Keep cables clear of moving engine parts to prevent entanglement. Additionally, review insurance considerations before jump-starting another vehicle, as some policies may have specific clauses regarding roadside assistance or damage liability.
Following these precautions will minimize risks and protect you during the process.
How to Safely Disconnect Jumper Cables
How do you disconnect jumper cables without causing sparks or damage? Properly identifying tools and following precise steps ensures safe battery maintenance. After the engine starts, keep the cables connected for a few minutes to stabilize voltage.
Then, carefully disconnect cables in this order:
- Remove the black (negative) clamp from the previously dead battery.
- Remove the black (negative) clamp from the donor battery.
- Remove the red (positive) clamp from the donor battery.
- Remove the red (positive) clamp from the previously dead battery.
Always avoid letting clamps touch each other or metal surfaces during removal. Perform these steps methodically to prevent electrical shorts or sparks, ensuring your tools and battery remain undamaged and your maintenance process is safe and effective.
Frequently Asked Questions
Can Jumper Cables Damage My Car’s Electrical System?
Yes, improper use of jumper cables can damage your car’s electrical system. Follow jumper cables safety guidelines carefully during your discussion ideas to avoid voltage spikes, reverse polarity, or short circuits that harm sensitive electronic components.
How Long Should I Wait Before Attempting to Start the Dead Car?
Patience is power: you should wait about 3-5 minutes after jump starting to allow the dead battery to charge sufficiently. This guarantees a stable voltage before you attempt to start the car, preventing electrical strain.
Can I Use Jumper Cables on a Motorcycle Battery?
Yes, you can use jumper cables on a motorcycle battery, but ensure electrical safety by matching voltage and polarity precisely. Disconnect the motorcycle’s negative terminal first to avoid sparks, and always wear insulated gloves while handling cables.
What Gauge of Jumper Cables Is Best for My Vehicle?
You’ll want 4 to 6-gauge jumper cables, handling up to 60 amps efficiently. Consider topic ideas like length considerations and vehicle compatibility to guarantee your cables suit your vehicle’s battery size and deliver optimal power safely.
Can Jump-Starting a Car Harm the Battery or Alternator?
Yes, jump-starting can harm your battery or alternator if done improperly. To avoid electrical system worries, always connect cables correctly and use appropriate gauge cables.
Avoid prolonged cranking to protect your vehicle’s electrical components.
Conclusion
By following these clear steps, you’ll connect jumper cables like a pro—no sparks or mishaps. Remember, attaching the red clamps to positive terminals and the black clamp to a grounded metal spot keeps you safe and your car unharmed. Avoid connecting the black clamp directly to the dead battery’s negative terminal to prevent dangerous surges.
Master this process, and you’ll jump-start your car faster than a lightning bolt—efficient, safe, and stress-free every time. Knowing exactly where to put jumper cables on the battery is key to making the jump start smooth and secure.