When you need to disconnect a drive shaft, precision and safety are essential. Disconnecting a drive shaft begins by securely lifting and supporting the vehicle to ensure stability. Next, mark the shaft’s alignment to maintain balance during reassembly.
Removing the flange bolts requires the right tools and careful technique to avoid damage. Understanding these initial steps sets the foundation for a smooth removal process. However, challenges can arise that demand specific troubleshooting strategies.
Key Takeaways
- Secure the vehicle on safety stands after lifting it from designated lift points for stability during drive shaft disconnection.
- Mark the drive shaft alignment with chalk or marker to ensure correct reinstallation.
- Use a socket wrench to remove flange bolts carefully while supporting the drive shaft to prevent damage.
- Slide the drive shaft out gently, using a pry bar if necessary, avoiding hammering or forcing the shaft.
- Inspect universal joints for wear and prepare replacement grease or lubricants before reassembly.
Tools and Components You’ll Need to Disconnect the Drive Shaft
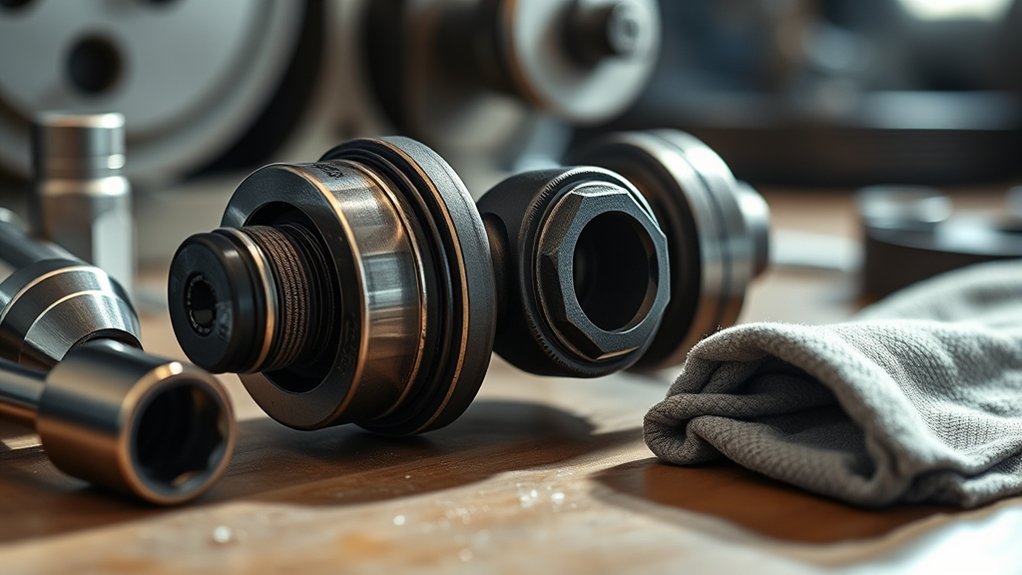
Before you begin disconnecting the drive shaft, gather the essential tools and components to guarantee a smooth process. You’ll need a socket set, wrenches, a torque wrench, and a pry bar to handle bolts and joints efficiently.
Have a drip pan ready to catch any fluid leakage during disconnection, especially when dealing with drive shaft lubrication. Inspect the universal joints closely for any signs of universal joint wear before proceeding; worn joints can complicate removal and may require replacement.
Also, prepare replacement grease or lubricants to service the drive shaft after disassembly. A flashlight and safety gloves improve visibility and protect your hands. Ensuring these tools and components are on hand will facilitate a precise, safe, and efficient drive shaft disconnection process.
How to Safely Lift and Secure Your Vehicle
Before disconnecting the drive shaft, select the proper lift equipment rated for your vehicle’s weight. Position the jack securely under designated lift points and raise the vehicle evenly.
Always place safety stands under solid frame sections to prevent accidental drops while you work.
Choosing Proper Lift Equipment
How do you guarantee your vehicle stays stable while you work underneath it? Choosing proper lift equipment is critical. Select a jack or lift rated for your vehicle’s weight, considering drivetrain alignment and balance to avoid shifts that could cause instability. Ensure the lifting points correspond with manufacturer specifications to maintain structural integrity.
| Equipment Type | Key Feature |
|---|---|
| Hydraulic Floor Jack | High capacity, mobility |
| Scissor Jack | Compact, manual lifting |
| Bottle Jack | Vertical lifting power |
| Two-Post Lift | Full clearance, stable |
| Four-Post Lift | Maximum support, balance |
Prioritize equipment that supports the vehicle evenly to prevent drivetrain misalignment and maintain balance, ensuring a secure, safe working environment.
Using Safety Stands Correctly
Selecting the right lift equipment sets the stage for safe under-vehicle work, but properly using safety stands is what keeps your vehicle secure once it’s raised. You must position stands under manufacturer-recommended lift points to maintain proper drivetrain alignment and avoid component stress.
Follow these steps:
- Confirm your vehicle is on a flat, stable surface before lifting.
- After raising the vehicle, place safety stands firmly under the designated chassis points, ensuring they contact solid metal, not suspension or drivetrain parts.
- Lower the vehicle slowly onto the stands, verifying stability by gently rocking it.
Always consult lubricants recommendations before working near seals or joints to prevent contamination. Proper use of safety stands guards your safety and preserves drivetrain integrity during drive shaft disconnection.
How to Disconnect the Drive Shaft, Step by Step
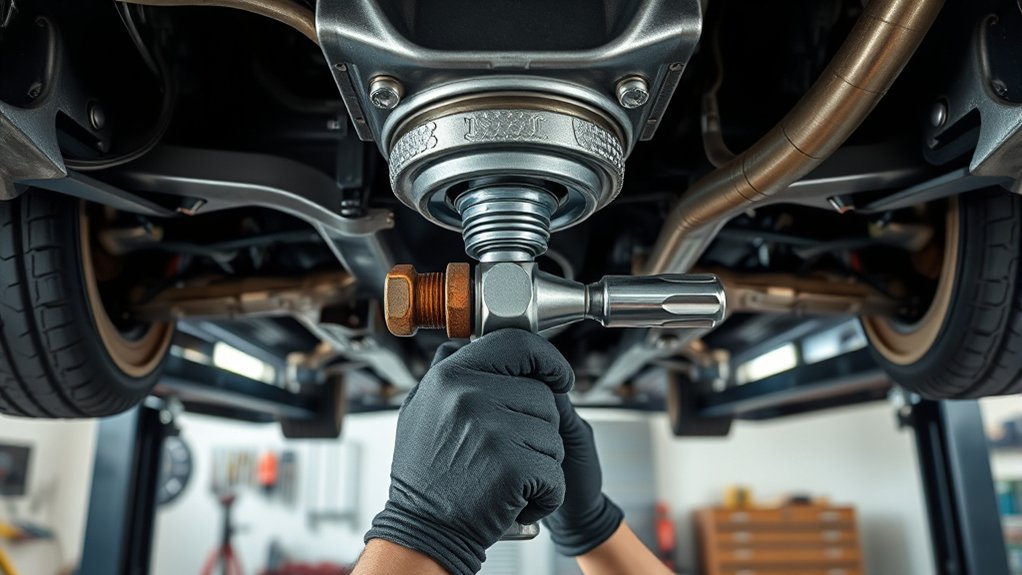
Why start with disconnecting the drive shaft? Removing it first grants access to adjacent subtopics like transmission and differential work, streamlining your workflow. Avoid irrelevant discussion by focusing solely on drive shaft removal tips here.
Follow these steps precisely:
| Step | Action | Tool Needed |
|---|---|---|
| 1 | Secure vehicle on stands | Safety stands |
| 2 | Mark drive shaft alignment | Chalk or marker |
| 3 | Remove bolts from flange | Socket wrench |
| 4 | Carefully slide drive shaft out | Pry bar (if needed) |
Marking alignment ensures reinstallation accuracy. Use proper tools to prevent damage. This concise approach minimizes errors and saves time during drive shaft disconnection.
Troubleshooting Common Drive Shaft Removal Issues
If you encounter stubborn bolts, apply penetrating oil and use the correct socket size to avoid rounding. Don’t rush the removal process, as forcing the shaft can cause damage to splines or seals.
Following proper techniques will help you prevent costly repairs during disassembly.
Stubborn Bolt Removal
How do you handle a bolt that refuses to budge during drive shaft removal? Stubborn bolt removal requires methodical troubleshooting to avoid damage. First, apply penetrating oil and let it soak to loosen rust or corrosion.
Next, use a breaker bar to increase leverage, but perform torque testing on your tools to prevent overtightening or stripping. Finally, if the bolt still won’t move, carefully apply heat with a propane torch to expand the metal, making removal easier.
- Apply penetrating oil; allow adequate soak time.
- Use a breaker bar; verify torque limits via torque testing.
- Apply controlled heat with a propane torch for metal expansion.
These steps maximize your chances of safe, efficient bolt removal without damaging components.
Preventing Shaft Damage
When working to disconnect a drive shaft, what steps can you take to prevent shaft damage during removal? First, support the shaft properly to avoid bending or twisting, which can cause misalignment. Use the correct tools to apply even pressure when loosening bolts; forcing parts with improper tools is an irrelevant topic that distracts from safe removal techniques.
Avoid hammering the shaft directly, as impacts cause internal damage. Inspect for rust or corrosion beforehand; addressing these removes unnecessary resistance. Don’t confuse unrelated concerns like general vehicle maintenance with shaft-specific procedures.
Lastly, keep the work area clean to prevent debris from entering the joint. By focusing strictly on these precautions, you minimize the risk of shaft damage and ensure a smoother disconnection process.
How to Handle and Store the Drive Shaft Safely
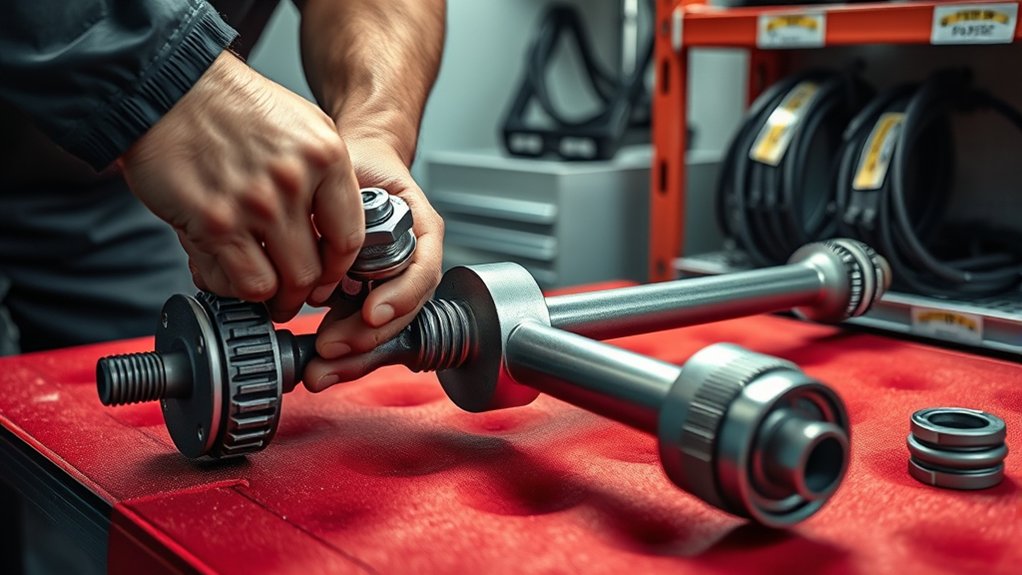
Properly handling and storing the drive shaft is essential to prevent damage and guarantee safe operation during reinstallation. You need to maintain the integrity of drive shaft alignment and address lubrication considerations to avoid issues later.
- Support the shaft evenly on padded stands to prevent bending or warping.
- Cover exposed splines and joints with clean, protective caps to keep contaminants out and preserve lubrication.
- Store the drive shaft in a dry, temperature-controlled environment to prevent corrosion and lubricant degradation.
Preparing for Reinstallation: What to Do Next
After ensuring the drive shaft has been stored correctly to maintain its condition, your next step is to prepare it for reinstallation. Begin by inspecting all components for wear or damage, focusing on universal joints and splines.
Verify correct drivetrain alignment to prevent premature wear and vibration. Clean mating surfaces thoroughly and select appropriate lubrication alternatives, such as synthetic grease, to enhance durability. Check bolts and fasteners for integrity and replace if necessary.
| Task | Key Considerations |
|---|---|
| Inspection | Joints, splines, seals |
| Cleaning | Remove debris and old grease |
| Drivetrain Alignment | Ensure precise alignment |
| Lubrication Alternatives | Synthetic vs. standard grease |
| Fastener Check | Replace damaged bolts |
Following these steps ensures reliable reinstallation and optimal drivetrain performance.
Frequently Asked Questions
What Causes Drive Shaft Vibrations While Driving?
You’ll experience drive shaft vibration causes like imbalanced shafts, worn U-joints, or misaligned components. These issues disrupt rotational balance, causing shaking while driving.
Regular inspection and maintenance help you prevent or fix these vibrations effectively.
How Do I Know if My Drive Shaft Is Damaged?
You’ll know your drive shaft is damaged through a thorough drive shaft inspection, checking for vibrations, clunking sounds, or visible universal joint wear.
Excessive play or rust on joints also indicates potential failure needing immediate attention.
Can I Drive With a Broken Drive Shaft?
Driving with a broken drive shaft is like running a marathon with a sprained ankle. It risks drivetrain safety severely.
You shouldn’t; immediate repairs and regular maintenance tips guarantee your vehicle runs smoothly and prevents costly damage.
What Are the Symptoms of a Failing Universal Joint?
You’ll notice clunking noises, vibrations, and difficulty turning if your universal joint fails.
Regular joint inspection and proper driveshaft lubrication help prevent these symptoms and guarantee smooth operation, avoiding costly drivetrain damage.
How Often Should a Drive Shaft Be Inspected?
You should perform a drive shaft inspection every 30,000 miles or during routine maintenance. Regular checks help identify vibration causes like worn universal joints or imbalanced shafts, preventing damage and ensuring smooth vehicle operation.
Conclusion
Disconnecting your drive shaft doesn’t have to be a Herculean task. By following safety steps, marking alignment, and using the right tools, you’ll avoid damage and frustration. Stay patient with stubborn bolts—penetrating oil or heat often does the trick.
Keep everything clean and supported, and you’ll ensure a smooth removal and safe storage. With these precise techniques, you’ll be well-prepared for a flawless reinstallation every time.
Mastering how to disconnect drive shaft properly will save you time and prevent costly mistakes.