Imagine you’ve just bought a set of crossbars for your SUV as part of your roof rack installation, but before you start tightening bolts, you need to verify the vehicle’s roof type and measure its dimensions carefully. This ensures compatibility and proper fitment, which is crucial to avoid damage or unsafe loads.
You’ll also want to prepare all necessary tools and understand the correct tightening sequence. Getting these details right from the start sets the foundation for a secure installation.
Key Takeaways
- Choose a roof rack compatible with your vehicle type and roof specifications, ensuring proper fit and load capacity compliance.
- Gather necessary tools like torque wrench, screwdrivers, Allen keys, and protective materials before starting installation.
- Position crossbars and brackets on roof rails, align attachment points, and loosely attach hardware without fully tightening.
- Tighten bolts evenly using manufacturer torque settings, checking alignment and bolt engagement for a secure fit.
- Test the rack with moderate load, verify flush mounting, secure locks, and inspect for noise or vibration during a test drive.
Choose the Right Roof Rack for Your Vehicle
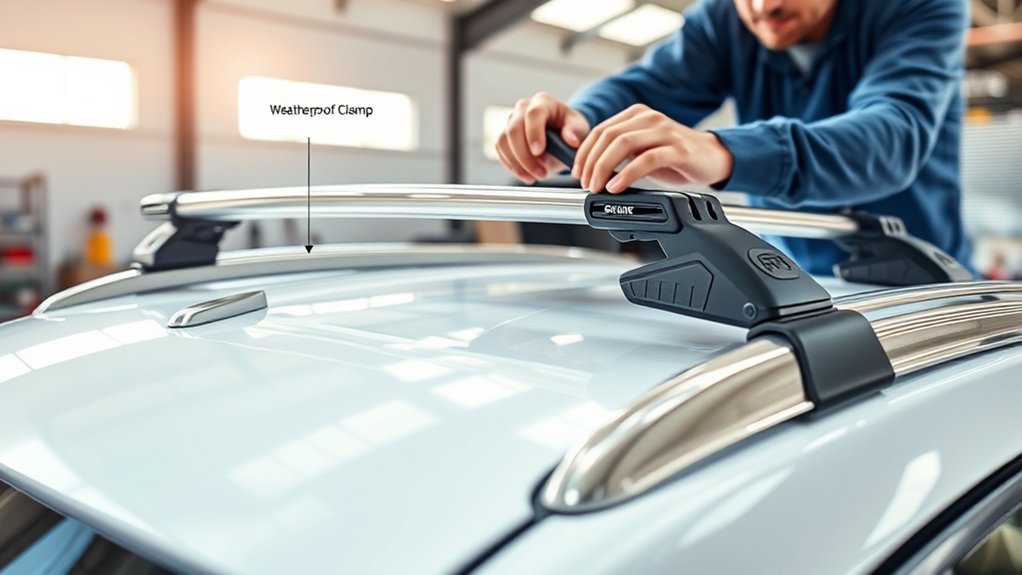
How do you determine the best roof rack for your vehicle? Start by focusing on choosing compatibility, ensuring the rack matches your vehicle’s specifications. Check the manufacturer’s guidelines for vehicle compatibility, considering roof type: bare roof, raised rails, flush rails, or fixed mounting points.
Measure your roof dimensions precisely to confirm fitment. Verify load capacity limits to avoid overloading and compromising safety. Consult product details for compatibility with your vehicle’s make, model, and year.
Prioritize racks designed specifically for your vehicle type, as universal racks may not provide optimal fit or security. By systematically assessing these factors, you guarantee a secure, functional roof rack that integrates seamlessly with your vehicle, setting the foundation for a successful installation process.
Gather Tools and Materials for Installation
After selecting a roof rack compatible with your vehicle, gather all necessary tools and materials before beginning installation. You’ll need a torque wrench, screwdriver set, Allen keys, and measuring tape for precise alignment. Include a soft cloth or painter’s tape to apply paint protection and prevent scratches during mounting.
Check that the rack’s mounting hardware matches your vehicle’s roof type, ensuring proper gutter clearance to avoid interference with rain gutters. Review the manufacturer’s instructions and confirm you have all brackets, bolts, and rubber seals. Having a step ladder handy can improve access and safety.
Organizing these tools within reach streamlines the process and reduces errors. Thorough preparation minimizes installation time and protects your vehicle’s finish throughout the procedure.
Step-by-Step Roof Rack Installation
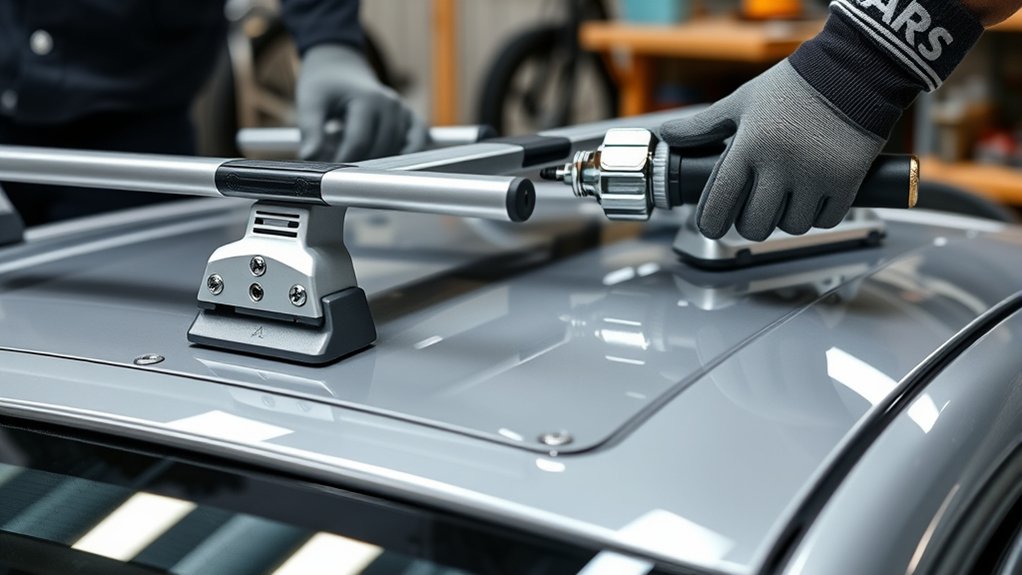
Where should you begin when installing your roof rack? Start by positioning the crossbars on your vehicle’s roof rails according to the manufacturer’s specifications. Avoid irrelevant discussion or off topic ideas that could distract from precise alignment.
Next, place the mounting brackets securely on the rails, ensuring each bracket aligns perfectly with the designated attachment points. Check for any obstructions or misalignments before proceeding.
Once properly positioned, attach the crossbars to the brackets using the provided hardware, but don’t tighten fully yet. This allows minor adjustments for the best fit.
Throughout this process, focus solely on the installation steps; avoid getting sidetracked by irrelevant discussion or off topic ideas about accessories or vehicle modifications. This methodical approach ensures a solid foundation before you move on to fastening and tightening the bolts.
Fasten and Tighten Your Roof Rack Bolts Properly
You need to select the correct bolt size that matches your roof rack specifications to guarantee a secure fit. Apply the proper torque settings recommended by the manufacturer to avoid over-tightening or under-tightening.
Tighten the bolts evenly in a cross pattern to distribute pressure uniformly and maintain stability.
Choosing Correct Bolt Size
How do you determine the correct bolt size when installing your roof rack? Start by consulting your vehicle’s manual or roof rack specifications. The bolt size must match the thread pitch precisely to ensure a secure fit. Using the wrong size risks loosening or damaging components.
| Factor | Importance |
|---|---|
| Bolt Diameter | Ensures proper grip |
| Thread Pitch | Matches nut threading |
| Length | Avoids over/under-tightening |
| Material Strength | Supports load capacity |
Measure the bolt diameter and thread pitch with a thread gauge or caliper. Confirm length so the bolt fully engages without excess. Choose bolts made from high-strength materials to withstand road vibrations.
Using Proper Torque Settings
Choosing the correct bolt size establishes the foundation for a secure roof rack installation, but applying the proper torque when fastening those bolts guarantees they hold firmly without damage. Use a calibrated torque wrench to tighten bolts to the manufacturer’s specified torque value, avoiding guesswork.
Over-tightening risks stripping threads or deforming components, while under-tightening compromises stability. Focus exclusively on the torque specifications relevant to your roof rack model; avoid incorporating unrelated concepts like general vehicle maintenance or unrelated topic ideas, which can cause confusion.
Verify torque values in your installation manual and apply incremental tightening in a methodical sequence. This precision ensures the roof rack remains secure under load, maintaining safety and structural integrity during use. Proper torque is critical for reliable, long-lasting installation.
Securing Bolts Evenly
Why is it essential to secure bolts evenly when fastening your roof rack? Uneven bolt tightening can cause misalignment, leading to structural stress and potential failure under load.
To avoid safety concerns, start by hand-tightening all bolts to ensure proper fit. Then, use a torque wrench to tighten bolts incrementally in a crisscross pattern. This method distributes pressure evenly across mounting points, preventing warping.
Conduct alignment checks after initial tightening to verify the rack sits flush and level. Repeat torque application as specified by manufacturer guidelines to maintain secure fastening.
Consistently securing bolts evenly not only enhances load stability but also extends the lifespan of your roof rack system, ensuring safe and reliable performance during every use.
Test and Adjust Your Roof Rack for Safety
When should you test and adjust your roof rack to guarantee maximum safety? You should conduct initial tests immediately after installation and periodically thereafter.
Begin by applying a moderate load to simulate typical use. Check for any movement or looseness in the rack’s components. Perform adjustments by tightening bolts incrementally and ensuring even torque distribution.
Next, verify that the rack sits flush against the vehicle’s mounting points without gaps. Test the locking mechanisms and accessory attachments for secure operation.
Finally, inspect for any unusual noises or vibrations during a short test drive. These tests and adjustments ensure the roof rack maintains structural integrity and adheres to safety standards, preventing accidents caused by improper installation or wear over time.
Regular maintenance based on these tests is essential for long-term safety.
Avoid Common Roof Rack Installation Mistakes
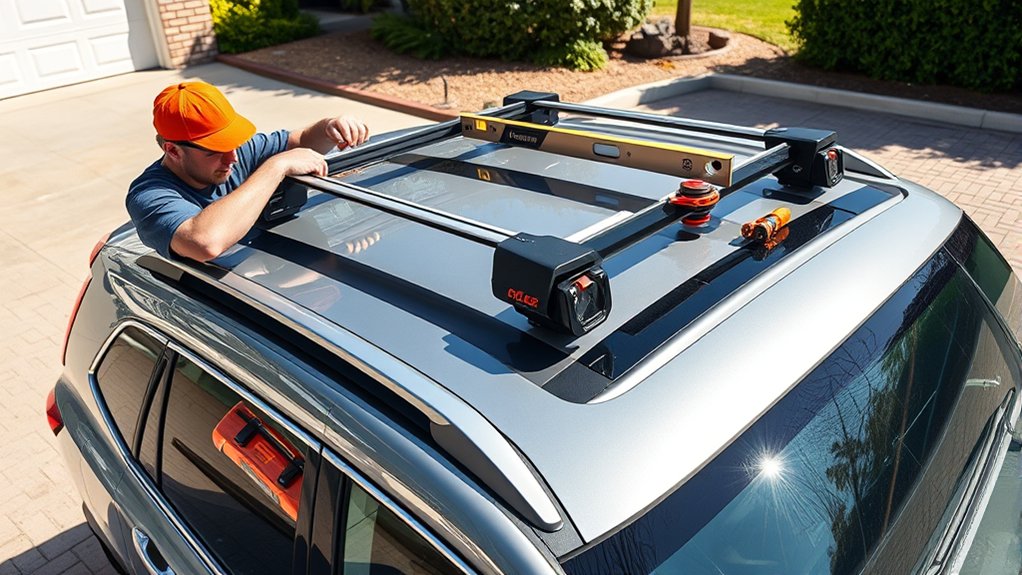
You need to use secure mounting techniques to ensure your roof rack stays firmly attached under all conditions.
Pay close attention to proper weight distribution to prevent undue stress on the rack and your vehicle’s roof.
Avoiding these common mistakes will improve both safety and performance.
Secure Mounting Techniques
Although installing a roof rack may seem straightforward, securing it correctly requires careful attention to mounting points and hardware specifications to prevent damage and ensure safety. First, identify manufacturer-approved mounting locations on your vehicle to maintain structural integrity and adhere to security considerations.
Use the recommended torque settings for bolts to avoid overtightening, which can damage your roof or compromise the rack’s stability. Next, apply weatherproofing measures such as rubber gaskets or sealants around mounting points to prevent water ingress that causes corrosion and leaks.
Regularly inspect fasteners for loosening due to vibration or temperature changes. Finally, ensure all components align precisely to distribute load forces evenly, minimizing stress on attachment areas. Following these secure mounting techniques protects your vehicle and enhances the roof rack’s reliability.
Proper Weight Distribution
How should you distribute weight across your roof rack to maintain vehicle stability and prevent damage? Proper weight distribution is critical for recreational safety and influences how your vehicle handles during parking and driving.
Always position the heaviest items near the center of the roof rack and as low as possible to lower the center of gravity. Evenly spread the remaining load to avoid stress points that can damage the rack or roof.
| Weight Location | Recommended Action | Effect on Vehicle |
|---|---|---|
| Center | Place heaviest items | Maintains stability |
| Front/Rear | Distribute evenly | Prevents imbalance |
| Left/Right | Balance load | Avoids tilting |
| Overall Load | Do not exceed max limit | Ensures safety |
Mind parking considerations to prevent roof rack damage when entering low-clearance areas.
Frequently Asked Questions
Can I Install a Roof Rack on a Sunroof Vehicle?
You can install a roof rack on a sunroof vehicle, but guarantee sunroof compatibility. Use crossbar mounting systems designed to avoid sunroof obstruction, maintaining proper clearance and functionality while securely attaching the rack without damaging the sunroof seals.
How Much Weight Can a Roof Rack Safely Hold?
You should adhere to your roof rack’s safe load rating, which varies by model. Distribute weight evenly to avoid stress points, ensuring your load doesn’t exceed the manufacturer’s maximum to maintain safety and vehicle stability.
Are Roof Racks Compatible With All Car Brands?
Roof racks aren’t universally compatible; you must verify roof compatibility with your vehicle’s brand. Different brands and models have specific mounting points, so always check manufacturer specifications to ensure proper fit across brand variety for safety and performance.
Do Roof Racks Affect My Vehicle’s Fuel Efficiency?
Yes, roof racks affect your vehicle’s fuel efficiency by disrupting aerodynamics, increasing drag. This impact raises fuel consumption and causes roof rack noise, especially at higher speeds. You should consider aerodynamic designs to minimize these effects.
How Do I Maintain and Clean My Roof Rack?
Think of your roof rack as a metal guardian; stick to a cleaning schedule using mild soap and water. Dry thoroughly, and apply rust prevention spray. Regular checks ensure longevity and performance under any sky or storm.
Conclusion
Now that you’ve carefully navigated the installation process, your roof rack stands ready to support your adventures with quiet confidence. By choosing the right fit, using precise tools, and methodically securing every bolt, you’ve ensured safety without compromise.
Remember, a well-installed roof rack isn’t just equipment—it’s your vehicle’s silent partner, quietly bearing the load so you can focus on the journey ahead. Keep testing and adjusting to maintain this trusted balance.
With a properly completed roof rack installation, you can enjoy peace of mind knowing your gear is secure and your travels are safer. This is the true value of a correctly installed roof rack.