Think of your vehicle’s roof as a blank canvas, ready to bear the weight of your next adventure with a DIY roof rack. When you take on building a DIY roof rack, you’re not just adding cargo space—you’re engineering a system that must balance strength, aerodynamics, and safety.
Getting the materials, measurements, and mounting just right requires precision and planning. Before you start cutting or bolting, consider the critical steps that ensure your rack performs reliably under load.
Key Takeaways
- Begin with precise measurements of your vehicle’s roof, noting length, width, curvature, and mounting points for a perfect fit.
- Choose durable, corrosion-resistant materials like aluminum or steel, or lightweight composites based on budget and weight considerations.
- Design the rack layout to balance load distribution, aerodynamics, and vehicle stability using low-profile crossbars and streamlined supports.
- Assemble the frame by cutting materials to size, then securely weld or bolt components, ensuring flush alignment with the roof surface.
- Use locking fasteners tightened to recommended torque, and regularly inspect the rack for safety and maintenance after use.
Planning Your DIY Roof Rack: Materials, Tools, and Design
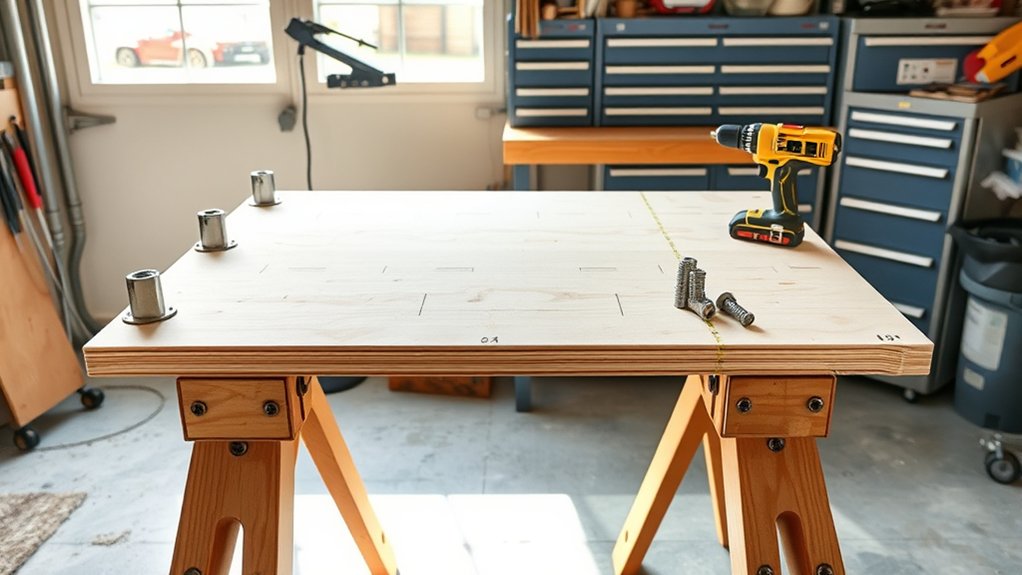
How do you guarantee your DIY roof rack is both sturdy and functional? Start with a detailed planning budget that accounts for materials, tools, and unexpected expenses. Prioritize durable materials like aluminum or steel, but don’t overlook sourcing alternatives such as reinforced PVC or composite plastics if weight or cost is a concern.
Ensure your tools match the material requirements, welding equipment for metal or heavy-duty adhesives for composites. Carefully list each component, from crossbars to mounting brackets, to avoid last-minute gaps. Your design must balance strength with aerodynamics, so factor in material thickness and connection points.
Measuring and Designing Your Roof Rack for Your Vehicle
Start by accurately measuring your vehicle’s roof dimensions, including width, length, and any curvature that could affect fit. Use these measurements to create a design that balances load distribution and maintains vehicle stability.
Applying core roof rack design principles ensures your build will be both functional and secure.
Vehicle Roof Dimensions
Where exactly should you measure to ensure your roof rack fits perfectly? Start by measuring the length and width of your vehicle’s roof surface, focusing on the flat areas between any curves or roof features.
Measure from edge to edge, including gutters or rain channels if present, as these affect mounting options. Pay attention to clearance around antennas or sunroofs to maintain ergonomic storage access.
Also, measure the distance between existing mounting points or rails if your vehicle has them. Accurate measurements help prevent interference that could compromise paint durability during installation.
Use a rigid tape measure for precision and record all dimensions carefully. These dimensions form the foundation for tailoring your roof rack, ensuring it supports your storage needs while preserving your vehicle’s finish and structural integrity.
Roof Rack Design Principles
When crafting a roof rack tailored to your vehicle, you must prioritize accurate measurements and thoughtful design choices to ensure safety and functionality. Start by precisely measuring the roof’s length, width, and mounting points. This data guides your rack’s frame dimensions, ensuring a secure fit.
Consider wind resistance by designing low-profile crossbars and streamlined supports to minimize drag and noise. While randomized aesthetics might offer unique visual appeal, balance style with structural integrity to avoid compromising safety.
Use materials that provide strength without excessive weight. Plan the rack layout to distribute loads evenly, preventing stress concentrations on your roof.
Building Your Roof Rack Frame: A Step-by-Step Guide
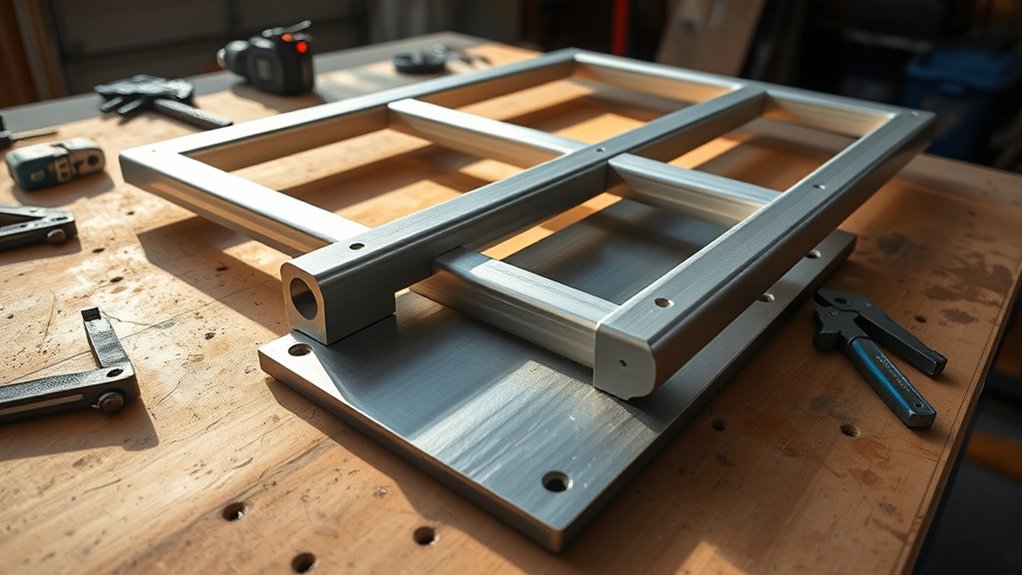
Constructing a sturdy roof rack frame requires careful measurement and selection of materials to guarantee durability and proper fit. Begin by ensuring your vehicle’s roof dimensions, integrating your rug design preferences for aesthetics and function.
Next, focus on material sourcing: prioritize corrosion-resistant metals like aluminum or steel for strength and longevity.
Follow these steps precisely:
| Step | Action | Notes |
|---|---|---|
| 1 | Measure roof dimensions | Use a tape measure for accuracy |
| 2 | Choose materials | Aluminum for lightness, steel for strength |
| 3 | Cut frame components | Use a metal saw or cutter |
| 4 | Assemble frame parts | Weld or bolt securely |
This structured approach ensures your roof rack frame is both reliable and tailored to your needs.
How to Secure Your Roof Rack Safely and Effectively
How do you guarantee your roof rack stays firmly attached under varying road conditions? Begin by ensuring a secure locking mechanism on all attachment points. Use high-quality bolts with lock washers or nylon lock nuts to prevent loosening from vibrations.
Tighten fasteners to manufacturer-recommended torque settings using a calibrated torque wrench for consistency. Next, focus on proper load distribution: evenly spread weight across the rack to minimize stress on any single mounting point. This prevents damage and maintains vehicle stability.
Check alignment carefully so the rack sits flush against the roof, avoiding gaps that could cause shifting or noise. Finally, inspect all connections regularly, especially after long trips or rough terrain. Combining secure locking with balanced load distribution guarantees safe, effective roof rack performance.
Customizing Your Roof Rack for Bikes, Kayaks, and Gear

A well-customized roof rack transforms your vehicle into a versatile carrier tailored to your specific outdoor gear. Start by selecting adjustable mounts designed for bikes and kayaks, ensuring secure attachment points.
Use padding or foam blocks to prevent damage during transit, applying cheap paint to metal parts for corrosion resistance and aesthetic appeal. For additional gear, install modular trays or cargo boxes, allowing quick reconfiguration.
Consider the weight distribution carefully; improper balance can affect handling. While unrelated, incorporating dog training techniques like positive reinforcement can help keep your pet calm during loading and unloading, reducing distractions.
Precision in customization ensures your roof rack performs reliably, protecting both your equipment and vehicle. Tailor the setup to your adventures, maximizing functionality without compromising safety or durability.
Maintaining Your DIY Roof Rack: Safety and Troubleshooting Tips
Why should you prioritize regular maintenance for your DIY roof rack? Regular upkeep ensures structural integrity, optimal load distribution, and your safety on the road. Neglecting maintenance increases risks of failure due to wear or improper loading. Incorporate safety training to understand the rack’s limits and secure loads effectively.
Focus on these key maintenance tasks:
- Inspect all fasteners and joints for tightness and corrosion; replace damaged components immediately.
- Check load distribution before each trip, ensuring weight is balanced to prevent undue stress.
- Lubricate moving parts and clean mounting surfaces to avoid rust and ensure secure attachment.
Frequently Asked Questions
Can I Install a DIY Roof Rack Without Professional Help?
Yes, you can install a DIY roof rack without professional help. Use quality DIY materials like aluminum or steel, and rely on tool recommendations including a drill, measuring tape, wrench, and level to ensure precise, secure installation.
How Does a DIY Roof Rack Affect My Vehicle’s Fuel Efficiency?
Adding a DIY roof rack is like attaching a sail to a ship; it increases drag, reducing fuel efficiency. Carefully consider aesthetic considerations and color matching to minimize aerodynamic impact and maintain your vehicle’s sleek, efficient profile.
Are There Legal Restrictions for Roof Rack Height or Weight?
You must guarantee your roof rack meets legal compliance for height and weight limits to avoid fines. Also, secure your load properly to reduce theft risk and maintain safe driving conditions under these regulations.
Can a DIY Roof Rack Be Removed Easily When Not in Use?
You can design your DIY roof rack for removal ease by using quick-release clamps or bolts. However, frequent removal might increase theft risk, so consider secure locking mechanisms to balance convenience and security effectively.
What Insurance Considerations Apply to a DIY Roof Rack?
Think of insurance coverage as your safety net; you’ll need to check if your policy covers DIY roof racks and understand liability implications in case of damage or accidents.
Consult your insurer to avoid costly surprises.
Conclusion
Now that you’ve crafted your DIY roof rack with precision and care, you’re ready to hit the road like a trusty knight mounting his steed.
Remember, regular inspections and proper tightening keep your rack secure and reliable. With balanced design, corrosion-resistant materials, and locking attachments, your roof rack will safely carry your gear through every adventure.
Stay vigilant, adjust as needed, and enjoy the expanded cargo freedom you’ve engineered yourself with your DIY roof rack.