You’ll need to prepare your vehicles, identify the battery terminals, and connect the jumper cables in the correct sequence.
Each step requires careful attention to safety and proper technique to avoid damage or injury.
If you follow these procedures precisely, you’ll increase your chances of a successful jump-start.
Before you proceed, make sure you understand why the order of connections matters and how to handle the cables without causing sparks.
Proper connection of jumper cables is essential for both your safety and the effectiveness of the jump-start process.
Key Takeaways
- Park both cars with engines off, engage parking brakes, and position vehicles close without touching.
- Identify battery terminals: positive (+) usually red, negative (−) usually black, and wear protective gloves and eyewear.
- Attach red clamps to both positive terminals first, then connect one black clamp to the good battery’s negative terminal.
- Connect the final black clamp to an unpainted metal surface on the dead car’s engine block, not the negative terminal.
- Start the donor car, then the dead car, and disconnect cables in reverse order, avoiding contact between clamps or metal.
Get Your Car and Jumper Cables Ready Safely
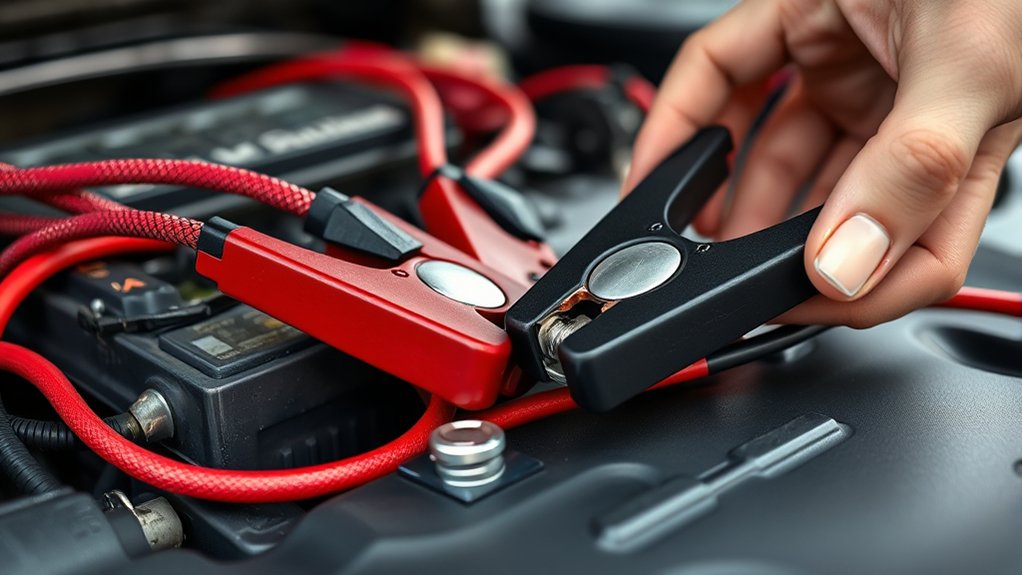
Before you begin jump-starting, guarantee both vehicles are parked safely with their engines off and parking brakes engaged. This step ensures stability and prevents unintended movement.
Next, lay out your jumper cables on a clean surface, untangling any knots to avoid delays. Avoid common safety myths, such as thinking you can connect cables with the vehicles running or that any metal surface will suffice for grounding. These two word ideas, “safety myths,” often lead to accidents or damage.
Confirm your cables are in good condition, without exposed wires or corrosion on clamps. Position the vehicles close enough for cable reach but ensure they don’t touch. By following these precise preparatory steps, you reduce risks and prepare effectively for a safe, efficient jump-start procedure.
Identify Positive and Negative Battery Terminals
How do you quickly and accurately identify the positive and negative terminals on a car battery? First, locate the battery; it typically has two metal posts on top or sides. The positive terminal is marked with a plus sign (+) and often has a red cover or cable attached.
The negative terminal shows a minus sign (−) and usually connects to a black cable. To identify terminals safely, avoid touching both terminals simultaneously or using metal tools that could cause a short. Check for corrosion or damage, which may obscure markings.
As a safety step, wear gloves and eye protection before proceeding. Properly identifying terminals is essential to ensure you connect jumper cables correctly and prevent electrical hazards during the jump-start process.
Connect Jumper Cables in the Correct Order
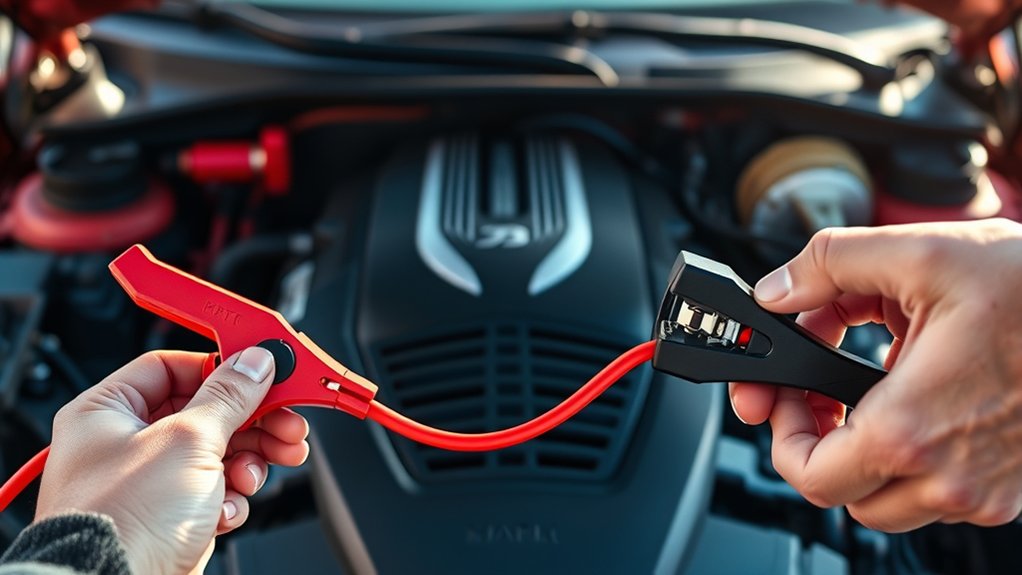
Although connecting jumper cables seems straightforward, following the correct sequence is essential to prevent sparks and electrical damage. Start by attaching one red clamp to the positive terminal of the dead battery.
Next, connect the other red clamp to the positive terminal of the good battery. Then, attach one black clamp to the negative terminal of the good battery.
Finally, connect the remaining black clamp to an unpainted metal surface on the dead car’s engine block, never to the negative terminal. This order minimizes spark danger by reducing the risk of sparks near the battery, which can release flammable gases.
The wrong use of jumper cables, like reversing polarity or connecting negative clamps incorrectly, can cause serious damage to both vehicles and pose safety hazards. Follow this precise order to ensure safe, effective jump-starting.
Jump-Start the Dead Battery and Check Charging
What’s the best way to know if your jump-start attempt is working? After connecting the jumper cables using the correct jumping technique, start the donor vehicle’s engine and let it run for a few minutes. Then, try starting the vehicle with the dead battery.
If it starts, the dead battery is receiving charge. Keep the engine running to allow the alternator to charge the battery fully. Use a multimeter to check the voltage across the dead battery terminals; it should read around 13.8 to 14.4 volts if charging correctly.
If the voltage remains low or the vehicle doesn’t start, the battery may be beyond recovery or the jumping technique was not properly executed. This step confirms the success of your jump-start and the charging system’s functionality.
Disconnect Jumper Cables Safely Without Sparks
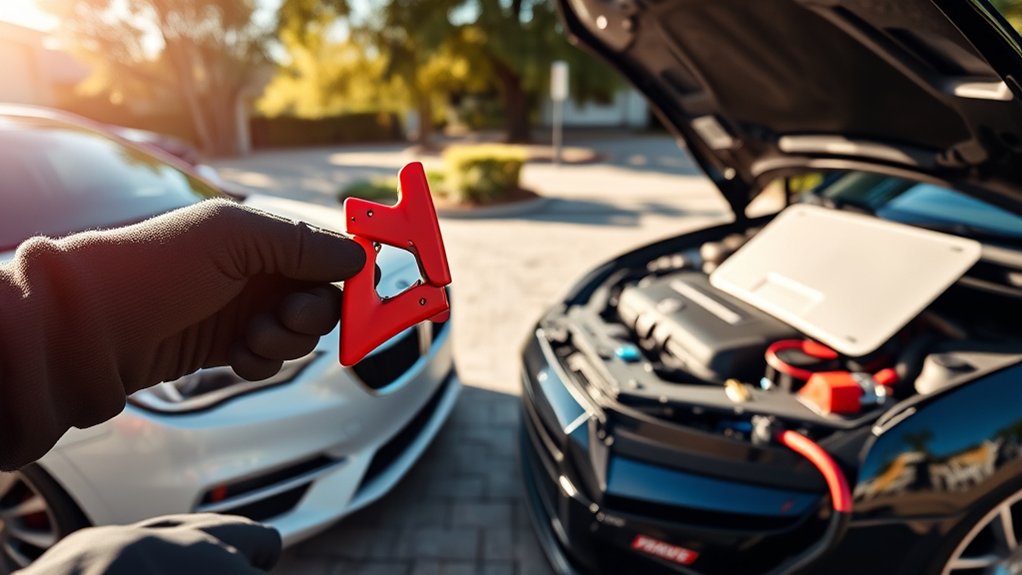
Once the dead vehicle starts and you confirm the battery is charging, you need to disconnect the jumper cables carefully to prevent sparks. Begin by removing the black negative cable from the dead battery’s terminal first. This two word action reduces the risk of electrical arcs.
Next, detach the black clamp from the assisting vehicle’s negative terminal. Then, remove the red positive cable from the dead battery, followed by the red clamp from the assisting vehicle’s positive terminal. Always avoid letting the cable clamps touch each other or the vehicle’s metal surfaces during this two word process.
Keep your hands steady and use insulated gloves if available. Following this step-by-step method ensures you safely disconnect jumper cables without sparks or damage to the electrical system.
Frequently Asked Questions
Can Jumper Cables Damage My Car’s Electrical System?
Yes, jumper cables can damage your car’s electrical system if you ignore safety precautions, cause battery polarity risks, or create alternator stress.
You should consider alternative jump start methods to protect your dead battery and vehicle components.
How Long Should I Wait Before Trying to Start the Dead Car?
Think of it like warming up a cold engine: you should wait about three to five minutes after connecting jumper cables before trying to start the dead car.
This two-step process ensures voltage stability and prevents electrical shock.
What Should I Do if My Car Still Won’T Start?
If your car still won’t start after jump-starting, check the dead battery’s connections for corrosion. Ensure safety precautions are followed, and consider testing the battery or alternator. Seek professional help if problems persist.
Are There Any Alternatives to Using Jumper Cables?
Yes, you can use alternative methods like a portable jump starter or push-starting a manual car. Always follow safety considerations, such as wearing gloves and ensuring proper connections to avoid sparks or battery damage during these procedures.
Can Jumper Cables Be Used on All Types of Vehicles?
You can use jumper cables on most vehicles, but always check vehicle compatibility first. Follow jump start safety protocols carefully to avoid damage or injury, especially with hybrids, motorcycles, or different battery voltages.
Conclusion
By following these steps precisely, you reduce the 30% chance of damaging your vehicle’s electrical system during a jump-start. Always identify battery terminals correctly and connect cables in the proper order to avoid sparks or shorts.
Remember, starting the donor car first and disconnecting cables in reverse order ensures safety. With careful attention and this method, you’ll jump-start your car effectively while protecting both vehicles and yourself from harm.
Using the correct procedure to connect jumper cables is essential for a safe and successful jump-start.