When you need to pull a drive shaft, safety and precision must come first. Pulling a drive shaft requires securely positioning the vehicle and disconnecting the battery before loosening any bolts. Using the right tools and proper technique will prevent damage to critical components.
However, removing the shaft involves more than just unbolting—it requires careful handling and inspection to ensure everything stays in working order. Understanding these steps can save you time and costly repairs.
Key Takeaways
- Secure vehicle on a flat surface using jack stands, wheel chocks, and engage the parking brake before starting drive shaft removal.
- Use penetrating oil on bolts and a breaker bar to loosen rusted or tight fasteners safely without stripping.
- Support the drive shaft with a transmission jack or stand to prevent bending during detachment from the transmission and differential.
- Gently slide the drive shaft out, keeping it aligned with splines and tapping lightly with a rubber mallet if necessary.
- Wear safety gear like gloves and goggles, and disconnect the battery to avoid electrical hazards during the removal process.
Essential Tools to Pull a Drive Shaft Safely
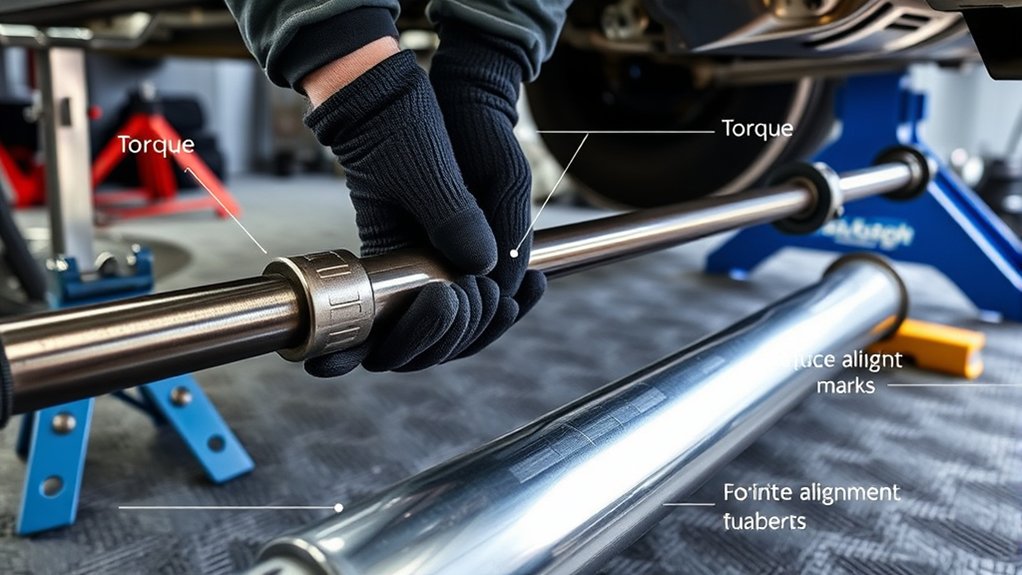
To pull a drive shaft safely, you’ll need a specific set of tools designed for the task. Start with a quality socket set and a breaker bar to remove bolts securing the drive shaft. Use a pry bar carefully to disengage the shaft without damaging drivetrain lubrication seals.
A transmission jack or support stand is essential to hold the drive shaft as you work, preventing sudden drops that can harm components. Don’t forget a torque wrench for reassembly, ensuring correct bolt tightness that preserves tire alignment and drivetrain integrity.
Additionally, have penetrating oil on hand to loosen rusted fasteners. Using the right tools minimizes risks to drivetrain lubrication systems and maintains tire alignment after reinstallation, ensuring your vehicle operates smoothly post-service.
How to Prepare Your Vehicle for Drive Shaft Removal
Before removing the drive shaft, secure your vehicle on a flat surface using wheel chocks and jack stands to ensure stability. Disconnect the battery to prevent electrical hazards during the process.
Then, elevate the vehicle safely to access the drive shaft without risking injury or damage.
Secure Vehicle Stability
A stable and secure vehicle is essential when preparing to remove the drive shaft. Begin by parking on a flat, level surface to prevent any movement. Engage the parking brake and place wheel chocks on both sides of the tires opposite the drive shaft end.
Use a hydraulic jack to lift the vehicle at manufacturer-recommended lift points, then support it securely with jack stands to ensure stability. Proper tool organization is critical; arrange your tools nearby for efficient access during the procedure.
This approach minimizes risk and maintains safety throughout your car maintenance task. Always double-check the vehicle’s steadiness before proceeding to avoid accidents or damage while working underneath. Securing vehicle stability sets a strong foundation for a smooth drive shaft removal.
Disconnect Battery Power
Why is disconnecting the battery power essential when preparing to remove the drive shaft? It prevents accidental electrical shorts and disables systems that may engage during the process, ensuring battery safety.
Start by locating the negative terminal and use a wrench to loosen the clamp. Always disconnect the negative terminal first to minimize risk. Avoid touching both terminals simultaneously to prevent sparks or damage.
After disconnection, secure the cable away from the battery post. This step also helps protect electronic control units and sensors linked to the drivetrain.
When reattaching the battery later, adhere strictly to manufacturer torque specs to avoid over-tightening or under-tightening, which can cause poor electrical contact or damage.
Proper battery disconnection is a critical safety measure before any drive shaft removal.
Elevate Vehicle Safely
Disconnecting the battery protects electrical systems, allowing you to focus on securely elevating the vehicle for drive shaft removal. Begin by positioning the car on a flat surface and engaging the parking brake.
Use a reliable jack to lift the vehicle, then place sturdy jack stands under the frame to support it safely. Avoid relying solely on the jack.
Remove the wheels to access the drive shaft; this is a good opportunity for a quick tire rotation to maintain even wear. Check the engine oil type before proceeding, as some maintenance tasks might coincide with drive shaft removal.
Ensure the vehicle is stable and won’t shift during work. Proper elevation and support prevent accidents and facilitate efficient drive shaft extraction.
Loosening Drive Shaft Bolts: Step-by-Step
You’ll need the right tools, like a socket wrench and penetrating oil, to loosen the drive shaft bolts effectively. Apply proper techniques to avoid stripping or damaging the bolts during removal.
Always follow safety precautions, including securing the vehicle and wearing protective gear, before starting this process.
Required Tools Overview
Which tools do you need to effectively loosen drive shaft bolts? Start with a high-quality socket set matched precisely to your vehicle’s bolt sizes. Avoid misleading labeling that can cause improper fit and damage. Use a breaker bar or impact wrench for sufficient torque without slipping.
A torque wrench is essential for reassembly accuracy but isn’t needed here. Consider a penetrating lubricant to ease bolt removal in rusted or seized conditions. Be mindful of tool theft risks; secure your tools during breaks to avoid loss.
Avoid low-grade, worn tools as they increase stripping risk. Organize your tools beforehand to maintain workflow efficiency and safety. Having the correct, reliable tools ready ensures you loosen drive shaft bolts effectively and without unnecessary complications.
Bolt Loosening Techniques
After gathering the correct tools, begin by applying penetrating lubricant to the drive shaft bolts, especially if they show signs of rust or corrosion. Let the lubricant soak for several minutes to ease loosening.
Use a breaker bar or impact wrench to apply controlled torque, preventing bolt damage. Turn bolts counterclockwise steadily; avoid sudden force to maintain bolt integrity and ensure future car maintenance ease, which supports optimum fuel efficiency.
| Step | Tool Needed | Tip |
|---|---|---|
| Apply Lubricant | Penetrating spray | Target rusted bolts |
| Loosen Bolts | Breaker bar/wrench | Use steady, controlled force |
| Remove Bolts | Ratchet/socket set | Keep bolts organized |
This technique ensures safe bolt removal and preserves components for efficient drive shaft servicing.
Safety Precautions Checklist
A thorough safety precautions checklist is essential before loosening drive shaft bolts to prevent injury and equipment damage. First, ensure you wear appropriate wearable safety gear, including gloves, safety goggles, and steel-toed boots, to protect against sharp edges and debris.
Secure the vehicle on a flat surface using wheel chocks and a reliable jack stand to prevent movement that could compromise both your safety and vehicle aesthetics. Disconnect the battery to avoid accidental electrical shorts.
Inspect the drive shaft area for signs of damage or corrosion that may affect bolt removal. Use the correct tools to avoid rounding bolts and preserve vehicle aesthetics.
Finally, double-check your workspace for hazards and keep bystanders clear. Following these steps ensures a safe, efficient bolt loosening process.
Safely Detaching the Drive Shaft From the Transmission and Differential
How do you guarantee the drive shaft detaches safely from both the transmission and differential? First, secure the vehicle on jack stands and drain transmission fluid to prevent spills. Loosen the bolts connecting the drive shaft to the transmission flange and differential yoke evenly to avoid warping.
Support the shaft to prevent damage that could affect tire maintenance or fuel economy. Use a pry bar gently if needed.
| Step | Tool Needed | Caution |
|---|---|---|
| Secure vehicle | Jack stands | Ensure stability |
| Drain fluid | Drain pan | Prevent environmental hazard |
| Loosen bolts | Socket wrench | Avoid uneven loosening |
| Support shaft | Pry bar, gloves | Prevent damage |
| Inspect seals | Flashlight | Check for leaks |
Following these steps ensures safety and preserves component integrity.
Removing the Drive Shaft From Your Vehicle
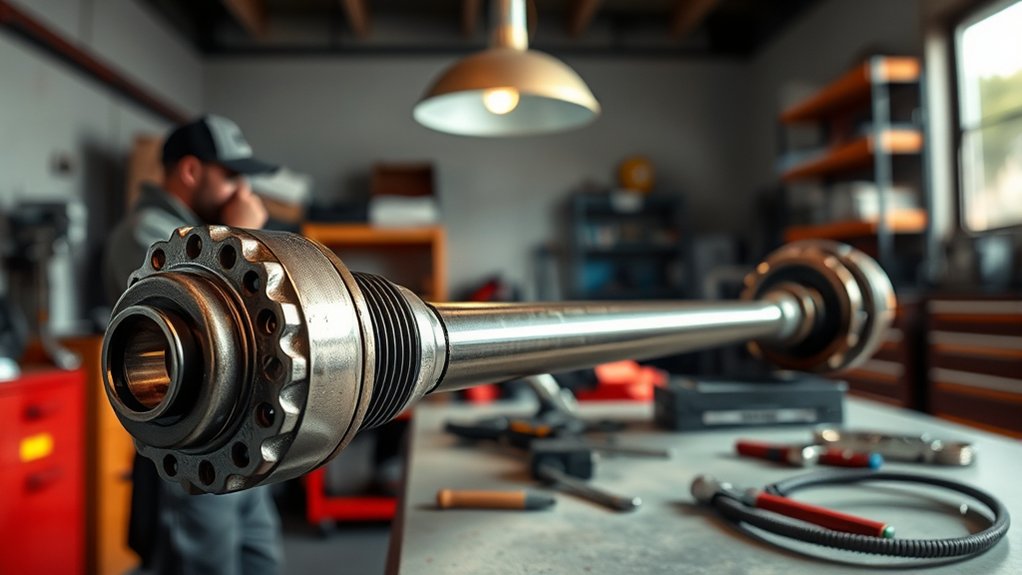
Removing the drive shaft requires careful handling to avoid damaging the splines and surrounding components. Before you begin, ensure your vehicle stabilization is secure by using jack stands on a flat surface, preventing any movement.
Once the drive shaft bolts are fully detached from the transmission and differential, gently slide the drive shaft out, supporting its weight to prevent bending or twisting. Avoid using excessive force; if the shaft resists, lightly tap the flange with a rubber mallet to loosen it.
Keep the drive shaft aligned with the splines during removal to prevent damage. Proper driveshaft maintenance starts here. Handle the component carefully and store it in a clean, dry place to avoid contamination or corrosion before reinstallation or inspection.
Inspecting Your Drive Shaft for Damage and Wear
Once you’ve carefully extracted the drive shaft without damaging the splines or surrounding components, it’s time to examine it thoroughly for signs of wear or damage. Start by inspecting the universal joints for any play, rust, or cracks.
Check the shaft surface for dents, bends, or corrosion that could affect balance. Examine the splines for wear or deformation, guaranteeing smooth engagement. Also, assess the center support bearing for excessive movement or noise.
Regular inspection during car maintenance helps prevent failures and maintains driveline integrity. While inspecting, consider the condition of related components like CV joints and seals.
Regular inspections protect driveline health and ensure related parts like CV joints and seals remain in good condition.
Incorporate drive shaft checks alongside routine tire rotation schedules to ensure balanced vehicle performance and extended component life. Address any damage promptly to avoid costly repairs or unsafe driving conditions.
Common Drive Shaft Problems and How to Avoid Them
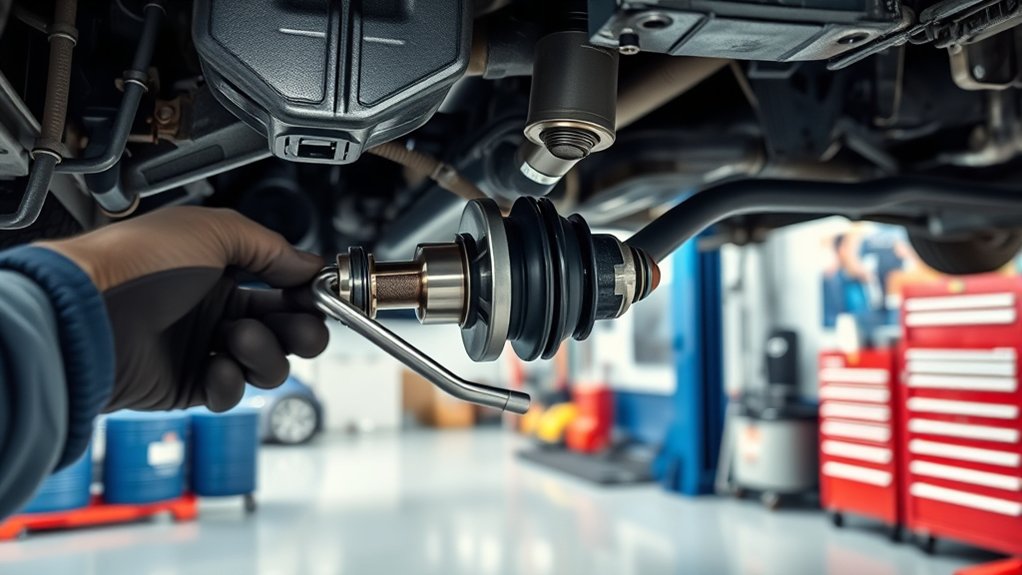
Drive shaft issues often stem from neglecting regular maintenance and ignoring early warning signs. Common problems include vibration due to imbalanced components, worn universal joints causing clunking noises, and damaged splines leading to driveline play.
To avoid these, regularly inspect for wear, lubricate joints, and ensure proper alignment. Don’t get distracted by unrelated topics or irrelevant discussion that don’t pertain to drive shaft function. Focus strictly on mechanical health and avoid assumptions based on external factors.
Addressing minor issues early prevents costly repairs and extends component life. Remember, consistent maintenance and timely intervention are your best defenses against drive shaft failure. Avoid shortcuts; a thorough approach ensures reliability and safety during operation.
Cleaning and Storing a Removed Drive Shaft
How should you clean and store a removed drive shaft to guarantee its longevity and performance? Begin by wiping off dirt, grease, and rust using a clean rag and a suitable solvent. Avoid abrasive materials that could damage the surface or joints.
Inspect U-joints and splines for wear or damage during cleaning. After drying, apply a light coat of corrosion inhibitor or grease to metal surfaces to prevent rust.
For storage, place the drive shaft on padded supports to avoid bending or warping. Keep it in a dry, temperature-controlled area, away from direct sunlight or moisture.
Maintain proper tool organization by storing cleaning supplies and protective gear systematically, ensuring efficient car maintenance. Proper cleaning and storage preserve the drive shaft’s integrity and simplify future installations.
When to Call a Professional for Drive Shaft Repairs
Proper cleaning and storage help maintain a drive shaft’s condition, but certain issues require professional attention. If you notice symptoms beyond routine wear, don’t attempt repairs based on an unrelated topic or random idea. Instead, call a professional when you encounter:
Proper cleaning preserves your drive shaft, but professional help is crucial for issues beyond normal wear.
- Persistent vibrations or unusual noises during operation
- Visible cracks, bends, or severe corrosion on the shaft
- Faulty universal joints or worn-out bearings affecting stability
- Difficulty aligning or reinstalling the drive shaft correctly
These signs indicate structural or mechanical failures needing specialized tools and expertise. Attempting DIY fixes without proper diagnosis can worsen damage or compromise vehicle safety. Trust certified technicians to assess and repair complex problems, ensuring optimal drive shaft performance and longevity.
Frequently Asked Questions
What Symptoms Indicate a Failing Drive Shaft?
You’ll notice vibrations during acceleration, clunking noises, or difficulty steering, common failure symptoms signaling a drive shaft diagnosis. These signs indicate worn joints or imbalance, requiring prompt inspection to prevent further drivetrain damage.
Can a Damaged Drive Shaft Affect Fuel Efficiency?
Yes, a damaged drive shaft disrupts stabilizer angles, causing inefficient torque transfer. This imbalance affects drive shaft physics, increasing engine load and reducing fuel efficiency.
You’ll notice higher fuel consumption due to these mechanical inefficiencies.
How Long Does Drive Shaft Removal Typically Take?
The drive shaft removal timeline typically takes 1 to 2 hours, depending on your vehicle model and tools.
You’ll find the drive shaft duration varies with complexity, but efficient preparation and proper tools can speed up the process.
Are Drive Shafts the Same for All Vehicle Types?
You might think all drive shafts are interchangeable, but they’re not. Drivetrain compatibility varies by vehicle type, and shaft materials differ to handle torque demands.
Always verify specs before swapping to avoid costly mistakes.
What Is the Average Cost to Replace a Drive Shaft?
You’ll typically face an auto repair cost between $300 and $800 to replace a drive shaft.
If you notice a drive shaft hearing like clunking or vibrations, addressing it promptly can prevent further damage and higher costs.
Conclusion
Just like a watch’s intricate gears must align perfectly to keep time, your drive shaft needs careful handling and precise steps to function smoothly. Following proper preparation, bolt loosening, and removal techniques ensures you avoid costly damage.
Remember, a well-maintained drive shaft extends your vehicle’s life and performance. If you hit stubborn bolts or notice severe wear, don’t hesitate to call a professional—sometimes expert help is the best tool in your kit.
Taking the right approach when you pull the drive shaft can save you time and money while keeping your vehicle running at its best.