If you need to remove your Thule roof rack, start by identifying the specific model to guarantee you use the right tools and techniques. Removing a Thule roof rack properly is essential to avoid damage to both the rack and your vehicle.
You’ll want to prepare your vehicle properly and release any security features before loosening the mounting clamps or bolts. Doing this carefully protects both your rack and car.
But what’s the best way to avoid common pitfalls and make certain a smooth removal process? Following the right steps ensures a hassle-free experience and keeps your equipment in good condition.
Key Takeaways
- Identify your Thule roof rack model by checking labels or model numbers on crossbars and foot packs before removal.
- Gather necessary tools including a torque wrench or ratchet (13mm or 15mm), hex keys, and a flathead screwdriver.
- Loosen mounting clamps or bolts counterclockwise without fully removing them to allow rack movement.
- Slide the rack off rails with steady pressure and lift it straight up while wearing gloves for protection.
- Clean and inspect rails for damage after removal, and store rack components in a dry, organized area.
Identify Your Thule Roof Rack Model
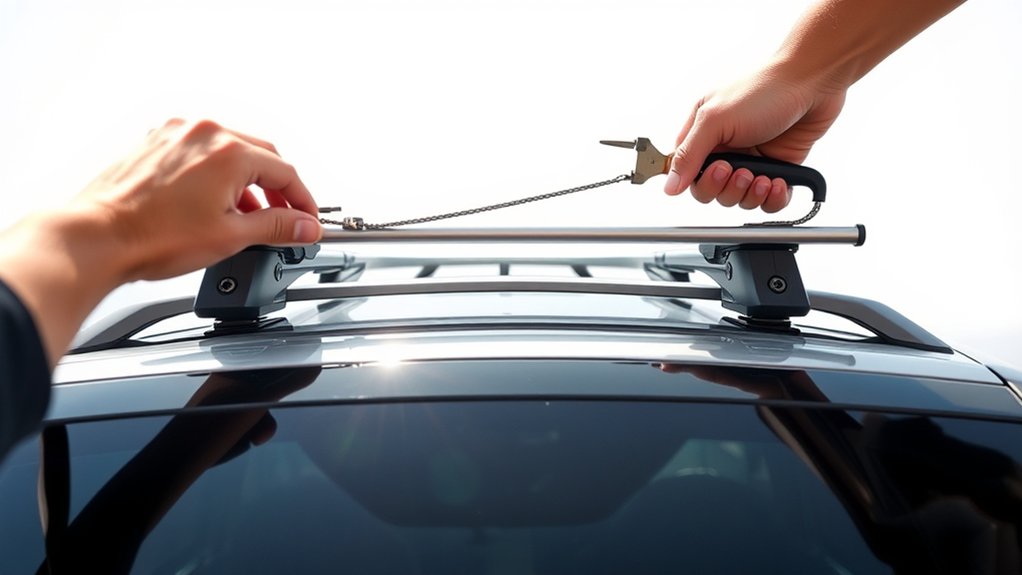
How do you determine which Thule roof rack model you have? Start by examining the rack’s labels or stamps, usually found on the crossbars or foot packs. These identifiers include model numbers crucial for accurate identification.
Next, compare these numbers to Thule’s official product guides or online databases. Pay attention to design features, such as the shape of the feet or the type of clamps, since user preferences influence model variations.
If you’re considering modifications or removal, note any previous discussion ideas redesign that may affect disassembly. Documenting your model precisely ensures compatibility with tools and replacement parts.
Avoid assumptions based on appearance alone; technical verification prevents errors during removal. This methodical approach streamlines the process, aligning with your specific Thule rack configuration.
Gather Tools Needed for Roof Rack Removal
Before removing your Thule roof rack, gather the essential tools like an Allen wrench, screwdriver, and possibly a torque wrench.
Clear and level your work area to guarantee safety and easy access. Having the right tools ready will streamline the removal process.
Essential Tools Overview
Which tools will you need to efficiently remove your Thule roof rack? Begin with a torque wrench or a ratchet with the correct socket size, usually 13mm or 15mm, to loosen the mounting bolts securely. A hex key set may be necessary for specific Thule models using Allen screws.
Have a flathead screwdriver on hand to release clips or covers gently. Gloves protect your hands during basic maintenance, and safety glasses shield your eyes from debris. Avoid using power tools to prevent overtightening or damage.
Keep a clean cloth nearby to wipe components and check for wear. Following these safety reminders ensures a smooth, damage-free removal. Having these essential tools ready streamlines the process and safeguards both you and your vehicle.
Preparing Work Area
Where you set up your workspace can greatly impact the ease and safety of removing your Thule roof rack. Choose a flat, stable surface near your vehicle, preferably in a well-lit area. Avoid locations with foot traffic or obstacles that could cause accidents.
Gather all essential tools first: hex keys, screwdrivers, and possibly a torque wrench, as covered in another topic. Keep these tools within reach to streamline the process. Ensure the ground is clean to prevent losing small parts or hardware.
Avoid mixing this preparation with an unrelated concept, such as general car maintenance, to stay focused. By organizing your work area efficiently, you minimize risks and reduce time spent searching for tools during removal, making the entire procedure smoother and safer.
Prepare Your Vehicle for Thule Roof Rack Removal
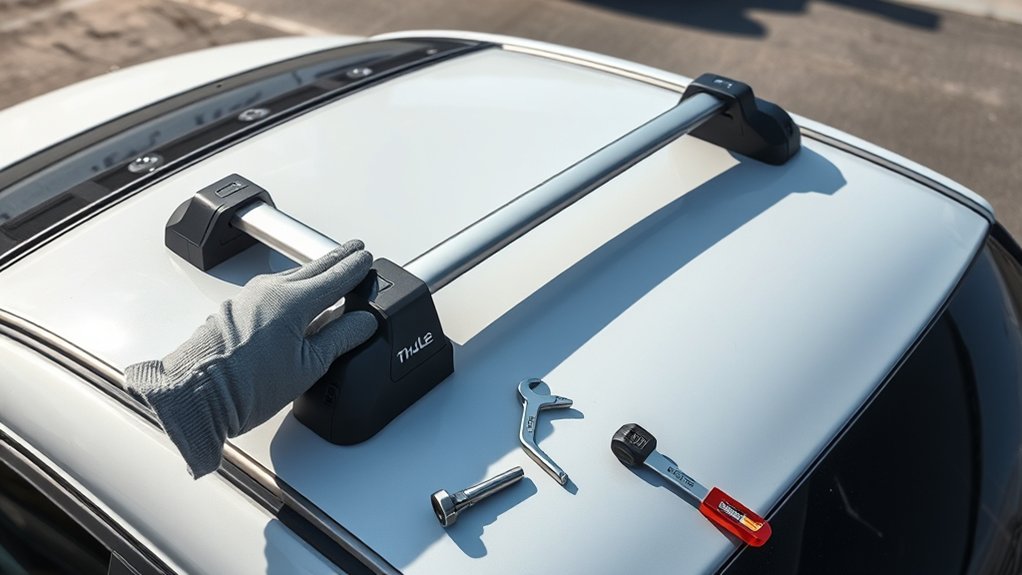
Start by parking your vehicle on a flat, stable surface to ensure safety during the removal process. Clear the roof area of any accessories or debris that could interfere with the work.
Finally, have all necessary tools within reach before you begin.
Clear Roof Area
How do you ensure a safe and efficient removal of your Thule roof rack? Start by clearing the roof area thoroughly. Remove any cargo, accessories, or debris that might obstruct your access or cause damage during removal.
Quick tips include using a soft cloth to wipe down the roof and rack base, preventing scratches. Safety reminders: avoid standing on unstable surfaces to reach the roof, and ensure the vehicle is parked on level ground to prevent shifting.
Clear visibility and unobstructed access reduce the risk of tool slippage or accidental damage. By preparing the roof area properly, you set the stage for a smooth, controlled removal process without unnecessary hazards or complications.
Gather Necessary Tools
Which tools will you need to efficiently remove your Thule roof rack? First, gather a Torx or Allen wrench set, depending on your specific rack model, to loosen mounting bolts securely.
You’ll also need a flathead screwdriver to disengage any plastic covers protecting the mounting hardware, ensuring you don’t damage the weatherproofing seals. A soft cloth is essential to wipe away debris and protect painted surfaces during removal.
If your rack features remote security locks, have the corresponding key or remote device handy to absolve the system before disassembly. Avoid forcing any components to prevent compromising the rack’s locking mechanism or your vehicle’s roof integrity.
Preparing these tools ahead ensures a smooth, damage-free removal process while maintaining your vehicle’s weatherproofing and security features intact.
Park Vehicle Safely
A stable and level surface is essential when preparing your vehicle to remove the Thule roof rack. Park your vehicle on firm, flat ground to ensure parking safety and prevent unwanted movement during removal. Engage the parking brake firmly and place wheel chocks behind the tires for added stability.
Avoid sloped or uneven areas that could compromise your balance or the rack’s position. Once parked securely, organize your tools within easy reach, minimizing movement and distractions. Proper tool organization reduces the risk of dropping or misplacing components, streamlining the removal process.
Confirm that there is adequate lighting and sufficient space around the vehicle to work comfortably. Prioritizing parking safety and tool organization lays the foundation for a smooth, efficient Thule roof rack removal.
Unlock Your Thule Roof Rack Locks
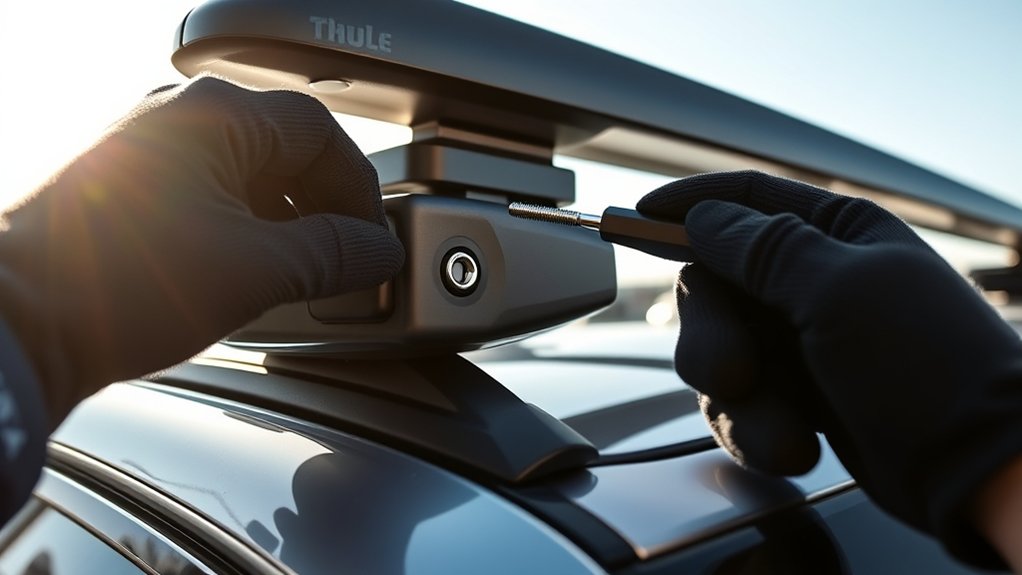
Where do you begin when unfastening your Thule roof rack locks? Start by recognizing that careless installation can compromise theft deterrence. Ensure you have the correct key or combination to avoid damage. Then, follow these steps precisely:
- Insert the key into the lock cylinder, applying gentle pressure to avoid jamming.
- Turn the key clockwise until you hear a click, indicating the lock is disengaged.
- Remove the key and verify the lock is fully unlocked by gently testing the mechanism.
Avoid forcing the lock as this can damage internal components, complicating removal. Proper unlocking is essential to prevent damage and maintain the security features designed to protect your roof rack from theft. Stay methodical to ensure safe and efficient removal.
Loosen the Roof Rack Mounting Clamps or Bolts
How do you safely loosen the mounting clamps or bolts securing your Thule roof rack? First, identify whether your rack uses clamps or bolts, as each requires specific tools, typically an Allen wrench or socket driver.
Before loosening, verify the two word ideas “equipment safety”: ensure the vehicle is parked on a flat surface and the roof rack is stable. Slowly turn the clamps or bolts counterclockwise, applying steady pressure to avoid stripping or damaging components.
Don’t remove them completely yet; just loosen enough to allow movement. Work methodically on each mounting point to maintain balanced loosening, preventing sudden shifts that could damage the rack or vehicle. Following these steps helps preserve your equipment’s integrity and ensures safe removal.
Detach the Roof Rack From the Rails Carefully
When should you begin detaching the roof rack from the rails? Only start once all mounting clamps or bolts are fully loosened to prevent damage. Focus on detaching roof rails safely by following these steps:
- Grip the roof rack firmly but gently, avoiding sudden jerks.
- Slide the rack along the rails with steady, even pressure to disengage the mounting points.
- Lift the rack straight up once free from the rails, maintaining control to avoid scratching the vehicle.
Ensure you maintain rails safety by wearing gloves and working on a stable surface. Avoid forcing the rack, as this can bend the rails or damage the mounting hardware. Precision and patience are key during detaching roof rails to protect both your vehicle and equipment.
Clean and Inspect Your Vehicle’s Roof Rails
After carefully detaching the roof rack from the rails, turn your attention to cleaning and inspecting the vehicle’s roof rails. Use a mild detergent and a soft cloth to remove dirt, debris, and residue.
Pay special attention to the mounting points and grooves where the rack attached, as buildup here can affect model compatibility when reinstalling or switching racks. Once clean, inspect the rails for any signs of corrosion, cracks, or deformation.
These issues can compromise the rack’s secure fit and reduce wind resistance performance. Address any damage promptly to maintain structural integrity and aerodynamic efficiency.
Regular maintenance of the roof rails ensures optimal compatibility with Thule models and preserves the vehicle’s overall function and appearance.
Troubleshoot Thule Roof Rack Removal Problems
Why might your Thule roof rack resist removal? Common issues often stem from overlooked details or insufficient data in the original installation instructions. Avoid searching unrelated topics that don’t directly address your specific model or problem.
Here are three troubleshooting tips to help:
- Check locking mechanisms. Ensure all locks or screws are fully disengaged; sometimes they’re hidden or require specific tools.
- Inspect for corrosion or debris. Dirt, rust, or grime can cause parts to seize. Clean and lubricate as needed.
- Verify proper tool use. Using incorrect tools can damage components, making removal difficult.
Store Your Thule Roof Rack After Removal
Once you remove your Thule roof rack, clean all parts thoroughly to prevent damage or corrosion.
Store the components in a dry, cool location away from direct sunlight and moisture. Use protective covers or bags to shield the rack from dust and scratches during storage.
Clean Before Storage
How should you prepare your Thule roof rack for storage to guarantee its longevity? Cleaning before storage is essential to prevent corrosion and maintain the rack’s functionality. Follow these steps for effective two word idea maintenance:
- Rinse thoroughly: Use clean water to remove dirt, salt, and debris, avoiding residue buildup that can cause damage.
- Dry completely: Wipe all components with a microfiber cloth to prevent moisture retention, which leads to rust and mold.
- Inspect carefully: Check for wear or damage, tightening loose parts and addressing issues to ensure performance when reinstalled.
Choose Proper Storage Location
Where you store your Thule roof rack after removal directly impacts its condition and longevity. Select a storage location that is dry, cool, and free from direct sunlight to prevent material degradation and corrosion.
Avoid damp basements or unventilated garages where moisture can accumulate. Ensure the area is clean and free of dust or chemicals that could damage components.
Position the rack on a flat, stable surface to maintain structural integrity and prevent warping. Proper vehicle prep includes removing all mounting hardware and securing loose parts before storage to avoid loss or damage.
Label components if needed for easy reassembly. Choosing an optimal storage location not only preserves your Thule roof rack but also streamlines future vehicle prep, ensuring your rack performs reliably on your next use.
Use Protective Covers
Why should you use protective covers when storing your Thule roof rack? Protective covers shield the rack from dust, moisture, and UV damage, ensuring its longevity and performance. They provide a critical barrier, especially when you opt for weatherproof storage, preventing corrosion and material degradation.
When using protective covers, focus on:
- Complete Coverage: Ensure the cover fully encloses the rack to block dust and moisture.
- Breathability: Choose covers that allow air circulation, reducing condensation buildup.
- Durability: Select covers made from robust, weather-resistant materials for extended protection.
Tips for Reinstalling or Replacing Your Roof Rack
When reinstalling or replacing your Thule roof rack, what key steps ensure a secure and proper fit? First, inspect all mounting points and hardware for damage or wear. Use the quick release mechanism to position the crossbars accurately, ensuring they lock firmly without play.
Tighten all bolts to manufacturer torque specifications to prevent loosening during use. Apply corrosion prevention treatments, such as anti-rust spray or grease, on metal components and fasteners to extend lifespan. Align the rack evenly to maintain vehicle aerodynamics and load balance.
Finally, test the stability by applying moderate pressure to confirm a rigid setup. Following these steps guarantees optimal performance, safety, and durability for your Thule roof rack after removal or replacement.
Frequently Asked Questions
Can Thule Roof Racks Be Used on Any Vehicle Type?
Thule roof racks offer universal fit options, but you’ll need to check vehicle compatibility carefully. Not every model suits all vehicles, so verify your car’s specifications to ensure a secure, proper installation before purchasing or mounting.
Are There Weight Limits for Thule Roof Racks?
Yes, Thule roof racks have specific weight limits to prevent durability concerns. You should always check your vehicle’s roof capacity and Thule’s guidelines, ensuring you never exceed those limits for safe, reliable performance.
How Do I Know if My Thule Rack Is Compatible With Accessories?
Think of your Thule rack as a puzzle piece; compatibility checks guarantee it fits perfectly with accessory mounting points. Use Thule’s official guides or digital tools to confirm accessory models match your rack’s design and attachment system precisely.
What Is the Warranty Coverage for Thule Roof Racks?
Thule roof racks come with a limited warranty covering defects in materials and workmanship. You should note warranty exclusions like normal wear and misuse.
Parts availability depends on the model and may vary over time.
Can I Leave My Thule Roof Rack on Year-Round?
You can leave your Thule roof rack on year-round for leisure activities, but it’s best to remove it during off-seasons for seasonal storage. This helps prevent wear, reduce wind noise, and maintain peak aerodynamics and fuel efficiency.
Conclusion
Removing your Thule roof rack is straightforward when you follow the right steps and use proper tools. You might worry about damaging your vehicle, but loosening clamps carefully without fully removing bolts prevents this.
Always inspect rails for wear and store parts properly to extend their lifespan. With a bit of attention, you’ll safely remove, store, or reinstall your roof rack without hassle.
By following these tips, you’ll save time and protect your investment while successfully removing your Thule roof rack.