Sometimes your car just needs a little nudge to get going again. When you jump start a car with jumper cables, you’re essentially providing the necessary electrical boost to the battery. It’s crucial to follow a precise sequence for connecting and disconnecting the cables to avoid damage or injury.
If you want to ensure a safe and effective jump-start, understanding the correct steps and common pitfalls is essential. Taking the time to learn the proper technique can save you from frustration and keep you safe. Always double-check your connections before starting the engine.
Key Takeaways
- Connect red clamp to the dead battery’s positive terminal, then to the donor battery’s positive terminal.
- Attach black clamp to the donor battery’s negative terminal, then to an unpainted metal surface on the dead car’s engine block.
- Ensure both vehicles are off, clamps are secure, and no metal objects contact terminals before starting the donor car.
- Start the donor car, then attempt to start the dead car; if it doesn’t start, wait a few minutes and try again.
- After the dead car starts, let it idle for 15-20 minutes, then safely disconnect cables in reverse order starting with black clamp on dead car.
What You Need to Jump-Start Your Car
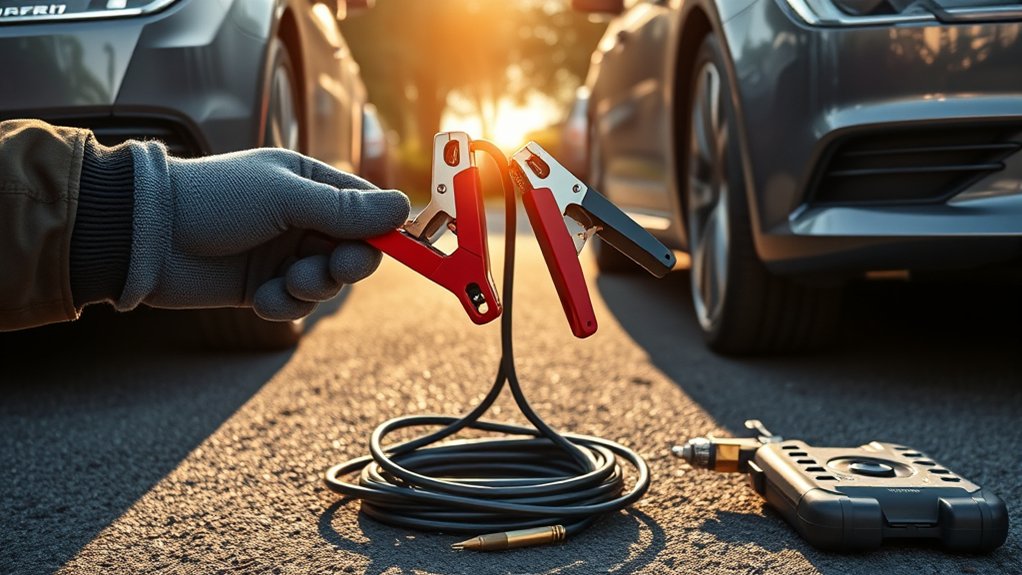
What essential tools do you need to jump-start your car safely and efficiently? First, ensure you have a reliable set of jumper cables with insulated clamps. Next, a working donor vehicle with a fully charged battery is crucial.
Avoid distractions; treat the process like tying shoelaces, methodical and deliberate. Before starting, disengage steering wheel locks on both vehicles to prevent sudden movements. Also, keep the cars in park or neutral with parking brakes engaged.
Have safety gloves and eye protection ready to shield against sparks. A flashlight can help if visibility is low. Confirm that both batteries have similar voltage ratings to prevent damage.
How to Hook Up Jumper Cables Safely
Once you’ve gathered the right tools and ensured both vehicles are properly secured, you can begin connecting the jumper cables. Before starting, consider what to wear: gloves and safety glasses protect you from sparks or battery acid.
Here’s how to secure clamps safely:
Here’s how to secure clamps safely to avoid shorts and ensure a successful jump-start.
- Attach the red clamp to the positive (+) terminal of the dead battery first.
- Connect the other red clamp to the positive terminal of the booster battery.
- Attach the black clamp to the negative (–) terminal of the booster battery.
- Secure the final black clamp to an unpainted metal surface on the dead car’s engine block, away from the battery.
- Double-check all clamps are firmly attached and not touching each other or moving parts.
Following these steps prevents shorts and ensures a safe jump-start process.
How to Start Your Dead Car After Jump-Starting
How do you get your dead car to start after connecting the jumper cables? First, ensure the donor car’s engine runs smoothly to provide adequate power. Then, attempt to start your dead car; if it doesn’t start immediately, wait a few more minutes while the donor battery charges yours.
Once it starts, let your car idle for at least 15 to 20 minutes. This allows the alternator to recharge the battery adequately. Monitor for signs of alternator failure, such as dimming lights or a battery warning light on your dashboard, as these indicate your battery isn’t charging properly.
If you notice these signs, avoid turning off the engine until you can address the issue. Following this process ensures your battery regains sufficient charge after jump-starting.
How to Disconnect Jumper Cables Safely
Why is it essential to disconnect jumper cables in the correct sequence? Doing so prevents electrical sparks, protects both vehicles’ electrical systems, and ensures your safety. Follow these steps precisely:
- Turn off both vehicles before removing cables.
- Remove the black (negative) clamp from the dead car first.
- Disconnect the black clamp from the booster car next.
- Remove the red (positive) clamp from the booster car.
- Finally, detach the red clamp from the dead car.
After disconnection, store cables properly, adhering to disposal guidance if cables are damaged. Proper handling minimizes environmental impact by preventing hazardous material exposure. Always inspect cables for wear regularly and replace them as needed to maintain safety and reliability.
Common Jumper Cable Mistakes to Avoid
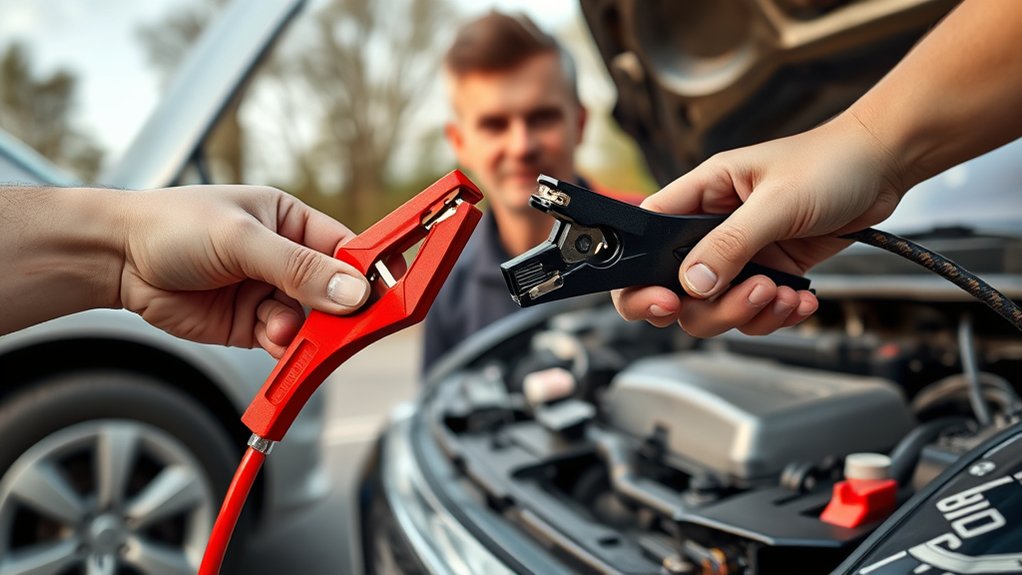
You’ll want to avoid connecting the jumper cables in the wrong order, as this can cause sparks or damage. Always inspect your cables for any wear or damage before use to guarantee a safe connection.
Additionally, never ignore engine safety precautions like keeping metal objects away from the battery terminals.
Incorrect Cable Connection Order
When connecting jumper cables, which clamp you attach first can make all the difference between success and damage. Avoid inappropriate connections by following the correct sequence to prevent sparks or battery damage.
Start by attaching the positive (red) clamp to the positive terminal of the dead battery, then connect the other positive clamp to the good battery’s positive terminal. Next, attach the negative (black) clamp to the good battery’s negative terminal.
Finally, connect the remaining negative clamp to an unpainted metal surface on the dead car, away from the battery. Be cautious of mislabeled terminals that can lead to reversed polarity.
To ensure accuracy, remember:
- Identify terminals clearly before connecting
- Avoid connecting negative clamps to the dead battery’s terminal first
- Prevent contact between clamps
- Attach clamps firmly
- Double-check polarity before starting the car
Using Damaged Cables
Ensuring the jumper cables are in good condition is just as important as connecting them correctly. Before you begin, inspect the cables thoroughly for any visible damage such as frayed wires, exposed metal, or cracked insulation.
Using damaged cables can lead to safety risks including electrical shorts, sparks, or even fire hazards. If you notice any defects, do not attempt to use the cables.
Damaged cables may fail to deliver sufficient current, preventing a successful jump start and potentially harming both vehicles’ electrical systems. Always store your jumper cables properly to avoid wear and tear.
Replacing damaged cables promptly ensures a safe and efficient jump start process, protecting you and your vehicle from avoidable safety risks.
Overlooking Engine Safety Precautions
Although jump-starting a car may seem straightforward, neglecting engine safety precautions can lead to serious accidents or damage. Ignoring safety protocols or skipping precautions puts you at risk of electrical shock, battery explosion, or harm to the vehicle’s sensitive electronics.
To avoid these dangers, always follow strict engine safety rules.
Common mistakes include:
- Connecting jumper cables to the wrong terminals
- Attaching cables while engines are running
- Failing to remove metal jewelry or loose clothing
- Jump-starting in poorly ventilated areas
- Ignoring battery leaks or corrosion before starting
Troubleshooting When Your Car Won’t Start
If your car won’t start after using jumper cables, first check for common battery issues like corrosion or low charge.
Next, inspect all electrical connections to ensure they’re secure and clean. Finally, consider the starter motor as a potential cause if the battery and connections are intact.
Common Battery Issues
Why won’t your car start even when you use jumper cables? Several common battery issues might be the cause. Proper battery maintenance is essential to avoid these problems, but knowing charging alternatives is equally important.
Here are five key issues to check:
- Battery sulfation, which reduces capacity and prevents proper charging
- Corroded terminals that hinder electrical flow despite jump starting
- A faulty battery that no longer holds a charge due to age or damage
- Loose or damaged battery cables that interrupt current transfer
- Extreme temperatures causing battery performance degradation
If jump starting doesn’t work, evaluate these factors carefully. You might need a professional battery test or consider alternative charging methods like a battery charger or replacement to restore reliable starting power.
Checking Electrical Connections
When jump starting doesn’t solve the problem, your next step is to inspect the electrical connections closely. Begin by examining the battery terminals for corrosion. White or greenish deposits can disrupt current flow. Use a wire brush to clean any corrosion, ensuring a secure connection.
Next, check the jumper cable clamps for tightness and proper contact. Loose or dirty clamps reduce effectiveness.
After that, focus on checking alternator functionality. A faulty alternator won’t charge the battery, causing repeated start failures. Use a multimeter to measure voltage across the battery terminals with the engine running. A healthy alternator should produce between 13.8 to 14.4 volts. If voltage is lower, the alternator may need servicing.
Properly maintained connections and a working alternator are essential for reliable starts.
Identifying Starter Problems
How can you determine if your car’s starter is the root of the no-start issue? Begin by ruling out battery health since a weak or dead battery often mimics starter problems. Once battery health is confirmed, proceed with identifying starter problems through these steps:
Listen for a clicking sound when turning the key, indicating starter engagement failure. Check if the engine cranks slowly or not at all despite a fully charged battery. Inspect starter relay and fuse for continuity and proper function.
Test voltage at the starter motor terminals while attempting to start. Observe any burning smells or visible corrosion around the starter connections.
Following these steps lets you pinpoint starter faults accurately, ensuring efficient troubleshooting when your car won’t start.
Frequently Asked Questions
Can Jumper Cables Damage My Car’s Electrical System?
Yes, if you ignore jumper cable basics, you risk damaging your car’s electrical system. Always connect cables correctly, avoid sparks, and ensure proper polarity to minimize electrical system risk and protect your vehicle during jump-starting.
How Long Should I Let the Dead Car Charge Before Driving?
Like winding a pocket watch, let the dead car charge for at least 15 minutes before driving. This ensures long term battery health and allows the alternator to manage load efficiently, preventing electrical strain.
Are There Alternatives to Using Jumper Cables for Jump-Starting?
Yes, you can use portable jump starters or push-starting as alternative methods. Always consider safety concerns, like avoiding sparks near the battery and ensuring proper connections to prevent damage or injury during the jump-start process.
Can I Jump-Start a Car in Extreme Weather Conditions?
You can jump start fuel saving vehicles in extreme weather, but take precautions like wearing insulated gloves and ensuring cables don’t freeze. Cold reduces battery efficiency by 50%, so follow extreme weather precautions strictly for safety and success.
Is It Safe to Jump-Start a Hybrid or Electric Vehicle?
It’s not safe to jump-start a hybrid or electric vehicle without specific instructions. There are risks of damaging the battery or electrical system.
Always consult the owner’s manual and use manufacturer-approved procedures to avoid harm.
Conclusion
Jump-starting your car is like breathing life into a dormant engine—precision and safety are your spark. By following the exact cable connections and sequence, you create a reliable electrical bridge that revives your battery’s pulse. Always double-check clamps and engine surfaces to avoid sparks or damage.
With patience and care, you’ll master this essential skill, turning a dead battery’s silence into a roaring start. Learning how do you jump start a car with jumper cables ensures you’re never stranded in the dark again.