It’s no coincidence that jumper cables rely on precise electrical principles to bring a dead battery back to life. Jumper cables work by creating a temporary circuit that allows current to flow from one battery to another. This process is essential for jump-starting a vehicle with a dead battery.
But the process involves more than just clamping clamps—factors like cable thickness, polarity, and grounding play critical roles. Understanding these details can help you avoid costly mistakes and ensure a successful jump-start. Proper use of jumper cables ensures safety and effectiveness in reviving your battery.
Key Takeaways
- Jumper cables create a direct electrical connection between two batteries, allowing current to flow from a charged to a depleted battery.
- Electrons move through the cables from the charged battery to the dead battery, completing the circuit via the opposite terminal.
- Thicker jumper cables (lower gauge) carry higher currents safely and reduce heat buildup during power transfer.
- Proper polarity and secure connections prevent damage and ensure effective power flow between vehicles.
- Battery charge levels and internal resistance influence the flow rate and success of the jump-start process.
What Are Jumper Cables and How Do They Work
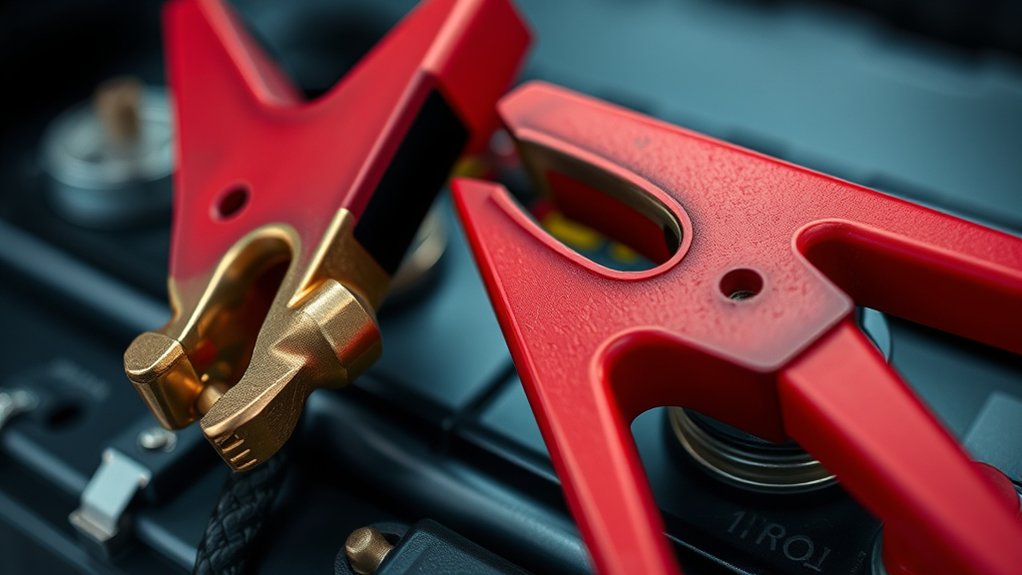
How exactly do jumper cables function to transfer power between two vehicles? Jumper cables create a direct electrical connection between the batteries of two cars, allowing current to flow from a charged battery to a depleted one. The effectiveness depends on the cable gauge, which determines how much current can safely pass without excessive resistance or heat buildup.
Thicker cables (lower gauge numbers) carry higher currents essential for overcoming internal battery resistance influenced by battery chemistry, typically lead-acid. Battery chemistry affects voltage stability and current delivery, so jumper cables must accommodate the specific electrical demands.
When you attach the cables, positive terminals connect to positive, and negative to a grounded metal surface on the dead vehicle, completing the circuit. This controlled current flow jump-starts the vehicle by providing sufficient energy to power the starter motor.
Why Car Batteries Die and When You Need Jumper Cables
Why does your car battery fail when you least expect it? A dead battery often results from chemical reactions slowing inside the battery’s lead-acid cells, especially in cold weather. Low temperatures reduce the battery’s ability to generate sufficient current, impairing engine startup.
Additionally, prolonged inactivity, parasitic electrical drains, and alternator malfunctions contribute to battery depletion. When the voltage drops below the threshold needed to power your starter motor, you’ll experience a no-start condition.
At this point, jumper cables become necessary to temporarily supply adequate current from a donor battery, enabling engine ignition. Understanding these failure modes helps you anticipate when jumper cables are essential, particularly during winter months or after extended periods without driving, preventing unexpected immobilization due to a dead battery.
How to Choose the Right Jumper Cables for Your Vehicle
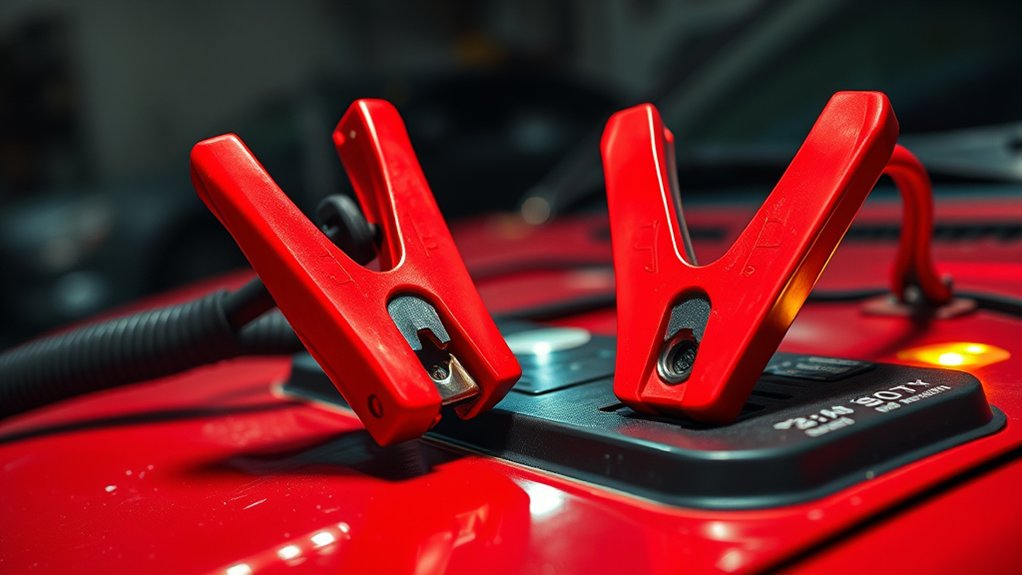
Selecting the right jumper cables hinges on factors like wire gauge, cable length, and clamp quality, all of which influence performance and safety. You’ll want cables with a lower gauge number, typically 4 to 6 gauge, since thicker wires carry more current efficiently, reducing voltage drop.
Consider cable length: 12 to 20 feet balances reach and minimal resistance. Pay attention to clamp material and grip; copper-plated clamps provide optimal conductivity and corrosion resistance, essential for a secure connection.
In this two word discussion idea, “cable quality,” never compromise on insulation thickness to prevent heat buildup and electrical hazards. By analyzing these specifications, you ensure your jumper cables deliver reliable power transfer and protect both vehicles during jump-starting.
Always match cable capacity to your vehicle’s battery requirements for safe operation.
How Jumper Cables Actually Transfer Power Between Cars
Jumper cables transfer electrical power by creating a direct conductive path between the dead battery and the charged battery, allowing current to flow and restore the dead battery’s charge. When you connect the cables, you enable a conceptual energy transfer: electrons move from the charged battery’s negative terminal through the cable, pass through the dead battery, and return via the positive terminal.
This closed circuit allows the dead battery to regain voltage.
Keep in mind common electrical safety misconceptions:
- Current flows due to voltage difference, not cable magic
- Proper cable gauge minimizes resistance and heat
- Correct polarity connection is essential to prevent damage
- The flow rate depends on battery charge levels and internal resistance
Understanding these principles ensures effective and safe power transfer between vehicles.
Step-by-Step Guide to Using Jumper Cables Safely
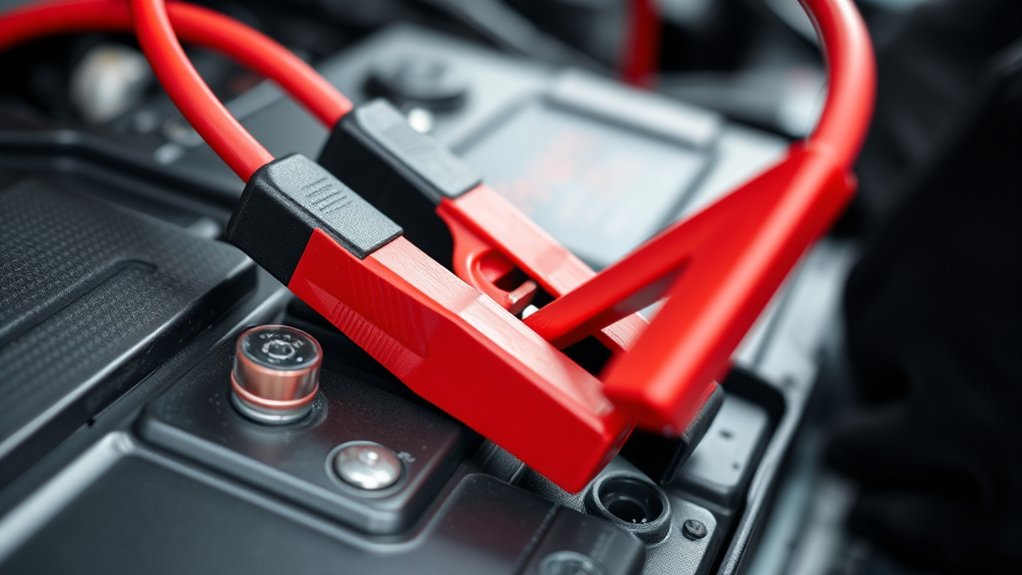
You’ll first need to position both vehicles properly and make sure their engines are off.
Next, connect the jumper cables in the correct sequence to prevent electrical shorts or sparks.
Finally, follow essential safety precautions to protect yourself and the vehicles during the process.
Preparing Vehicles Properly
How exactly should you position both vehicles before connecting the cables to guarantee safety and effectiveness? Proper alignment ensures alternative current flow and minimizes risks associated with battery maintenance. Contrary to urban myths, you don’t need to touch the vehicles physically; they should be close but not touching. Follow these precise steps:
Park both vehicles on a flat, stable surface facing each other or side-by-side with batteries within cable reach. Engage parking brakes and switch off ignitions to prevent electrical surges.
Open hoods and locate batteries, inspecting for corrosion or damage. Remove any metal jewelry to avoid accidental short circuits.
These measures create a controlled environment for safe, efficient power transfer, debunking common misconceptions and protecting both vehicles and yourself.
Correct Cable Connection
A systematic approach governs the proper connection of cables to guarantee both safety and functionality during the jump-start process. First, attach one red clamp to the positive terminal of the dead battery. Then, connect the other red clamp to the positive terminal of the charged battery.
Next, fix one black clamp to the negative terminal of the charged battery. Finally, connect the remaining black clamp to an unpainted metal surface on the dead vehicle, away from the battery. This sequence prevents sparks and ensures correct current flow.
Quick tips include double-checking terminal polarity and securing clamps firmly. Common mistakes involve reversing polarity or connecting the negative clamp directly to the dead battery, risking damage or injury. Following these precise steps optimizes the jump start’s effectiveness.
Safety Precautions to Follow
After ensuring the correct cable connections, you must prioritize safety precautions to prevent injury or equipment damage. Ignoring these steps can lead to sparks, battery damage, or personal harm. Focus strictly on relevant ideas; avoid unrelated topics that might distract you during the procedure.
Follow this step-by-step guide to ensure safe jumper cable use:
- Confirm both vehicles are off and in park or neutral before connecting cables.
- Wear protective gear, such as gloves and safety glasses, to shield from acid or sparks.
- Attach cables in the recommended order: positive terminals first, then negative, avoiding contact with moving parts.
- Keep metal objects away from batteries and cables to prevent short circuits.
Common Jumper Cable Mistakes to Avoid
Why do jumper cables sometimes fail to revive a dead battery? One common mistake is reversing the polarity when connecting the clamps, which can cause electrical damage and increase crash risks due to sudden power surges.
Reversing jumper cable polarity can cause electrical damage and increase risks from sudden power surges.
Another error is attaching cables to corroded or loose terminals, impeding current flow. You should avoid connecting the negative clamp to the dead battery’s negative terminal; instead, attach it to an unpainted metal surface on the engine block to reduce sparking.
Additionally, improper disposal of worn or damaged cables leads to poor conductivity and potential failure during use. Finally, ensure cables are fully untangled and free of breaks to maintain consistent current transfer.
Avoiding these mistakes improves jumper cable effectiveness and reduces hazards during jump-starting.
What to Do After Jump-Starting Your Car
After jump-starting your car, you should drive it for at least 15 to 20 minutes to allow the alternator to recharge the battery effectively.
Once you’ve reached a safe location, inspect the battery terminals and jumper cables for any signs of damage or corrosion. This guarantees your electrical connections remain secure and prevents future starting issues.
Drive To Recharge Battery
How long should you drive your car following a jump-start to effectively recharge the battery? Generally, you need to drive for at least 20 to 30 minutes to allow the alternator to sufficiently recharge the battery. Battery recharging depends on engine speed and electrical load, so maintaining steady RPMs is essential.
To optimize battery recharging after a jump-start:
- Drive at highway speeds rather than idling to increase alternator output
- Avoid heavy electrical loads like air conditioning or headlights
- Maintain steady acceleration to ensure consistent alternator performance
- Monitor dashboard indicators for battery or charging system warnings
Following these steps helps restore battery charge efficiently and reduces the risk of immediate power loss after jump-starting.
Check Battery And Cables
Battery condition and cable integrity play critical roles in your vehicle’s electrical reliability following a jump-start. After successfully starting your car, inspect the battery terminals for corrosion or looseness, as poor connections can impair battery health and reduce charging efficiency.
Use a voltmeter to measure the battery voltage; a fully charged battery should read around 12.6 volts or higher. Additionally, monitor your vehicle’s charging indicators on the dashboard to ensure the alternator effectively replenishes the battery.
Check the jumper cables themselves for any damage or frayed wires that could hinder electrical flow in future use. Maintaining optimal battery health and ensuring all cables are intact will prevent repeated jump-starts and support consistent engine performance.
Always disconnect cables carefully to avoid electrical shorts.
Frequently Asked Questions
Can Jumper Cables Damage a Car’s Electrical System?
Yes, improper jumper cables safety can cause electrical system risk, potentially damaging sensitive components. You must connect cables correctly and avoid reversing polarity to minimize voltage spikes and ensure your car’s electrical system remains protected during jump-starting.
How Long Do Jumper Cables Typically Last?
Jumper cables typically last 3-5 years if you maintain battery health, regularly clean corrosion, and follow safety precautions.
Consider alternative methods like portable jump starters to reduce cable wear and guarantee consistent performance over time.
Are There Alternatives to Jumper Cables for Jump-Starting?
Think of alternatives as a medical defibrillator for your car’s heart. Portable jump starters and battery packs assess alternator health and battery chemistry, delivering precise power, ensuring a controlled, efficient jump-start without relying on another vehicle.
Can Jumper Cables Be Used on Motorcycles or Boats?
Yes, you can use jumper cables on motorcycles or boats, but you must prioritize battery safety. Avoid charging myths, like overcharging; ensure correct polarity and cable quality to prevent damage and ensure efficient, safe battery charging.
How Should Jumper Cables Be Stored to Prevent Damage?
You should coil jumper cables neatly and store them in a dry, insulated bag to enhance storage safety. This prevents corrosion, which affects 30% of battery failures, by minimizing moisture and exposure to contaminants.
Conclusion
Now that you understand how jumper cables transfer power and why proper connections matter, you’re better equipped to handle a dead battery.
Did you know nearly 20% of roadside assistance calls involve battery issues? Using the right gauge cables and following safety steps not only gets your car started but also protects your vehicle’s electrical system.
With careful technique, you can confidently restore power and avoid common jump-starting errors. Understanding how jumper cables work is key to ensuring a safe and effective jump start every time.