Before you begin placing jumper cables, make sure both vehicles are off and securely parked. You’ll need to identify the positive and negative battery terminals accurately—red usually marks positive, black negative. Proper connection order is critical to avoid damage or injury, so you’ll want to follow each step carefully.
Understanding these details ensures a safe and effective jump-start, but there’s more to get right before you clamp down.
Key Takeaways
- Identify the positive (+) and negative (–) terminals on both the dead and donor batteries before connecting cables.
- Attach the red clamp to the dead battery’s positive terminal first, then to the donor battery’s positive terminal.
- Connect the black clamp to the donor battery’s negative terminal next to complete the circuit.
- Attach the remaining black clamp to an unpainted metal surface on the dead vehicle, not the negative terminal.
- Ensure clamps are secure, cables do not touch each other, and all clamps are free from corrosion and damage.
Tools You’ll Need to Jump-Start Your Car
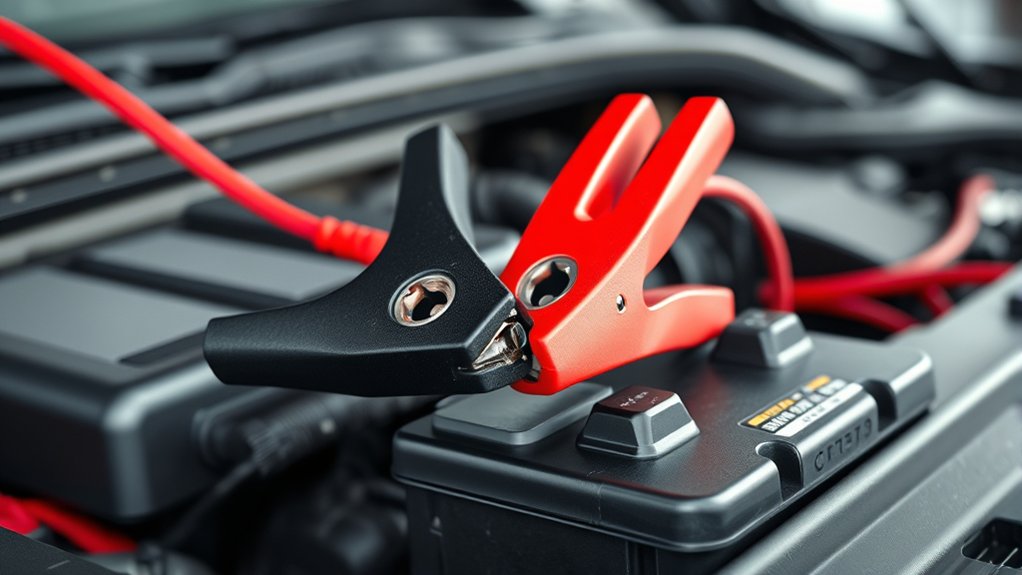
Before you jump-start your car, gather the essential tools to guarantee a safe and effective process. You’ll need quality jumper cables with insulated clamps, a reliable donor vehicle with a fully charged battery, and protective gloves and eyewear to ensure battery safety.
Avoid relying on jump start myths, such as using any metal object to connect terminals or assuming all cables are identical; these misconceptions can cause damage or injury. Ensure the jumper cables are free of corrosion and capable of handling the necessary current.
Having a flashlight can help if visibility is poor. Preparing these tools beforehand minimizes risks and ensures a smooth operation. Remember, precise preparation and understanding battery safety protocols are critical to a successful jump-start.
Identifying Battery Terminals for Jumper Cables
Once you’ve gathered the right tools, the next step is to accurately identify the battery terminals on both vehicles. Start by locating battery indicators, usually marked with a plus (+) for positive and minus (–) for negative terminals.
These indicators are often found directly on the battery casing or near the terminal posts. When identifying terminal polarity, confirm the positive terminal typically has a red cover or cable, while the negative is usually black.
Avoid confusing the terminals by checking for corrosion or dirt that may obscure markings. Properly identifying terminal polarity is crucial to prevent electrical damage or injury during the jump-start process.
Take your time to verify each terminal before proceeding to ensure a safe and effective connection.
How to Connect Jumper Cables Safely, Step-by-Step
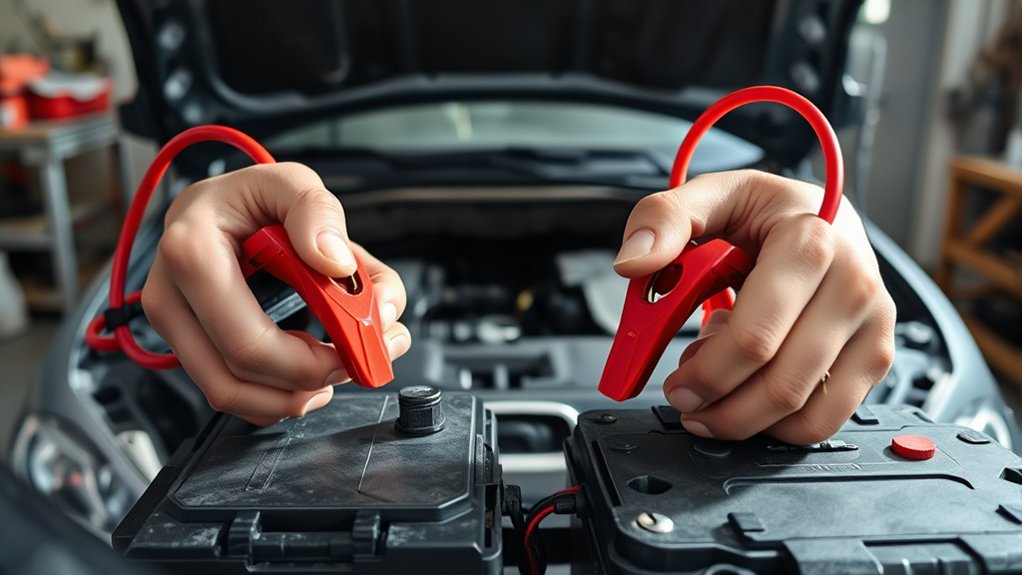
A safe connection of jumper cables requires following a specific sequence to prevent sparks and damage. First, identify the positive (+) and negative (-) battery terminals on both vehicles. Then, connect the red clamp to the dead battery’s positive terminal, followed by the red clamp on the donor battery’s positive terminal.
Next, attach the black clamp to the donor battery’s negative terminal. Finally, connect the remaining black clamp to an unpainted metal surface on the dead car, away from the battery, to ensure jump start safety.
| Step | Connection Point |
|---|---|
| 1 | Red to dead battery (+) |
| 2 | Red to donor battery (+) |
| 3 | Black to donor battery (-) |
| 4 | Black to dead car chassis (ground) |
| 5 | Start engine and remove cables in reverse order |
Mistakes to Avoid When Jump-Starting Your Car
Why do some jump-start attempts fail or cause damage? Often, it’s because you don’t avoid mistakes related to incorrect cable connections or ignoring battery safety. First, never connect cables to the wrong terminals; positive to positive and negative to a grounded metal surface, not the battery’s negative terminal. This prevents sparks and potential explosions.
Avoid mixing up cable clamps, as this can cause voltage surges damaging your vehicle’s electrical systems. Also, don’t jump-start a frozen or leaking battery to prevent hazards. Ensure cables are in good condition; frayed wires can short-circuit.
Lastly, don’t let cables touch during the process, and avoid starting the donor car’s engine too forcefully. By following these precise steps, you maintain battery safety and increase your jump-start success.
How to Remove Jumper Cables and Start Your Engine Safely
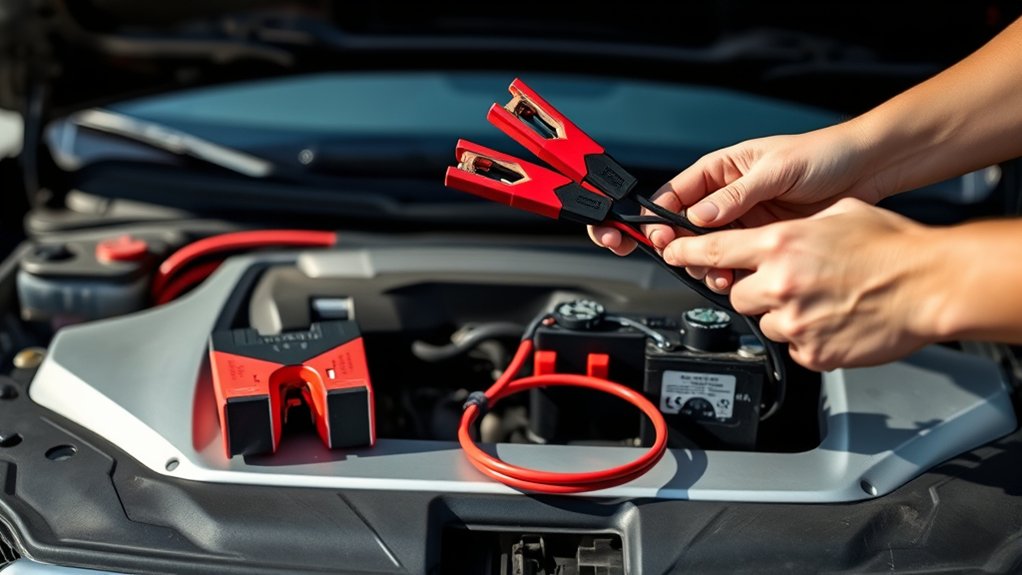
How should you safely remove jumper cables and start your engine to prevent damage or injury? First, ensure both vehicles’ engines remain off before removing cables. Disconnect the cables in reverse order of connection: start by removing the black clamp from the grounded metal surface of the dead car, then the black clamp from the donor battery’s negative terminal.
Next, remove the red clamp from the donor battery’s positive terminal, followed by the red clamp from the dead battery’s positive terminal. Avoid touching clamps together during removal to prevent sparks. After removing cables, attempt to start the dead engine.
If start failure occurs, wait a few minutes before retrying. Throughout this process, maintain roadside safety by positioning vehicles away from traffic and using hazard lights to alert others.
Frequently Asked Questions
Can Jumper Cables Damage My Car’s Electrical System?
Yes, improper jumper cable use can damage your car’s electrical system. To minimize electrical system risks, follow jumper cable safety protocols carefully, ensuring correct connection order and avoiding sparks or reversed polarity during the jump-start process.
How Long Should I Wait Before Removing Jumper Cables?
You should wait at least 3-5 minutes after the dead battery starts before removing jumper cables to guarantee sufficient charge.
Removing cables too soon increases jump start risks, potentially harming your car’s electrical system.
Are There Alternatives to Using Jumper Cables for a Dead Battery?
About 30% of dead batteries result from poor alternator health. You can use portable jump starters or battery chargers, which consider battery chemistry, to revive your battery safely without relying solely on jumper cables.
Can I Jump-Start a Car in Extreme Weather Conditions?
Yes, you can jump-start a car in extreme weather, but prioritize battery safety. Wear insulated gloves, ensure cables are securely connected, and avoid sparks.
Cold temperatures reduce battery efficiency, so act swiftly and carefully.
What Should I Do if My Car Still Won’t Start After Jump-Starting?
Imagine your dashboard lights flicker but the engine won’t turn over. If your car still won’t start after jump-starting, check for dead battery symptoms.
Then try charging alternatives like a portable charger or replace the battery promptly.
Conclusion
Now that you know how to place jumper cables correctly, remember: “An ounce of prevention is worth a pound of cure.” Always double-check your connections—red to positive, black to negative, with the final black clamp on a grounded metal surface—to avoid sparks or damage.
Follow these steps carefully to jump-start your car safely and effectively. With practice, you’ll gain confidence and be ready to help yourself or others in a battery emergency.
Proper placement of jumper cables is key to ensuring a safe and successful jump-start every time.