Removing a PTO shaft from a gearbox is a task that demands careful attention to detail and proper technique to avoid costly damage. You’ll need to methodically prepare the system, choose the right tools, and understand how to handle locking mechanisms effectively. Proper removal of the PTO shaft from the gearbox is essential to maintain equipment integrity and ensure safety.
If you overlook any step, you risk misalignment or component failure. Before you begin, consider what precautions will ensure a smooth, safe removal process. Taking the time to follow each step carefully will help prevent damage and extend the life of your machinery.
Key Takeaways
- Fully depressurize and disconnect the gearbox from power sources before starting PTO shaft removal.
- Immobilize the gearbox and clean its exterior to prevent contamination during shaft extraction.
- Identify and disengage the locking mechanism, such as collars or pins, using appropriate tools carefully.
- Apply penetrating lubricant if corrosion is present, then steadily pull the PTO shaft while maintaining alignment.
- Inspect the shaft and gearbox for damage, lubrication condition, and seal integrity after removal for maintenance decisions.
Tools Needed to Remove a PTO Shaft
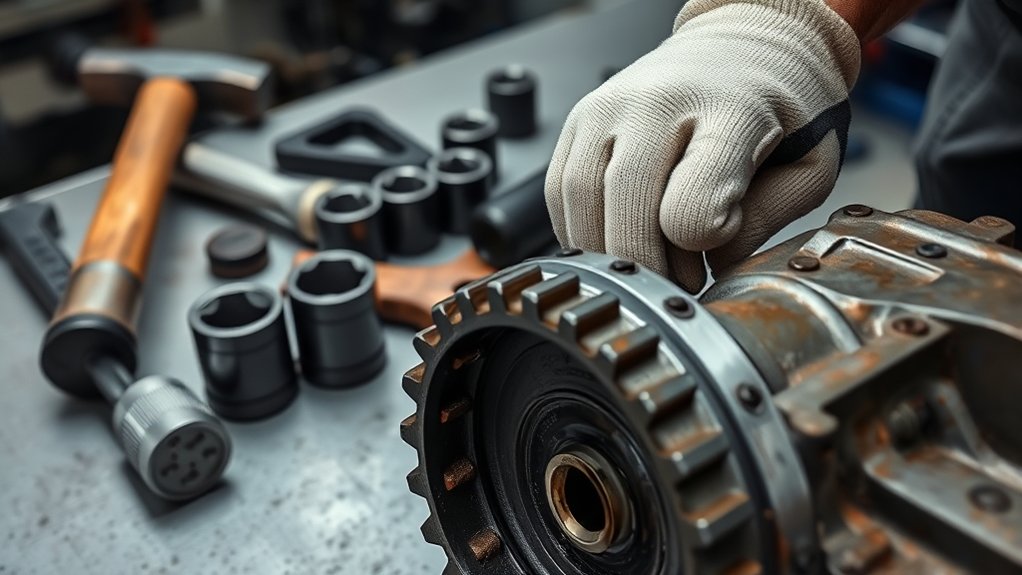
To remove a PTO shaft efficiently, you’ll need a specific set of tools designed for precision and safety. Start with a reliable wrench set and a shaft puller, essential for loosening and extracting the shaft without causing damage.
Efficient PTO shaft removal requires precision tools like a reliable wrench set and a shaft puller to prevent damage.
A torque wrench ensures you apply the correct force during reassembly. Precision screwdrivers help in handling smaller fasteners.
Prioritize investing in quality tools by leveraging budgeting strategies that allocate funds effectively, avoiding costly replacements. Additionally, seek mentorship opportunities with experienced technicians to gain practical insights into tool selection and usage, which enhances skill and reduces errors.
This analytical approach not only streamlines the removal process but also safeguards your equipment, ensuring optimal performance and longevity.
Preparing Your Gearbox for PTO Shaft Removal
Before you begin removing the PTO shaft, ensure the gearbox is fully depressurized and disconnected from power sources to prevent accidental engagement. This step is critical for your safety and to avoid damage.
Next, clean the gearbox exterior to prevent contaminants from entering during disassembly. Avoid unnecessary lubrication at this stage, as it can complicate the removal process and is an unrelated topic for this procedure.
Inspect the gearbox for visible wear or damage that might affect shaft removal. Secure the gearbox to stabilize it during the operation.
Finally, review the manufacturer’s guidelines to identify any model-specific precautions. By thoroughly preparing your gearbox, you minimize risks and streamline the subsequent removal steps, ensuring a controlled, efficient process without introducing avoidable complications.
Step-by-Step: Removing the PTO Shaft
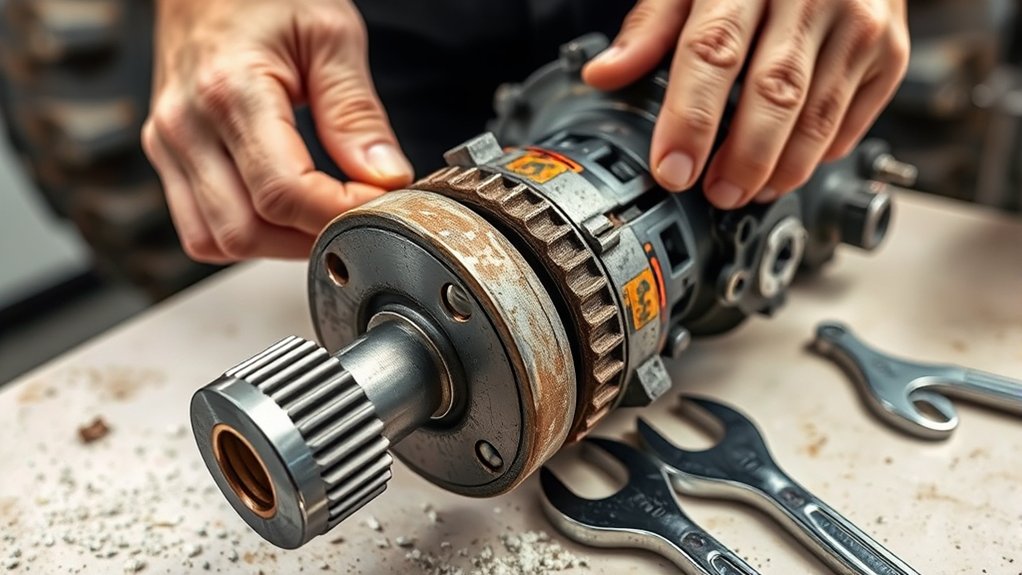
Although the preparation phase sets the foundation, removing the PTO shaft requires careful attention to the locking mechanisms securing it to the gearbox. First, ensure the gearbox is immobilized to prevent unintended movement.
Next, inspect the PTO shaft for signs of insufficient lubrication, which can cause increased friction and complicate removal. If corrosion risk is evident, apply a penetrating lubricant and allow it to penetrate before proceeding.
Use appropriate tools to disengage the shaft, avoiding excessive force that could damage the gearbox or shaft. Slowly and steadily pull the PTO shaft away, maintaining alignment to prevent binding.
Throughout, monitor for resistance caused by corrosion or debris, and address these issues promptly to ensure a smooth extraction process.
Handling PTO Shaft Locking Mechanisms
How exactly do you manage the locking mechanisms that secure the PTO shaft to the gearbox? Understanding PTO terminology is crucial here. Terms like “locking collar” and “spring pin” define the components you’ll interact with.
Start by ensuring the shaft lubrication is adequate; it eases the release of locking parts.
Proper lubrication of the shaft is essential to ease the release of locking components.
Follow this precise process:
- Identify the type of locking mechanism present on your PTO shaft.
- Disengage the locking collar by pulling or twisting, depending on design.
- Carefully remove any retaining pins or clips without damaging them.
- Apply light shaft lubrication to facilitate smoother disengagement and prevent corrosion.
Avoiding Damage When Removing the PTO Shaft
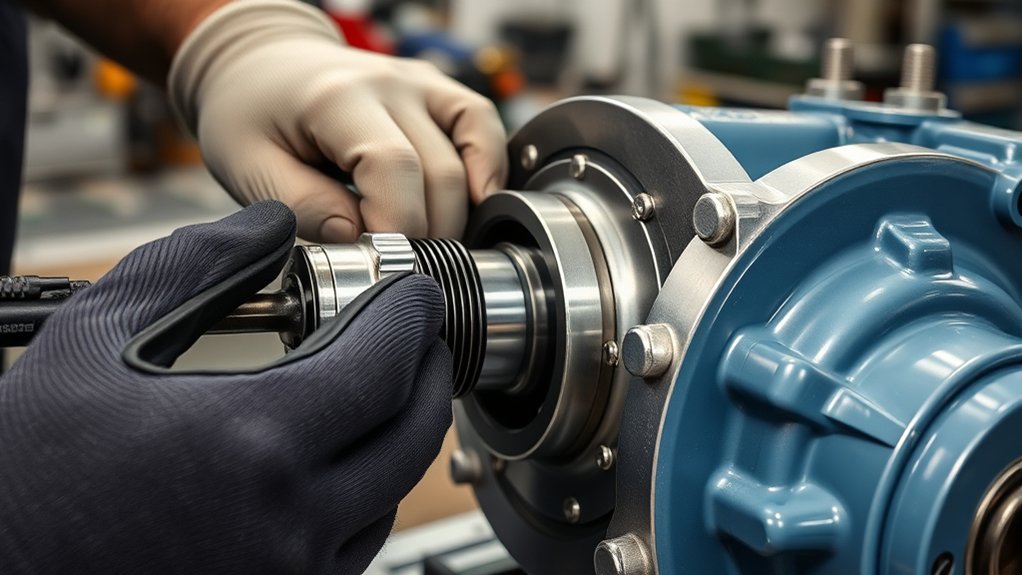
You’ll need to choose the correct tools to prevent damage during PTO shaft removal. Make sure the shaft is securely supported to avoid stress on the gearbox components.
Apply force gradually and evenly to maintain control and protect the assembly.
Proper Tool Selection
Why is selecting the right tools critical when removing a PTO shaft from a gearbox? Using improper tools can cause damage to the shaft, gearbox, or surrounding components, derailing your repair process.
Avoid confusing this task with unrelated topics or irrelevant concepts like using general wrenches or hammers, which can harm precision parts.
Focus on these essential tools:
- Properly sized pullers designed for PTO shafts
- Torque wrenches for controlled force application
- Soft-faced mallets to prevent surface damage
- Snap ring pliers for safe removal of retaining clips
Secure Shaft Support
Where should you apply support to prevent damage when removing the PTO shaft? You need to secure shaft support directly at the bearing housing or gearbox flange to maintain proper shaft alignment throughout the removal process.
Supporting the shaft at these critical points prevents undue stress on the splines and avoids bending or misalignment. Use sturdy clamps or an adjustable support stand that can be precisely positioned to hold the shaft steady.
Ensure the shaft remains aligned axially and radially to avoid introducing torque or lateral forces that could damage internal components. By securing the shaft properly before detaching it, you minimize the risk of gearbox seal damage or shaft warping.
This precise support is essential for preserving the mechanical integrity of both the PTO shaft and gearbox during removal.
Controlled Force Application
After securing the PTO shaft support at the bearing housing or gearbox flange to maintain alignment, apply force with control to avoid damaging internal components. Excessive or uneven force can cause irreversible torque, leading to gearbox misalignment or component breakage.
Controlled application mitigates risks associated with lubrication failure, which can worsen under stress.
Follow these steps for safe removal:
- Use a calibrated puller to apply gradual, uniform force.
- Monitor shaft movement constantly for resistance or binding.
- Avoid hammering, which induces shock loads and potential damage.
- Lubricate mating surfaces to reduce friction and prevent seizure.
How to Remove a Stuck PTO Shaft
When dealing with a stuck PTO shaft, you must first identify the cause of the binding to apply the correct removal technique. Inadequate gear lubrication or improper torque procedures often cause the shaft to seize.
Begin by cleaning the shaft and gearbox interface. Apply penetrating oil to loosen rust or debris. Use controlled torque to avoid damaging components when attempting removal.
| Cause | Removal Technique |
|---|---|
| Rust or corrosion | Apply penetrating oil |
| Insufficient lubrication | Add gear lubrication |
| Excessive torque | Gradually release torque |
| Mechanical deformation | Use gentle tapping |
| Debris or dirt | Clean and flush |
Carefully follow these steps to minimize damage and ensure effective shaft extraction.
Inspecting the Gearbox and PTO Shaft After Removal
Once you’ve removed the PTO shaft, carefully inspect both it and the gearbox for any visible damage, such as cracks or wear. Check the lubrication condition to ensure it’s clean and adequate, as this directly affects performance.
Finally, examine the gearbox seals for signs of leaks or deterioration that could compromise the system.
Visual Damage Assessment
A thorough inspection of the gearbox and PTO shaft is essential to identify any signs of wear, cracks, or deformation following removal. You need to focus on visual damage that could compromise function or safety.
Check the gear alignment carefully, as misalignment often causes premature failure.
Pay close attention to:
- Surface cracks or fractures on the PTO shaft and gearbox housing
- Wear patterns on gear teeth indicating improper meshing
- Signs of deformation, such as bent shafts or warped components
- Corrosion or pitting that may weaken structural integrity
Document your findings precisely. Early detection of visual damage and alignment issues will help you decide whether repair or replacement is necessary, ensuring reliable operation upon reassembly.
Lubrication Condition Check
Identifying visual damage on the gearbox and PTO shaft sets the stage for evaluating lubrication condition, which directly affects operational efficiency and component longevity. Start by draining the gearbox oil and examining its color and consistency; dark, gritty, or metallic particles indicate contamination risk and potential internal wear.
Inspect the PTO shaft’s lubrication points for signs of inadequate grease application or oil presence, as lubrication quirks can cause premature failure. Use a clean cloth to check for sludge buildup or oil emulsification, both signs of compromised lubrication.
Pay attention to oil level and viscosity to confirm adherence to manufacturer specifications. Document abnormalities precisely, as they inform maintenance decisions and prevent further damage. This thorough lubrication condition check ensures your gearbox and PTO shaft remain reliable after removal.
Gearbox Seal Inspection
How do you determine the integrity of gearbox seals after removing the PTO shaft? Begin with a thorough gearbox seal inspection to ensure no damage or wear jeopardizes lubrication. Follow these steps:
- Visually examine seals for cracks, deformation, or hardening.
- Check for lubricant leaks around the seal housing and PTO shaft interface.
- Rotate the PTO shaft by hand to detect abnormal resistance indicating seal binding.
- Assess the gearbox lubrication level and quality for contamination or depletion.
This inspection confirms whether seals maintain a proper barrier against lubricant loss and external debris. Detecting issues early prevents gearbox failure and extends PTO shaft service life. Always document seal conditions for maintenance records after each PTO shaft removal.
When to Repair or Replace PTO Shaft and Gearbox Parts
When should you decide between repairing or replacing PTO shaft and gearbox parts? Focus on the extent of wear, damage severity, and operational impact. Minor surface wear or seal leaks might justify repair, but deep grooves, cracks, or bent shafts typically require replacement.
Assess cost-effectiveness: sometimes repairs approach or exceed replacement expenses, making new parts the logical choice. Also, consider downtime and long-term reliability. Avoid distractions from unrelated topics, such as general engine maintenance, which don’t affect your PTO system’s integrity.
Don’t confuse off topic issues like hydraulic fluid problems with mechanical PTO faults. Use precise diagnostics—measure shaft runout, inspect gear teeth condition, and check bearing tolerances. Your decision should prioritize safety, functionality, and efficiency to maintain optimal gearbox performance without unnecessary expenditure or risk.
Frequently Asked Questions
What Are Common Causes of PTO Shaft Failure?
You’ll find common PTO shaft failures stem from wear due to poor lubrication, misalignment, and lack of regular inspection. Ignoring vibration signs often accelerates damage, so you should monitor these factors to prevent costly breakdowns.
How Often Should PTO Shafts Be Maintained?
You might think PTO shafts need constant upkeep, but sticking to the manufacturer’s maintenance schedule with proper lubrication intervals, typically every 8-10 hours of use, guarantees optimal performance and prevents premature failure effectively.
Can I Use a Universal PTO Shaft on Any Gearbox?
You can’t assume universal compatibility for every PTO shaft with any gearbox. You need to verify gearbox compatibility by checking shaft dimensions, spline count, and torque ratings to ensure proper fit and safe operation.
What Safety Precautions Should I Take When Operating a PTO Shaft?
You should always address safety concerns by wearing proper PPE, including gloves, safety glasses, and close-fitting clothing. Never operate the PTO shaft without guards.
Ensure the machine is off before performing maintenance to prevent accidents.
How Do I Know if My PTO Shaft Is Compatible With My Tractor?
You’ll know if your PTO shaft fits by matching the tractor’s PTO spline count and shaft diameter to the shaft’s specifications. Confirm compatibility precisely before you remove the PTO shaft to avoid mechanical issues or damage.
Conclusion
Removing a PTO shaft might seem intimidating, but with the right tools and careful steps, you can avoid damage and guarantee smooth operation. Don’t worry about stubborn shafts—using penetrating lubricant and proper technique prevents harm to your gearbox.
Always inspect parts after removal to catch wear early, saving time and cost. By following these precise procedures, you’ll maintain system integrity and extend your equipment’s lifespan effectively.
Proper removal of the PTO shaft from the gearbox is essential for maintaining your machinery’s performance and reliability.