Like a surgeon preparing for a critical procedure, you need to approach how to connect jumper cables to a car battery with precision and care. Start by ensuring both vehicles are off and safely positioned, then clearly identify the positive and negative terminals on each battery.
The sequence and placement of the clamps are essential for safety and effectiveness. Mastering these initial steps will set the foundation for a successful jump-start—so let’s break down the process in detail.
Key Takeaways
- Identify positive (+, red) and negative (–, black) terminals on both car batteries before connecting cables.
- Attach red clamp to dead battery’s positive terminal, then to donor battery’s positive terminal securely.
- Connect black clamp to donor battery’s negative terminal, then to an unpainted metal surface on the dead car.
- Double-check clamps are secure, separated, and cables clear of moving engine parts before starting donor vehicle.
- Remove cables in reverse order after successful start: black clamp from dead car, black from donor, then red clamps.
Preparing To Jump-Start Your Car Safely
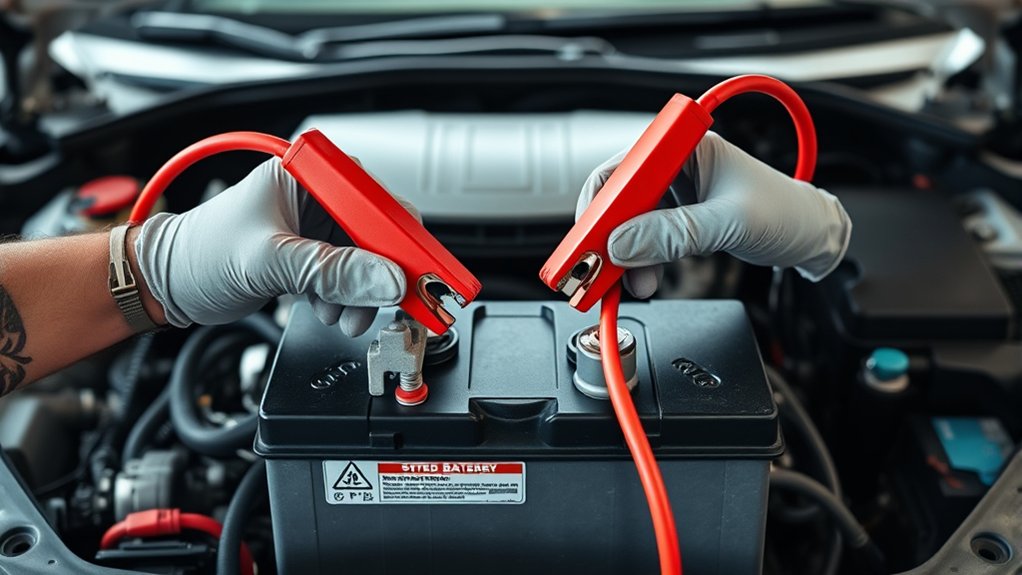
How do you prepare to jump-start your car safely? First, ensure both vehicles are turned off, with keys removed from the ignition.
To jump-start safely, always turn off both vehicles and remove keys from the ignition first.
Before connecting jumper cables, open your hood and locate the battery. While there, perform a quick inspection by identifying engine oil and checking coolant levels to confirm there are no leaks or overheating risks.
Use a clean rag to wipe battery terminals if corroded. Avoid touching any moving parts once the engine runs. Stay clear of fuel lines or exposed wiring.
Also, confirm that the battery casing is intact; cracked or swollen batteries pose hazards. Taking these steps ensures a safe environment before you connect jumper cables and proceed with the jump-start process.
Identifying Positive And Negative Battery Terminals
You’ll start by locating the positive terminal, usually marked with a plus sign (+) and often covered in red. The negative terminal is marked with a minus sign (–) and typically has a black cover or cable.
Correctly identifying these terminals guarantees you connect the jumper cables safely and avoid electrical damage.
Positive Terminal Identification
Where exactly do you connect the positive jumper cable on a car battery? For positive terminal identification, look for a terminal marked with a plus sign (+) or the letters “POS.” This terminal usually has a red protective cover or is attached to a red cable.
The positive terminal is typically slightly larger than the negative terminal to prevent confusion. Accurate positive terminal identification is essential to avoid connecting jumper cables incorrectly, which can cause electrical damage or injury.
Avoid mixing this with negative terminal identification, where the terminal is marked with a minus sign (–) and is often black. Focus solely on the positive terminal: find the clearly marked positive sign, confirm the red color coding, and ensure your jumper cable’s clamp secures firmly onto this terminal before proceeding.
Negative Terminal Identification
To identify the negative terminal on a car battery, look for the terminal marked with a minus sign (–) or labeled “NEG.” This terminal is often connected to a black cable and lacks the red protective cover found on the positive side.
When identifying terminals, rely on color coding and symbols to avoid mistakes. The positive terminal usually has a plus sign (+) and a red cable, while the negative terminal features the minus sign and a black cable. Confirm these markings before connecting jumper cables to prevent electrical hazards.
Always connect the negative jumper cable last and remove it first to minimize risk. By accurately identifying terminals using color coding and labels, you ensure a safe and effective jump-start process.
How To Attach Jumper Cables Safely
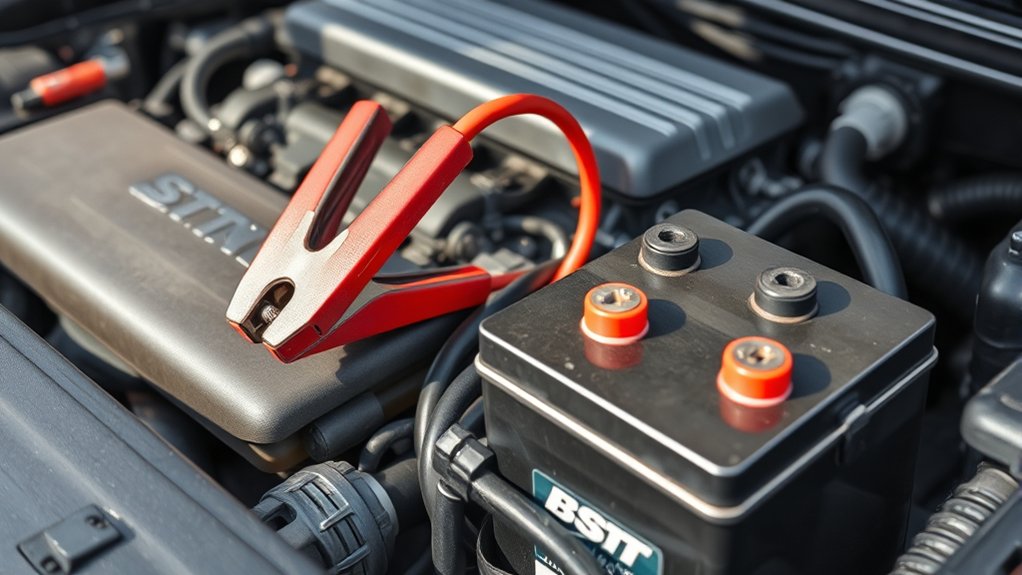
First, clearly identify the positive and negative terminals on both batteries.
Next, connect the jumper cables in the correct order to prevent sparks or damage.
Finally, make sure each cable clamp is securely attached to ensure a stable connection.
Identify Battery Terminals
How can you quickly identify the battery terminals before attaching jumper cables? Start by locating the positive terminal, usually marked with a plus sign (+) and often covered with a red cap or cable.
The negative terminal typically has a minus sign (–) and is connected to the car’s chassis or ground, often with a black cable. When identifying terminals, ensure there’s no corrosion or damage, as this impacts battery safety and connection quality.
Use a flashlight if visibility is poor, and avoid touching both terminals simultaneously to prevent short circuits. Properly identifying terminals is critical to avoid reversing polarity, which can damage electrical components or cause sparks.
Confirming terminal polarity sets the foundation for safe and effective jumper cable use.
Connect Cables In Order
A correct sequence for connecting jumper cables guarantees safety and prevents damage to both vehicles. To maintain jump start safety, you must follow the proper order after battery identification:
Attach the red (positive) clamp to the positive terminal of the dead battery. Connect the other red clamp to the positive terminal of the good battery.
Attach the black (negative) clamp to the negative terminal of the good battery. Connect the remaining black clamp to an unpainted metal surface on the disabled car’s engine block, away from the battery.
Double-check all connections before starting the engine.
This precise order minimizes the risk of sparks or electrical shorts. Adhering to battery identification and connection order ensures a safe and effective jump start every time.
Ensure Secure Cable Attachment
After connecting the cables in the correct order, double-check that each clamp grips firmly onto the battery terminals or designated grounding point. Ensure secure connections by applying steady pressure to the clamps, confirming they don’t slip or wobble.
Loose attachments can cause electrical resistance, leading to poor current flow and preventing sparks, which might ignite hydrogen gas near the battery. Use insulated handles to avoid accidental contact with metal parts. Avoid touching clamps together once connected.
Verify the positive clamps are attached to the positive terminals and the negative clamp on the grounded metal surface away from the battery to minimize spark risk. Maintaining secure connections is critical for efficient power transfer and safety during jump-starting.
Once confirmed, proceed to start the engine carefully.
Starting Your Car And What To Do Next
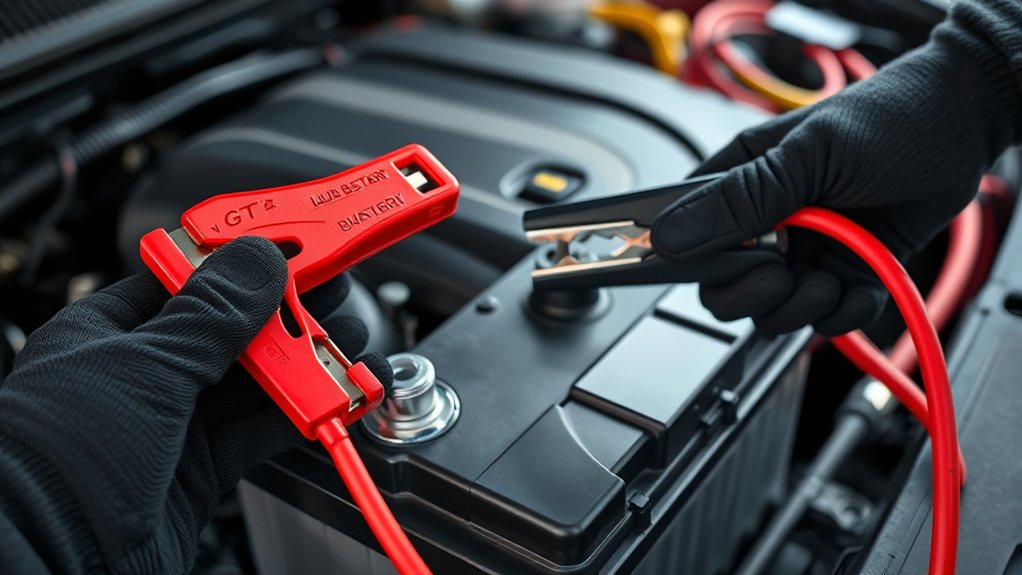
When should you attempt to start your car once the jumper cables are properly connected? Follow the starting procedures carefully to maintain battery safety and ensure a successful jump-start.
First, make sure the cables are securely attached and clear of any moving parts. Then, start the donor vehicle and let it run for a few minutes to charge the dead battery. Next, try starting your car without turning off the donor vehicle.
Ensure cables are secure and clear before starting the donor vehicle, then attempt to start your car without turning it off.
After your car starts, do the following:
- Keep both cars running for at least 5 minutes
- Remove cables in reverse order of connection
- Avoid touching cable clamps together
- Check for cable heat or damage
- Drive your car for 15-20 minutes to recharge the battery
These steps protect you and your vehicle while completing the jump-start safely.
Troubleshooting If Your Car Won’t Start
Why won’t your car start even after connecting jumper cables correctly? First, verify all cable connections are secure and free of corrosion; loose or dirty clamps impede current flow despite proper hookup.
Check the donor battery’s charge level. It must be adequate to transfer sufficient power. If the engine still won’t crank, inspect the battery terminals for damage, maintaining strict car battery safety to avoid sparks or acid exposure.
Next, consider the starter motor or ignition system. These components may require professional diagnosis. Always keep emergency preparedness in mind by carrying basic tools and having roadside assistance contacts ready.
If troubleshooting fails, do not repeatedly attempt to start the car to prevent electrical system damage or battery drain.
Disconnecting Jumper Cables Safely
How do you disconnect jumper cables without risking sparks or injury? Follow a systematic process to ensure safety and protect your vehicle’s electrical system. Begin by turning off both vehicles and removing the keys. Then, disconnect the cables in the reverse order of connection, which minimizes spark risks near the battery.
Disconnect jumper cables in reverse order after turning off vehicles to prevent sparks and ensure safety.
Remove the black clamp from the grounded metal surface or dead battery’s negative terminal first. Next, disconnect the black clamp from the donor battery’s negative terminal. Remove the red clamp from the dead battery’s positive terminal. Finally, disconnect the red clamp from the donor battery’s positive terminal.
Store cables properly and dispose of any damaged batteries according to local battery disposal regulations.
Following this procedure supports safe driving and prevents electrical hazards.
Common Jump-Starting Mistakes To Avoid
After safely disconnecting jumper cables, it’s important to recognize common jump-starting mistakes that can damage your vehicle or cause injury. First, avoid reversing cable polarity; connecting positive to negative can cause sparks or battery damage. Always connect the positive clamp to the positive terminal first.
Second, don’t connect the negative clamp directly to the dead battery’s negative terminal; instead, attach it to an unpainted metal surface on the engine block to prevent sparks near the battery. Third, never allow cable clamps to touch each other once connected, as this can cause short circuits.
Finally, avoid jump-starting a frozen or visibly damaged battery. Following these safe practices helps protect both you and your vehicle during jump-starting.
Battery Maintenance Tips To Avoid Jump-Starts
When should you check your car battery to prevent unexpected jump-starts? Regular battery upkeep is essential, ideally every three to six months. Addressing common charging myths helps maintain optimal performance.
Regularly check your car battery every three to six months to avoid unexpected jump-starts and maintain performance.
Follow these tips to avoid jump-starts:
- Inspect battery terminals for corrosion and clean them with a baking soda solution.
- Ensure the battery is securely mounted to prevent vibrations.
- Test battery voltage with a multimeter; a healthy battery reads around 12.6 volts.
- Avoid short trips that don’t allow the alternator to fully recharge the battery.
- Don’t rely on quick charging methods; slow, steady charging extends battery life.
Frequently Asked Questions
Can Jumper Cables Damage a Car’s Electrical System?
Yes, improper use of jumper cables can damage your car’s electrical system. You’ll face electrical risk, especially with aftermarket accessories or towing options.
Always follow precise procedures to avoid voltage spikes and protect sensitive electronics.
What Gauge Jumper Cables Are Best for Different Vehicles?
Think of jumper cables like arteries: for small cars, use 10-12 gauge for gauge compatibility and battery safety. For trucks or SUVs, 4-6 gauge cables handle higher current safely, preventing damage and ensuring efficient power flow.
How Long Can a Car Battery Sit Dead Before It Won’T Jump-Start?
You can usually jump start a dead battery within 24 to 48 hours, but jump start timing depends on battery condition and temperature.
After several days, sulfation reduces effectiveness, making jump starts less reliable or impossible.
Are There Alternative Methods to Jump-Start a Car Without Cables?
Yes, you can use alternative charging methods like portable jump starters or wireless jump starts. These devices deliver power directly without cables, letting you start your car safely and efficiently when traditional jumper cables aren’t available.
Can You Jump-Start a Hybrid or Electric Vehicle With Cables?
You can’t safely jump-start hybrids or electric vehicles with cables due to complex hybrid electrical systems. Always follow jump start safety guidelines and consult the manufacturer’s instructions to avoid damaging sensitive components or risking electric shock.
Conclusion
While connecting jumper cables might seem straightforward, rushing or reversing the sequence can cause sparks or damage. By carefully identifying each terminal and following the exact order—red to positive on the dead battery, red to positive on the donor, black to negative on the donor, and finally black to an unpainted metal surface on the dead car—you guarantee safety and effectiveness.
Precision in this process contrasts with the chaos a careless approach can bring. Taking your time ensures that your jump-start is both safe and successful. Following the proper steps is essential when you learn how to connect jumper cables to a car battery.