Much like a surgeon preparing for a delicate procedure, you need to approach removing a drive shaft U-joint with precision and care. Removing a drive shaft U-joint requires attention to detail to avoid damaging surrounding components. You’ll start by securing the vehicle and marking critical points to ensure proper alignment later.
The process involves specific tools and methodical steps to ensure a smooth removal. Understanding these details is crucial before moving forward with disassembly and extraction. Taking the time to prepare properly will make the task more manageable and prevent costly mistakes.
Key Takeaways
- Secure the vehicle, mark the drive shaft and flange for reassembly before unbolting flange bolts carefully.
- Remove retaining clips from U-joint caps using snap ring pliers or needle-nose pliers without damaging clips or yoke.
- Use a press or bench vise with the correctly sized socket to press out bearing caps evenly from the drive shaft yoke.
- Rotate and press out each bearing cap slowly to avoid warping or damaging the U-joint and surrounding components.
- Keep track of hardware, alignment marks, and inspect yokes and needle bearings for wear before proceeding with replacement.
Tools Needed to Remove a Drive Shaft U-Joint
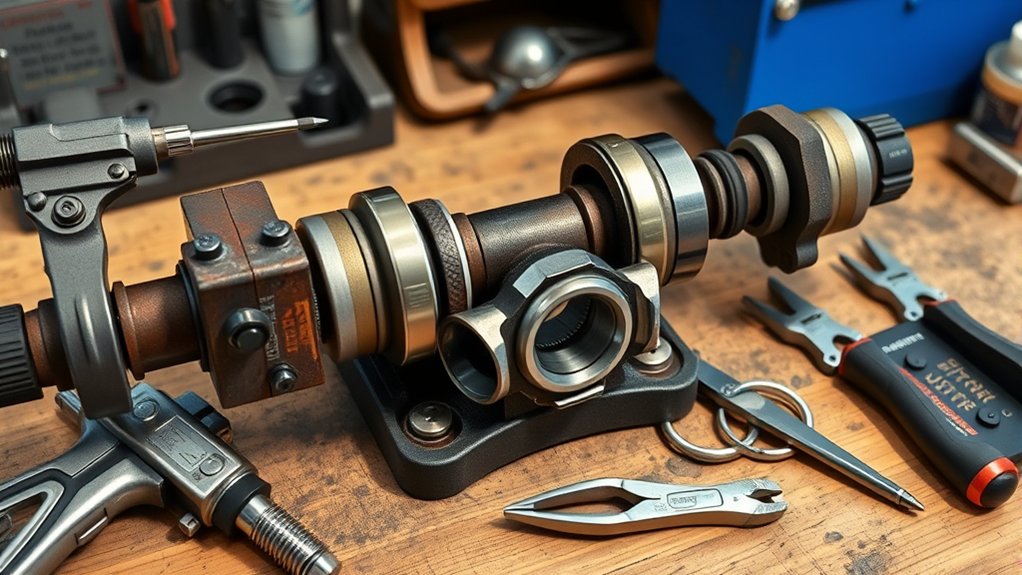
What tools do you need to remove a drive shaft U-joint effectively? You’ll require a few specialized tools to ensure precision and safety. Start with a socket set and wrenches to remove bolts securing the drive shaft.
A bench vise or U-joint press is essential to press out the old joint without damaging surrounding components. Needle-nose pliers help with retaining clips, while a hammer and punch assist in loosening stubborn caps.
Avoid unrelated topic or irrelevant discussion, such as general vehicle maintenance tools, which don’t contribute to this specific task. Having these precise tools ready prevents damage and streamlines the process.
Skipping unnecessary tools or irrelevant advice ensures you stay focused on the task, making your U-joint removal efficient and effective.
Preparing Your Vehicle for Drive Shaft U-Joint Removal
Before removing the drive shaft U-joint, you need to secure and position your vehicle properly to guarantee safety and accessibility. Begin by parking on a flat, stable surface and engage the parking brake to prevent movement. Chock the wheels opposite the drive shaft side to enhance stability.
Next, disconnect the negative battery terminal to avoid electrical hazards during vehicle maintenance. Inspect the drive shaft area for any leaks or damage that could complicate removal. Clean the surrounding components to improve visibility and reduce contamination risks to the U-joint assembly.
These steps are essential for effective car care and ensure a safe, efficient workspace. Preparing your vehicle thoroughly streamlines the removal process and minimizes potential injury or component damage.
How to Safely Lift and Support the Vehicle
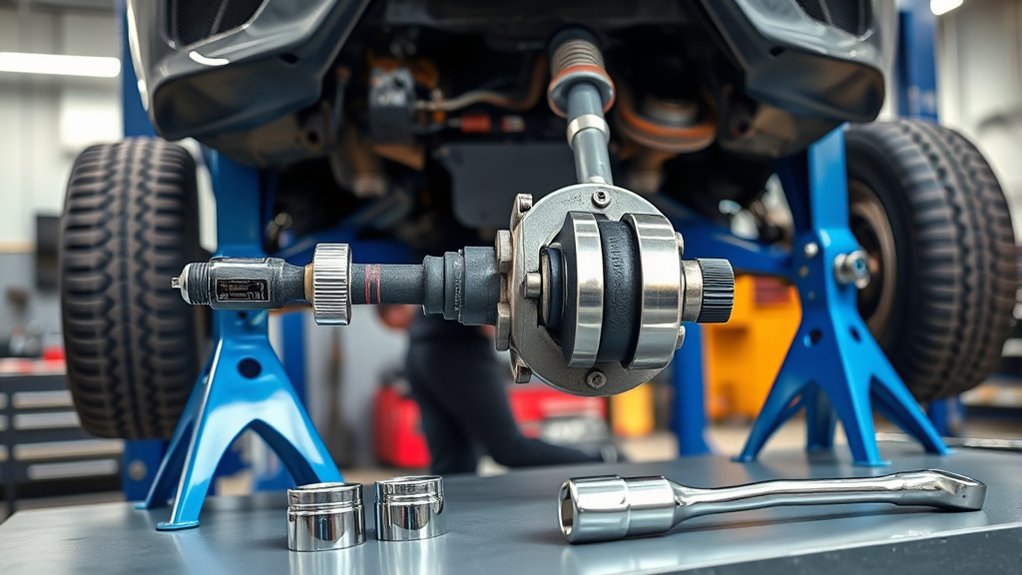
After securing your vehicle and disconnecting the battery, you’ll need to lift and support it safely to access the drive shaft U-joint. Begin by engaging the parking brake and placing wheel chocks behind the rear wheels to prevent movement.
Start by securing your vehicle with the parking brake and wheel chocks before lifting for U-joint access.
Use a hydraulic floor jack to raise the vehicle at manufacturer-recommended lift points, avoiding suspension components to maintain wheel alignment. Once elevated, position heavy-duty jack stands under the frame or axle to secure the vehicle; never rely solely on the jack.
While working, be mindful of brake components, as improper handling can affect recycling brakes systems. Confirm stability by gently shaking the vehicle before proceeding.
Proper lifting and support minimize risks and ensure precise work on the drive shaft U-joint without compromising suspension or brake integrity.
How to Remove the Drive Shaft From the Vehicle
How exactly do you remove the drive shaft from the vehicle without causing damage? Start by understanding the pros and cons of different removal methods to avoid common pitfalls.
First, ensure the vehicle is securely supported. Then, mark the drive shaft and flange for reassembly alignment. Next, carefully unbolt the flange bolts without stripping them.
Finally, gently slide the drive shaft out, avoiding excessive force that can damage splines or seals.
Key steps to avoid damage:
- Use penetrating oil on stubborn bolts to ease removal
- Support the drive shaft to prevent bending or dropping
- Avoid hammering directly on the shaft to prevent warping
- Keep track of hardware and alignment marks for reinstallation
This approach minimizes risks and ensures successful removal for your repair.
How to Extract the Old U-Joint From the Drive Shaft
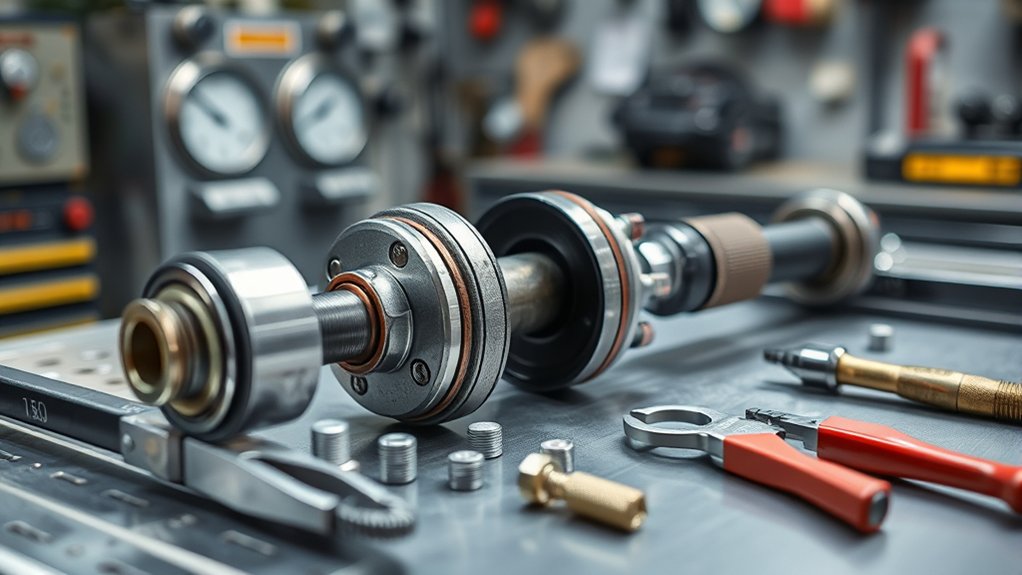
You’ll need a few tools like snap ring pliers and a press or vise to remove the old U-joint. Start by carefully removing the retaining clips that hold the U-joint caps in place.
Then, press out the U-joint from the drive shaft yoke, ensuring you don’t damage the surrounding components.
Tools Needed for Removal
What tools will you need to effectively extract the old U-joint from the drive shaft? Selecting the right tools ensures a smooth removal process without damaging stock choices or voiding warranty coverage. Precision tools minimize risk and maintain component integrity.
Prepare the following essentials:
- Socket set and ratchet: For removing bolts securing the drive shaft.
- Needle-nose pliers: To handle retaining clips without deformation.
- Hammer and punch: To carefully drive out the U-joint caps.
- Bench vise or C-clamp: To press the U-joint out safely and evenly.
Using these tools, you’ll control force application precisely, preventing damage to the drive shaft or surrounding parts. Avoid improvising with incorrect tools to preserve both the vehicle’s performance and your warranty rights.
Removing Retaining Clips
Where should you begin when removing the retaining clips securing the U-joint? Start by locating the snap rings or C-clips that hold the U-joint caps in the yoke of the drive shaft.
Understanding drive shaft basics and vehicle anatomy helps you identify these clips, which fit into grooves at the ends of the U-joint bearing caps. Use needle-nose pliers or a flathead screwdriver to carefully pry the clips out without damaging the yoke or caps.
Removing these retaining clips is crucial because they prevent the U-joint from sliding out during operation. Handle the clips with care, as they can be brittle. Once the clips are removed, the U-joint is free to be extracted, setting the stage for the next step in the removal process.
Pressing Out The U-Joint
Once the retaining clips are removed, you can begin pressing out the U-joint from the drive shaft yoke. Use a hydraulic press or bench vise to apply even pressure, avoiding damage to the yoke or bearing caps. Avoid distractions like irrelevant topic discussions or random pairing of tools that don’t fit the job.
Follow these steps precisely:
- Position the drive shaft so the U-joint is aligned with the press or vise.
- Use a correctly sized socket or adapter to press the bearing cap out evenly.
- Press slowly, monitoring for resistance or misalignment to prevent damage.
- Remove the first bearing cap, then rotate and repeat to free the U-joint completely.
This method ensures a clean extraction without compromising the drive shaft components.
How to Clean and Inspect the Drive Shaft Before Installation
Before reinstalling the drive shaft, you need to thoroughly clean and inspect it to ensure peak performance and prevent premature wear. Start with cleaning tips: use a degreaser and a stiff brush to remove all dirt, grease, and old lubricant from the shaft and yokes.
Dry the components completely to avoid contamination. For inspection basics, closely examine the yoke ears and splines for cracks, scoring, or deformation. Check the shaft for any bends or corrosion.
Pay attention to the bearing surfaces and cross journals; they must be smooth and free of pitting. Any signs of damage or excessive wear warrant replacement. This careful cleaning and inspection step ensures reliability and extends the drive shaft’s service life before you proceed with installation.
How to Install a New Drive Shaft U-Joint Correctly
How exactly do you confirm a new drive shaft U-joint is installed correctly? Avoid falling into the trap of uninspiring analogy or including unrelated safety tips that distract from the task. Focus sharply on the technical steps:
Ensure the U-joint caps sit flush within the yoke bores without gaps or misalignment.
Confirm U-joint caps are fully seated flush in yoke bores, with no gaps or misalignment.
Press the bearing caps evenly using a proper press tool or vice to avoid damaging needle bearings.
Verify the U-joint moves smoothly without binding or excessive play after installation.
Secure all retaining clips firmly in their grooves to prevent cap movement during operation.
How to Test and Reassemble the Drive Shaft After U-Joint Replacement
After replacing the U-joint, you need to ensure the drive shaft is properly aligned to prevent vibrations and premature wear. Check the U-joint function by rotating the shaft and feeling for smooth, unrestricted movement without play.
Once confirmed, reassemble the drive shaft securely, verifying all fasteners are torqued to specification.
Drive Shaft Alignment
Proper drive shaft alignment is critical to guarantee smooth operation and prevent premature wear following a U-joint replacement. Misalignment can cause vibrations, noise, and damage to surrounding components.
To ensure proper alignment, follow these key steps:
- Verify the drive shaft is centered and balanced on the yokes.
- Check for any angular deviations between the transmission output and differential input flanges.
- Adjust the drive shaft position to maintain consistent U-joint angles, avoiding excessive variation.
- Tighten all fasteners to factory torque specifications to prevent movement during operation.
Addressing alignment issues promptly ensures longevity and optimal performance of the drive shaft assembly. Skipping this step can lead to accelerated wear or failure, negating your replacement efforts. Always double-check alignment before finalizing reassembly to maintain drivetrain integrity.
U-Joint Function Testing
Once you’ve guaranteed accurate drive shaft alignment, you can proceed to test the U-joint function before reassembling the drive shaft. Begin by manually rotating the joint to feel for smooth, consistent movement without binding or excessive play.
Inspect the needle bearings for proper lubrication and absence of debris. Avoid relying on unrelated topic advice or irrelevant method suggestions that don’t address mechanical integrity.
Check for any unusual noises or resistance during rotation, as these indicate improper installation or damaged components. After confirming functionality, carefully reassemble the drive shaft, ensuring all retaining clips and fasteners are secure.
This precise approach ensures reliable operation and longevity of the U-joint, preventing premature failure and drivetrain issues.
Frequently Asked Questions
How Often Should I Replace My Drive Shaft U-Joint?
You should replace your drive shaft U-joint every 60,000 to 100,000 miles, but monitor for wear signs.
For a two word discussion idea, consider “maintenance schedule.” Avoid unrelated topic distractions to ensure precise timing.
What Are the Symptoms of a Failing U-Joint?
You’ll notice vibrations from poor drive shaft balance and clunking noises during acceleration or deceleration.
Lack of u joint lubrication causes stiffness or binding, signaling the u-joint is failing and requires immediate inspection or replacement.
Can a Worn U-Joint Cause Vibrations While Driving?
Yes, a worn U-joint can cause vibrations while driving. For example, a mechanic once diagnosed vibrations unrelated to tire balance or alignment by identifying U-joint wear affecting the drive shaft’s rotation.
Is It Possible to Repair a U-Joint or Must It Be Replaced?
You can’t reliably repair a worn u-joint; replacement is necessary. To prevent failure, follow maintenance intervals strictly, inspecting and lubricating joints regularly.
Repair options are limited and usually ineffective for safety and performance.
How Much Does Professional U-Joint Replacement Typically Cost?
You might think an unrelated topic like random idea generation costs nothing, but professional U-joint replacement typically runs $150 to $400. Labor and parts vary, so expect precision work to reflect in the price.
Conclusion
Now that you’ve carefully removed the old U-joint, you’re ready to install the new one with precision. Remember to keep everything aligned as if you were assembling a delicate timepiece, ensuring smooth operation and longevity.
Double-check your work before reassembling the drive shaft and lowering the vehicle. With attention to detail and proper tools, your drive shaft will function flawlessly.
Following these steps carefully will help you complete the drive shaft U joint replacement successfully, saving you from future headaches and costly repairs.