If you ground jumper cables incorrectly, you might as well invite sparks and damage to both vehicles’ electrical systems. Knowing where to ground jumper cables properly is crucial to ensure a safe and effective jump start.
You’ll want to avoid attaching the final clamp to the dead battery and instead find a clean, unpainted metal surface—preferably the engine block or chassis. But not all metal spots are created equal, and choosing the right grounding point can be trickier than it seems.
Understanding where to connect safely is essential. This careful step helps prevent electrical shorts and reduces the risk of injury while protecting both vehicles.
Key Takeaways
- Ground jumper cables to a clean, unpainted metal part of the dead vehicle’s engine block or chassis.
- Avoid connecting the negative clamp directly to the dead battery’s negative terminal to reduce spark risk.
- Choose factory-designated grounding spots or bolts firmly attached to the frame for safe grounding.
- Ensure the grounding point is free from paint, rust, dirt, and corrosion for better electrical conductivity.
- Ground away from the battery to minimize hydrogen gas ignition and protect vehicle electronics during jump-starting.
Why Proper Grounding Is Key
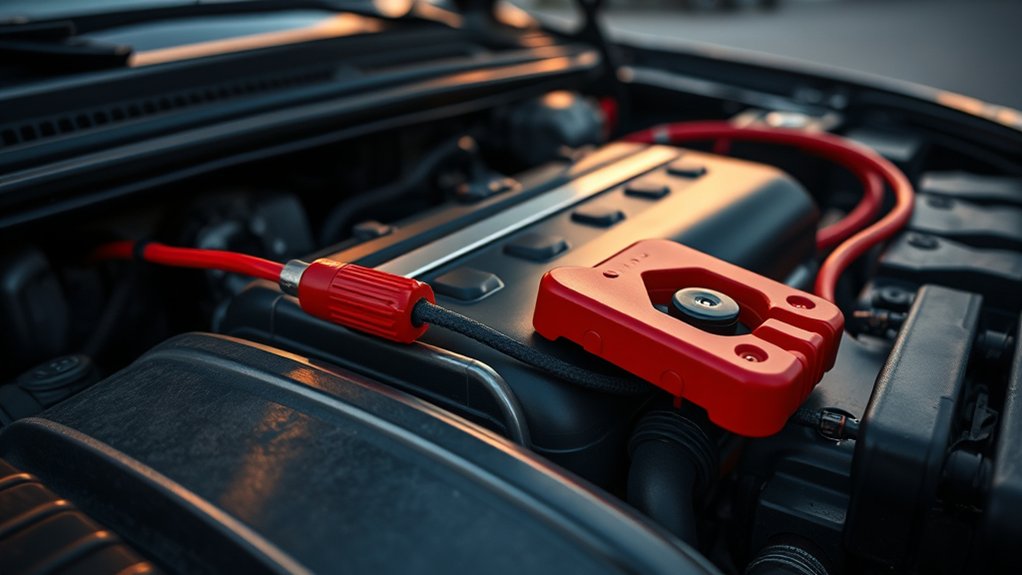
Although it might seem straightforward, proper grounding is essential when using jumper cables to ensure safety and prevent damage. Understanding grounding fundamentals helps you avoid common safety misconceptions that can lead to sparks or electrical shorts.
You need to connect the negative cable to a solid, unpainted metal surface on the disabled vehicle’s engine block or chassis, rather than the battery’s negative terminal. This method minimizes the risk of igniting hydrogen gas emitted by the battery.
Many people mistakenly believe attaching the cable directly to the battery is safe, but that increases explosion hazards. By following proper grounding protocols, you reduce electrical resistance and create a stable path for current flow, protecting both vehicles’ electrical systems and ensuring your safety during the jump-start process.
How to Connect Jumper Cables Safely
You’ll connect the jumper cables in a specific order to prevent sparks and ensure safety. Start by attaching the positive clamps to the battery terminals, then ground the negative clamp to an unpainted metal surface on the dead vehicle.
Following these steps minimizes risk and guarantees a stable connection.
Proper Cable Connection Order
How exactly should you connect jumper cables to assure safety and effectiveness? Following the proper cable connection order is crucial for jumper cables to prevent sparks, damage, or injury. You’ll want to focus on grounding safety by correctly sequencing your connections.
- Attach the red (positive) clamp to the dead battery’s positive terminal first.
- Connect the other red (positive) clamp to the live battery’s positive terminal.
- Connect the black (negative) clamp to the live battery’s negative terminal.
- Attach the final black (negative) clamp to an unpainted metal surface on the dead vehicle, away from the battery.
- Confirm all clamps are secure before starting the engine.
This method minimizes the risk of electrical shock and ensures a stable circuit for jump-starting your vehicle safely.
Safe Grounding Techniques
Where exactly should you attach the final grounding clamp when jump-starting a car? Avoid connecting it directly to the dead battery’s negative terminal; instead, attach it to a clean, unpainted metal part of the engine block or chassis. This method minimizes sparking and reduces explosion risks, debunking common grounding myths and safety myths that suggest otherwise.
| Step | Correct Clamp Placement | Reason |
|---|---|---|
| 1 | Positive terminal (dead battery) | Power source |
| 2 | Positive terminal (good battery) | Power destination |
| 3 | Negative terminal (good battery) | Ground reference |
| 4 (final clamp) | Engine block or chassis (dead car) | Prevents sparking |
| Avoid | Negative terminal (dead battery) | Risk of sparks/explosion |
Follow this precise sequence to ensure safety.
Where to Find Safe Grounding Points
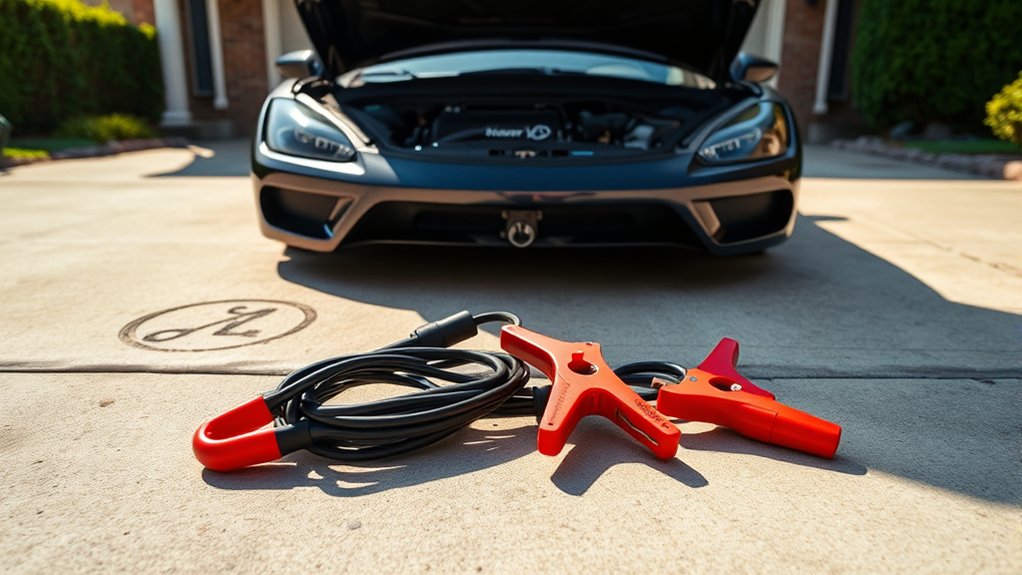
Identifying safe grounding points is essential for jump-starting a vehicle without causing electrical damage or sparks. When locating these points, you’ll want to focus on secure connections that ensure safe routing of the electrical current while minimizing weather risks like corrosion or moisture interference.
Look for:
- Factory-designated grounding spots marked in the vehicle manual
- Clean, unpainted metal surfaces on the engine block or chassis
- Bolts or brackets firmly attached to the frame
- Areas shielded from water exposure to reduce corrosion risk
- Avoiding plastic, rusted, or painted components which can impede conductivity
How to Identify Safe Metal Grounding Points
Once you’ve located potential grounding spots, focus on selecting metal surfaces that offer solid electrical conductivity and structural stability. Safe locations are typically unpainted, rust-free, and securely attached to the vehicle’s chassis. Avoid areas with dirt, grease, or corrosion, as these can hinder metal contact and electrical flow.
Use a wire brush or sandpaper to expose bare metal if necessary. Ensure the spot is easily accessible and won’t interfere with moving parts or wiring. Bolts, brackets, or structural frame components often serve as reliable grounding points because they maintain a consistent connection to the vehicle’s ground system.
Safe Engine Block Grounding
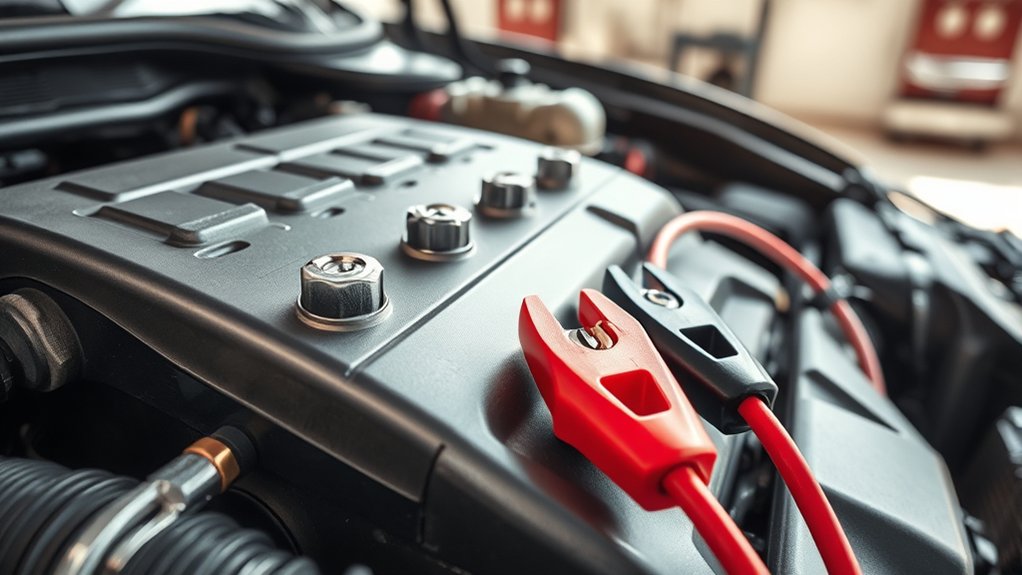
When grounding jumper cables, you’ll want to connect to a clean, unpainted section of the engine block for a reliable ground. Avoid attaching the cable directly to the battery’s negative terminal to reduce the risk of sparks near the battery.
Choosing the right engine block location ensures a safer and more effective jump start.
Ideal Grounding Locations
Where should you connect the ground jumper cable to guarantee a safe and effective boost? For optimal results and DIY safety, you want a solid, unpainted metal surface on the engine block or chassis. This ensures a reliable ground connection, reduces sparking risk, and aligns with proper highway etiquette by minimizing hazards.
Ideal grounding locations include:
- Unpainted metal surfaces on the engine block
- Designated grounding points near the battery
- Metal brackets attached securely to the chassis
- Clean, rust-free bolts on the engine block
- Engine mounts with exposed metal parts
Avoid painted or corroded areas; they inhibit conductivity. Choosing these spots ensures a stable circuit, protects vehicle electronics, and helps you complete the jump-start quickly and safely.
Avoiding Battery Terminal Risks
Connecting the ground jumper cable directly to the negative battery terminal can increase the risk of sparks and potential battery damage. To enhance engine safety, you should instead attach the ground clamp to an unpainted metal part of the engine block or chassis.
This method minimizes the chance of explosive gases igniting near the battery. Many people fall prey to voltage misconceptions, assuming the battery terminal is the safest ground point. However, the engine block offers a more stable and less volatile grounding location, reducing electrical resistance and spark hazards.
Which Chassis Parts Are Safe for Grounding
How do you identify safe chassis points for grounding jumper cables? It’s essential to debunk grounding myths and focus on battery safety by selecting proper metal parts that ensure a secure connection without sparking or damage.
When looking for a grounding point, avoid painted surfaces or rust, as they hinder conductivity. Instead, choose clean, unpainted, and heavy-duty metal components directly connected to the engine block or frame.
Reliable grounding points include:
- Engine block bolt or bracket
- Chassis frame near the battery
- Unpainted suspension component
- Strut tower bolt
- Metal part of the firewall
Using these ensures a low-resistance path, minimizing risk during jump-starting and maintaining overall battery safety.
What to Do If You Can’t Find a Grounding Point?
Struggling to locate a suitable grounding point during a jump-start can be challenging, but you still have options to guarantee a safe and effective connection. First, thoroughly inspect the engine block or other substantial metal components that are unpainted and free of corrosion. These parts often serve as reliable grounds.
If no obvious grounding spot exists, avoid shifting to an unrelated topic or off topic discussion; focus strictly on structural metal contact points. You can also consult your vehicle’s manual for manufacturer-recommended grounding locations.
In rare cases, attaching the negative clamp to the negative terminal of the dead battery is acceptable, but this will be addressed separately. Maintaining a proper ground ensures current flows safely, preventing sparks or damage during the jump-start process. Stay precise and avoid improvisations beyond verified grounding points.
Why You Should Avoid Grounding Directly on the Dead Battery
Why shouldn’t you attach the negative clamp directly to the dead battery’s terminal? Contrary to some grounding myths, doing so can create safety hazards and reduce jump-start effectiveness.
Modern alternators and vehicle electronics require a stable ground, which is best achieved away from the dead battery’s terminal.
Here’s why you should avoid direct grounding on the dead battery:
- Sparks can ignite hydrogen gas emitted by the battery.
- Corrosion on the terminal may hinder electrical contact.
- Dead batteries might have unstable voltage, affecting current flow.
- A poor ground connection can damage sensitive electronics.
- Modern alternators function optimally with a chassis or engine block ground.
Common Mistakes to Avoid When Grounding Jumper Cables
Avoiding direct grounding on the dead battery reduces risks, but it’s equally important to steer clear of common mistakes when attaching jumper cables. Proper grounding etiquette ensures safety and spark prevention, so avoid these pitfalls:
| Mistake | Consequence | Solution |
|---|---|---|
| Grounding on battery | Sparks, explosion risk | Use unpainted metal on engine block |
| Connecting reverse | Damage to electronics | Double-check polarity before connecting |
| Using rusty surfaces | Poor connection | Clean grounding point thoroughly |
Don’t connect the negative clamp to the dead battery terminal, as it increases spark risks. Also, avoid ignoring polarity, which can cause electrical damage. Ensure the grounding point is clean and metal, improving conductivity and reducing the chance of sparks. Following these grounding etiquette rules protects both you and your vehicle during jump-starting.
Tips for Preventing Sparks and Electrical Damage
How can you minimize sparks and prevent electrical damage when using jumper cables? First, understand and avoid common grounding misconceptions, such as assuming any metal part will suffice for grounding.
Proper spark prevention requires connecting the negative cable to an unpainted, grounded metal surface away from the battery. Follow these technical tips:
- Attach positive clamps firmly to clean battery terminals before connecting negatives.
- Connect the negative clamp to the car’s engine block or designated grounding point, not the battery’s negative terminal.
- Ensure cables don’t touch each other or moving engine parts.
- Avoid reversing polarity by double-checking clamp positions.
- Start the donor vehicle first, then the recipient, to stabilize current flow.
Frequently Asked Questions
Can Jumper Cables Damage My Vehicle’s Electrical System?
Yes, jumper cables can damage your vehicle’s electrical system if grounding safety isn’t observed or cable insulation is compromised. Always check insulation integrity and connect cables properly to prevent voltage spikes and electrical faults.
How Long Should I Wait Before Starting the Dead Car?
Once your cables are securely grounded, wait about three to five minutes to let the dead battery absorb the charge. This pause guarantees safety, prevents sparks, and follows grounding best practices before you start the engine.
Are There Differences in Grounding for Electric vs. Gasoline Vehicles?
Yes, you’ll notice grounding safety varies due to battery types differences; electric vehicles use high-voltage systems needing specific grounding points to avoid hazards, while gasoline vehicles rely on standard chassis grounding for safe jumper cable connections.
Can I Use Jumper Cables in Extreme Weather Conditions?
Don’t beat around the bush. Yes, you can use jumper cables in extreme weather, but ensure cable insulation is intact to prevent shorts or shocks. Thick, weather-resistant insulation helps maintain safe conductivity and protects against moisture damage effectively.
What Are the Signs of a Faulty Jumper Cable?
You’ll notice faulty jumper cables if the insulation is damaged or missing, leading to exposed wires. Poor grounding alternatives cause sparks or inconsistent power flow.
Always check for proper insulation to guarantee safe, effective operation.
Conclusion
Grounding jumper cables correctly is the linchpin of a safe jump-start. Always clamp onto a clean, unpainted metal surface—preferably the engine block or chassis—never the dead battery. Think of your grounding point as the electrical anchor, preventing sparks and damage.
If you can’t find a solid spot, pause and reassess rather than risking harm. By following these precise steps, you’ll protect both vehicles and ensure a smooth, safe power transfer every time.
Remember, where to ground jumper cables is crucial for a safe and effective jump-start.