When you need to remove the drive shaft from the rear differential, you’ll want to start by properly lifting and securing the vehicle to ensure safety.
Identifying the bolt pattern and loosening them correctly will prevent damage to the flange.
Precise handling of the drive shaft and inspection of related components is crucial before removal.
Following a systematic approach will help you avoid common pitfalls and prepare you for the next steps in the process.
Key Takeaways
- Park the vehicle on a flat surface, engage the parking brake, and lift the rear using a hydraulic jack with jack stands for safety.
- Locate the drive shaft at the rear differential flange and inspect bolts or U-joints securing the connection.
- Use a socket set and breaker bar to loosen bolts in a star pattern to prevent flange warping.
- Gently pry the drive shaft from the differential flange using a pry bar and tap with a rubber mallet if needed.
- Wear gloves and safety glasses, ensure stable jack stands, and inspect differential components after drive shaft removal.
Tools Needed to Remove the Drive Shaft
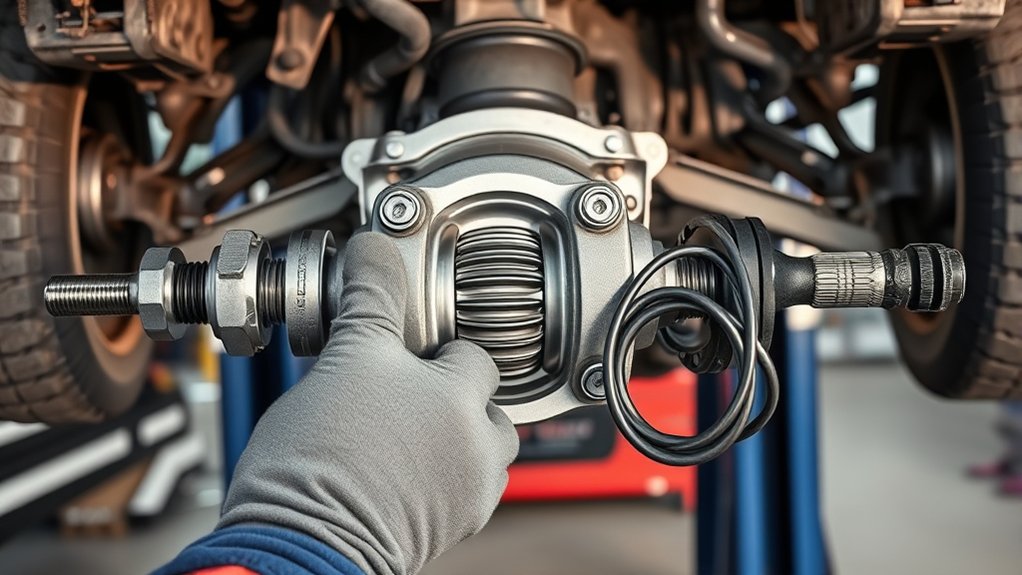
To remove the drive shaft from the rear differential, you’ll need a specific set of tools to guarantee the job is done safely and efficiently. Essential tools include a socket set with appropriate sizes, a torque wrench, and a pry bar for loosening the shaft.
Don’t overlook a rubber mallet to tap components without causing damage. While it might be tempting to dive into tangential discussions about unrelated topics like general vehicle maintenance, focus strictly on tools relevant to this task. Avoid distractions that might lead you off track.
Having these tools organized before starting will streamline the process and prevent unnecessary delays. Remember, precision and preparedness are critical when working on drivetrain components to avoid damage and ensure safety throughout the removal.
Lifting and Securing Your Vehicle Safely
Once you’ve gathered the necessary tools, focus on lifting and securing your vehicle properly before removing the drive shaft. Skipping this step or doing it incorrectly leads to common DIY mistakes that compromise your safety and car care.
Start by parking on a flat, stable surface and engage the parking brake. Next, use a reliable hydraulic jack to lift the rear, then place quality jack stands under the frame for support. Never rely on the jack alone.
Key steps include:
- Positioning jack stands at manufacturer recommended lift points
- Ensuring the vehicle is stable by gently shaking it after setting the stands
- Chocking the front wheels to prevent roll
These precautions protect you and prevent damage during the drive shaft removal process.
Locating and Inspecting the Drive Shaft and Rear Differential
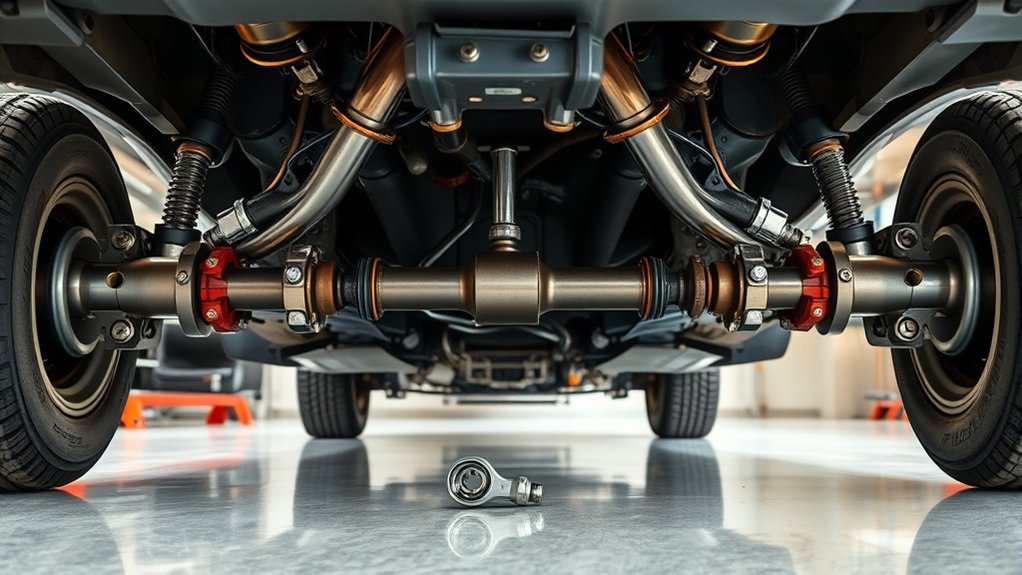
Where exactly is the drive shaft connected to the rear differential, and how can you identify potential issues before removal? The drive shaft attaches at the rear differential flange, secured by bolts or U-joints.
To locate it, look underneath the vehicle’s center, tracing the shaft from the transmission output to the differential housing. Before removal, inspect the universal joints for wear, rust, or looseness, and check the differential housing for leaks or damage.
Avoid getting distracted by irrelevant topics like unrelated concept discussions of transmission internals; focus strictly on the connection points and physical condition. Precise identification of worn or damaged components here prevents further issues during reassembly.
This methodical inspection ensures you address all critical points before proceeding to the next removal steps.
Step-by-Step Guide to Unbolting the Drive Shaft
You’ll need a socket wrench set and possibly a breaker bar to loosen the drive shaft bolts effectively. Start by securing the vehicle and locating each bolt connecting the drive shaft to the rear differential flange.
Follow a systematic sequence to unbolt each fastener evenly, ensuring you maintain control and avoid damage.
Required Tools Overview
What tools do you need to safely and efficiently unbolt the drive shaft from the rear differential? Focusing on the relevant equipment is essential; any irrelevant topic or unrelated concept, such as using improper tools, can compromise safety and damage components.
You’ll want to gather:
- A ratchet wrench with appropriate socket sizes, typically 13mm to 15mm, to remove bolts securely.
- A breaker bar to provide extra leverage for loosening stubborn fasteners.
- Penetrating oil to loosen rusted or seized bolts, ensuring smooth removal.
Avoid improvising with unrelated concepts like pliers or adjustable wrenches, which lack the torque and precision required. Having these specific tools at hand prepares you for the unbolting procedure, ensuring an efficient and damage-free process.
Unbolting Procedure Steps
How exactly do you begin unbolting the drive shaft from the rear differential? First, ensure the vehicle is securely lifted and supported. Locate the flange connecting the drive shaft to the differential.
Using a properly sized socket wrench, methodically loosen the bolts in a star pattern to prevent warping. Keep track of bolt placement to avoid issues during reassembly.
If you’re performing irreversible customization or engine upgrading, be mindful that improper removal can damage components, complicating future modifications.
Once bolts are removed, gently separate the drive shaft from the differential flange. Avoid forcing the connection to prevent damage.
This precise unbolting procedure safeguards your drivetrain integrity and transition for any irreversible customization or engine upgrading tasks you plan next.
Safety Tips for Removing and Handling the Drive Shaft
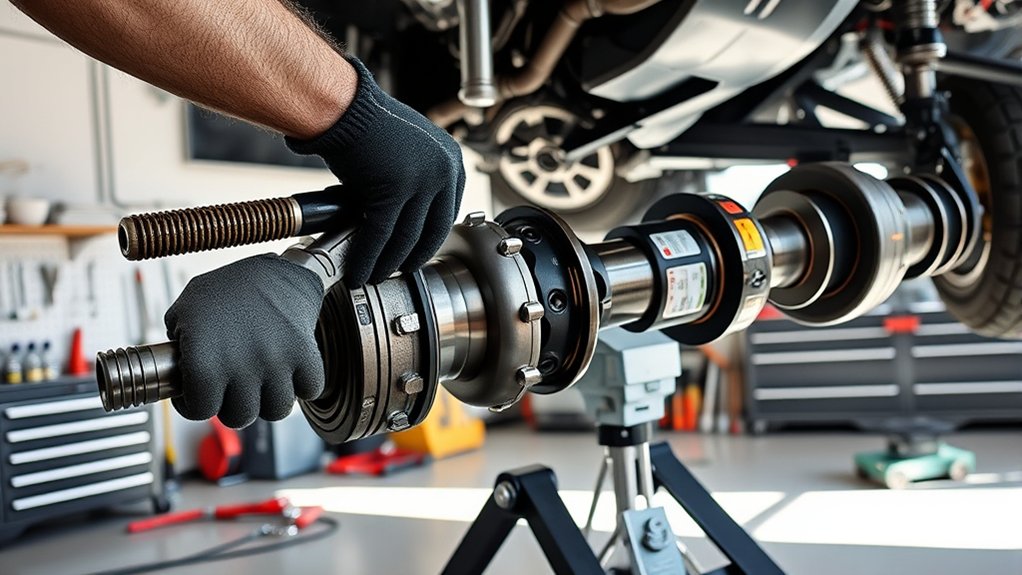
Although removing the drive shaft may seem straightforward, prioritizing safety throughout the process is essential to prevent injury and equipment damage. Before starting, ensure you have completed proper safety training to understand potential hazards and follow insurance considerations related to workshop operations.
Prioritize safety and proper training to prevent injury and damage when removing the drive shaft.
Always maintain a methodical approach when handling the drive shaft.
To stay safe, remember to:
- Wear appropriate personal protective equipment (PPE), including gloves and safety glasses.
- Secure the vehicle on stable jack stands to prevent unexpected movement.
- Use tools rated for automotive use to avoid slippage or breakage during unbolting.
Common Drive Shaft Removal Problems and Solutions
When encountering difficulties during drive shaft removal, pinpointing the exact cause allows you to apply targeted solutions efficiently. A common problem involves bolts that seem seized, often due to corrosion or overtightening beyond recommended torque specifications.
Avoid disassembly myths like using excessive force or heating components indiscriminately, which can damage seals or universal joints. Instead, apply penetrating oil and let it sit before gently tapping bolts with a mallet to break them free.
Another issue is drive shaft misalignment causing binding; ensure proper support and alignment before detaching. If the yoke is stuck, use a puller tool rather than prying to prevent damage.
Following manufacturer torque specifications during reassembly prevents future removal issues and maintains component integrity.
Next Steps After Removing the Drive Shaft
After successfully addressing common removal challenges and extracting the drive shaft, you’ll need to inspect the rear differential and surrounding components carefully. Neglecting this step can lead to irreversible damage during reassembly or operation.
Begin by checking for:
- Wear or scoring on the differential gears and bearings
- Leaks or degradation in differential seals and gaskets
- Condition of mounting points and fasteners for integrity
Document any findings thoroughly, as certain jurisdictions impose legal considerations on vehicle modifications or repairs affecting safety. If you notice significant damage or wear, consult manufacturer guidelines or a certified technician before proceeding.
Proper inspection ensures safe reinstallation and optimal performance, preventing costly failures or legal complications down the line.
Frequently Asked Questions
What Are the Signs of a Failing Rear Differential?
You’ll notice grinding or whining differential sounds, vibrations during acceleration, and fluid leaks. These signs indicate poor drivetrain maintenance, signaling your rear differential needs inspection or repair to prevent further mechanical damage.
How Often Should the Drive Shaft Be Inspected?
You wouldn’t want your drive shaft inspection to be as rare as a unicorn sighting. Check it every 30,000 miles to keep rear differential maintenance effective, ensuring smooth power transfer and avoiding costly drivetrain failures.
Can I Drive Without a Drive Shaft?
You can’t drive without a drive shaft; it’s essential for power transfer. Neglecting drive shaft maintenance compromises drive shaft safety, risking damage and accidents.
Always ensure your drive shaft is intact and inspected regularly for reliable vehicle operation.
What Is the Average Cost to Replace a Drive Shaft?
You’ll typically face a drive shaft cost between $300 and $800, depending on your vehicle. Watch for rear differential signs like vibrations or noises, which often indicate it’s time to replace the drive shaft promptly.
How Do I Know if My Drive Shaft Needs Balancing?
If your driveshaft balance feels off, like a spinning top wobbling, check for vibration diagnosis results. Persistent vibrations at certain speeds indicate imbalance, so methodically inspect joints, weights, and alignment to confirm if balancing’s needed.
Conclusion
Now that you’ve carefully unbolted and separated the drive shaft from the rear differential, you might notice how those star-pattern bolts weren’t just a suggestion—they really do prevent warping. It’s funny how following precise steps not only makes the job smoother but also keeps your components intact.
Remember, wearing PPE and inspecting every joint guarantees safety and longevity. With these methodical steps behind you, you’re set for a secure reassembly or further maintenance.
By mastering how to remove the drive shaft from the rear differential, you ensure a safer, more efficient repair process and help maintain the integrity of your vehicle’s drivetrain.