You might not realize that red positive on jumper cables is almost always designated as the positive connection to prevent dangerous mistakes during jump-starts. This color coding isn’t arbitrary—it’s a standardized safety measure that protects your vehicle’s electrical system.
However, simply knowing the color isn’t enough; proper identification and connection methods are critical to avoid sparks or damage. Understanding these nuances can make all the difference when you’re jump-starting a battery.
Key Takeaways
- Red jumper cables are universally designated as positive to ensure consistent and safe battery connections.
- The positive terminal is usually marked with a plus sign (+) and often has a red cover or cable.
- Using red for positive helps prevent incorrect connections and electrical hazards during jump-starts.
- Always verify polarity with terminal markings or a multimeter before connecting cables, especially if colors are unclear.
- Connecting the red clamp to the positive terminal of both batteries ensures proper and safe current flow.
Why Is the Red Jumper Cable Positive?
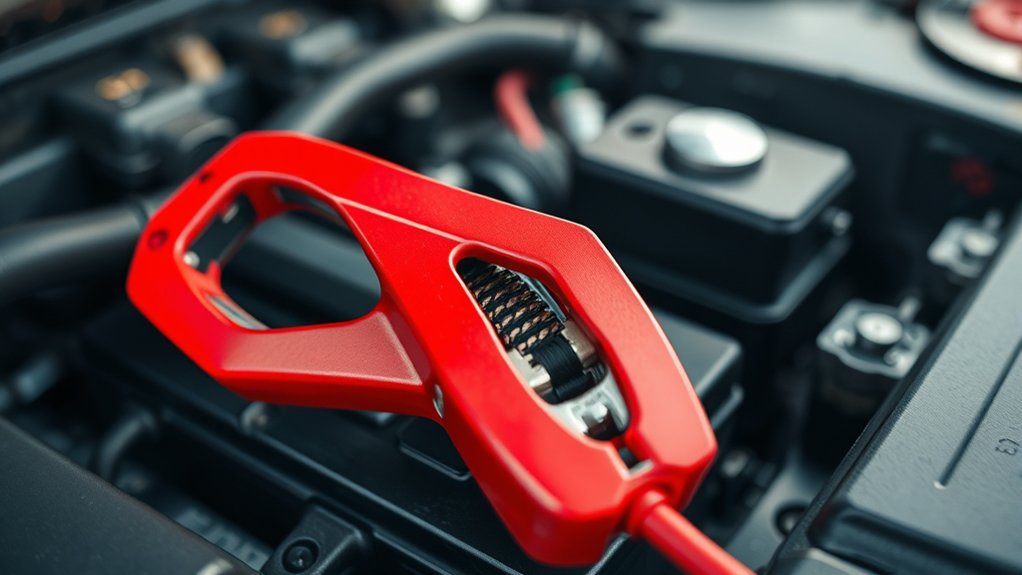
Why does the red jumper cable represent the positive terminal? The red cable’s designation stems from standardized color coding to prevent connection errors. This clarity is essential because incorrect hookups can cause electrical damage or hazards.
Understanding cable etiquette means always connecting red to positive and black to negative, ensuring safe current flow. This convention dispels common battery myths, such as thinking cable colors vary by manufacturer or vehicle.
Instead, red universally signals positive to maintain consistency and safety. When you follow this practice, you avoid costly mistakes and maintain proper polarity during jump-starts.
Therefore, the red jumper cable’s positive identity is a deliberate standard, not a random choice, designed to promote safe, efficient battery connections and eliminate confusion in emergency situations.
How to Identify the Positive Terminal on Your Battery?
You can identify the positive terminal on your battery by looking for specific color codes and markings. The positive terminal is usually marked with a plus sign (+) and often has a red cover or cable attached.
Always verify these indicators before connecting jumper cables to guarantee correct polarity.
Battery Terminal Color Codes
Identifying the positive terminal on a battery is essential for safe and effective use of jumper cables. Battery terminal color codes provide immediate visual cues. Typically, the positive terminal is marked with a red color, while the negative terminal is black or uncolored.
This standardized color coding minimizes confusion and supports battery safety by preventing reverse connection, which can cause sparks or damage. Don’t fall for electrical myths suggesting otherwise; red almost always indicates positive.
However, always verify color coding before connecting cables, as some batteries may deviate from these norms due to manufacturing differences. Relying on color codes alongside proper safety checks ensures you connect jumper cables correctly, preventing accidents and preserving both your vehicle’s electrical system and your personal safety.
Terminal Markings And Symbols
While color coding offers a quick reference, relying solely on red and black can sometimes lead to mistakes due to inconsistencies in battery designs. To accurately identify the positive terminal, focus on the markings and symbols directly on the battery posts.
Look for a plus sign (+), typically stamped or molded near the terminal; this universal symbol confirms the positive connection. Avoid getting distracted by irrelevant topic cues like faded colors or stray symbolization, which can cause confusion.
The negative terminal often bears a minus sign (–) or is unmarked but smaller in size. Always verify these symbols before connecting jumper cables to prevent reverse polarity, which can damage electrical systems.
How to Use Red and Black Jumper Cables Safely
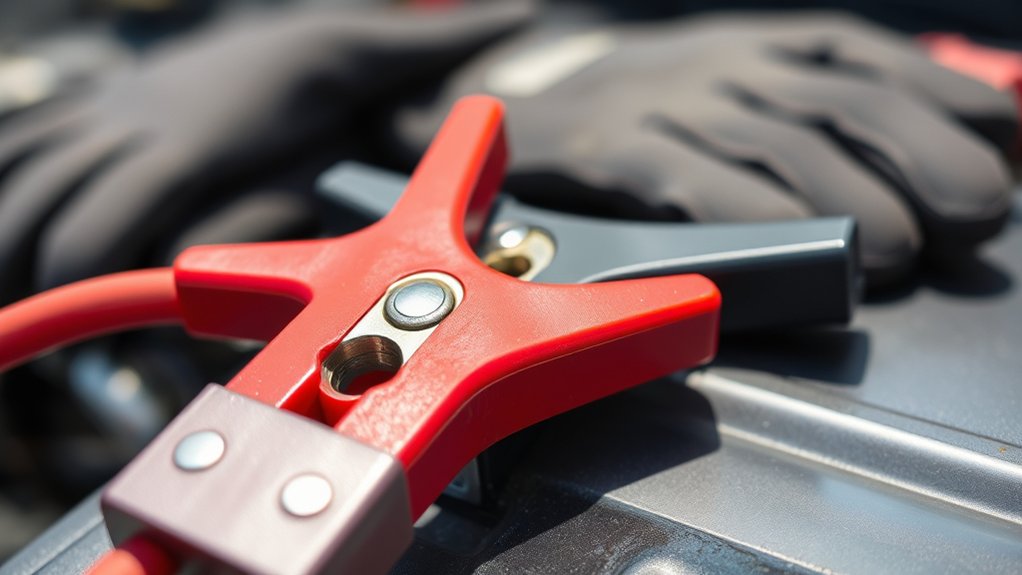
How exactly do you connect red and black jumper cables to guarantee a safe jump start? First, identify the positive and negative terminals on both batteries, ignoring common color myths that can cause confusion. Attach the red cable clamp to the positive terminal of the dead battery, then connect the other red clamp to the positive terminal of the donor battery.
Next, connect the black clamp to the negative terminal of the donor battery. Finally, attach the remaining black clamp to an unpainted metal surface on the dead car, away from the battery, to reduce sparking risks. These steps dispel safety myths, ensuring you avoid electrical hazards.
Always wear protective gear and never touch clamps together during the process to maintain a safe, effective jump start.
What Happens If You Connect Jumper Cables Backwards?
What happens if you connect jumper cables backwards? Reversing the polarity causes current to flow opposite to its intended direction, which can severely damage the electrical systems in both vehicles.
This misconnection is not an unrelated topic; rather, it’s a critical error that disrupts circuit integrity. You risk blowing fuses, frying the alternator, and damaging the battery.
Additionally, random pairing of clamps—such as connecting red to the negative terminal or black to the positive—intensifies the risk of sparks, short circuits, or even fires. Modern vehicles may have protective devices, but you shouldn’t rely on them.
If you accidentally reverse the cables, disconnect immediately and check for damage. Always ensure red connects to positive and black to negative to avoid costly repairs and ensure safety.
Common Mistakes When Connecting the Red Jumper Cable
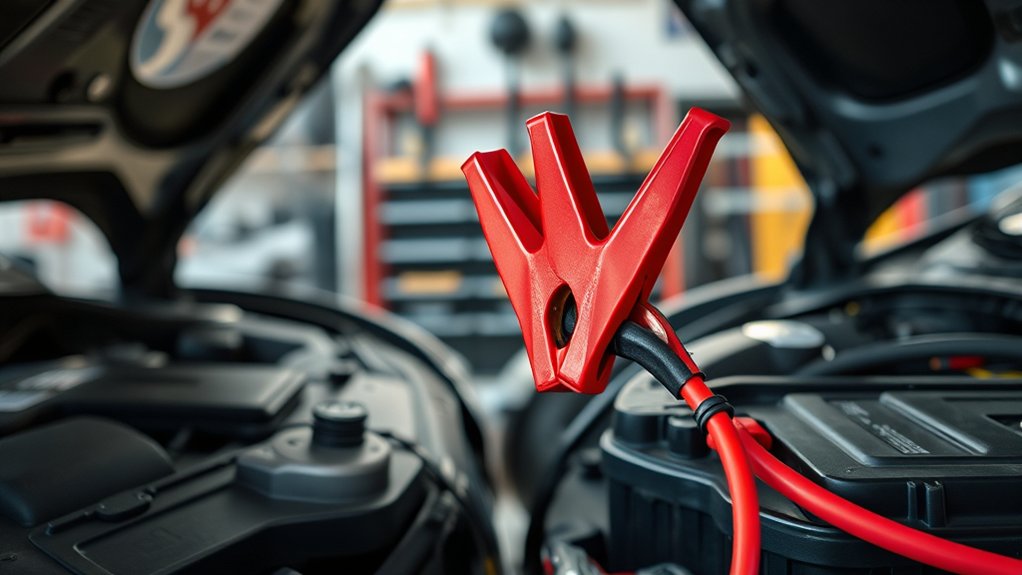
When connecting the red jumper cable, you must place it correctly on the positive terminals to avoid damage. Don’t mix positive and negative connections, as this can cause serious electrical faults.
Also, ensure the clamp is securely attached to maintain a stable connection during the jump-start.
Incorrect Cable Placement
Why do many people struggle with connecting the red jumper cable correctly? The main issue is incorrect cable placement, which can cause sparks, damage, or failure to start the vehicle. The red jumper cable must connect to the positive terminals only.
Misidentifying terminals or attaching the cable to the wrong spot leads to ineffective jumps and potential hazards.
| Mistake | Consequence | Solution |
|---|---|---|
| Red cable on negative | Sparking, damage risk | Confirm positive terminal |
| Red cable on wrong car | No power transfer | Attach to dead battery only |
| Loose connection | Intermittent power flow | Secure clamps tightly |
| Mixing cable colors | Confusion, errors | Follow color code strictly |
Avoid incorrect cable placement by double-checking terminals before connecting jumper cables.
Mixing Positive And Negative
How often do you double-check the polarity before connecting the red jumper cable? Mixing positive and negative terminals is a common and dangerous error.
In simple terms, the red cable always connects to the positive (+) terminal, while the black cable attaches to the negative (–). This non technical overview helps prevent electrical shorts and damage.
Different brands may vary slightly in cable thickness or clamp design, but the color-coding remains standard. Always confirm the red clamp clips firmly to the positive terminal and never to a negative one or ground.
Mixing these leads risks sparks, battery damage, or injury. When comparing brands, focus on cable insulation quality and clamp grip strength, but never compromise on correct terminal connection to ensure safety and efficiency.
Failing To Secure Clamp
A loose clamp on the red jumper cable can interrupt the electrical flow and cause dangerous sparks. When connecting the clamp, ensure it grips firmly onto a clean, unpainted metal surface to maintain stable contact.
Failing to secure the clamp properly risks incomplete circuits or overheating. After use, focus on how to store your jumper cables correctly to prevent damage.
Proper cable organization, such as coiling cables neatly and using straps or hooks, avoids tangling and preserves clamp tension. This practice minimizes wear on the clamps and cables, ensuring reliable connections next time.
Why Color Coding Matters for Safe Jump-Starting
When you connect jumper cables, recognizing the color coding guarantees you attach the clamps correctly and avoid dangerous electrical mishaps. Color theory guides the standard red for positive and black for negative, simplifying identification.
Proper color coding ensures you:
- Prevent reverse polarity, which can damage vehicle electronics or cause sparks.
- Maintain electrical insulation integrity by matching clamps to designated terminals, reducing short-circuit risk.
- Enable quick, confident connections, especially in stressful or low-light situations.
Ignoring color coding increases the chance of crossing cables, compromising safety and potentially causing battery explosion or injury. By adhering strictly to color conventions, you leverage both visual cues and the protective design of electrical insulation to jump-start safely and efficiently every time.
What to Do If Your Jumper Cables Aren’t Color-Coded
If your jumper cables lack color coding, you’ll need to identify the polarity before use. You can test each cable with a multimeter to determine which is positive and which is negative.
Once identified, mark the cables clearly to avoid confusion during future jump-starts.
Identifying Cable Polarity
How can you identify cable polarity when your jumper cables lack color coding? Without the standard red and black markings, you need clear steps to avoid errors.
- Inspect Cable Ends: Check for embossed plus (+) or minus (−) signs near the clamps. These indicators often denote positive and negative polarity.
- Trace Wire to Battery Terminal: If possible, connect one end to a known battery terminal. The clamp that fits the positive terminal is your positive cable.
- Look for Wire Thickness or Markings: Sometimes, the positive cable is thicker or has stripes. These subtle cues help differentiate polarity.
Avoid relying on topic ideas unrelated to jumper cable safety. These technical steps ensure you correctly identify cable polarity and prevent damage or injury.
Using Multimeter For Testing
Why risk incorrect connections when you can verify jumper cable polarity with a multimeter? If your jumper cables aren’t color-coded, don’t rely on guesswork or assumptions.
Set your multimeter to DC voltage mode and connect the leads to the cable clamps. A positive reading indicates the positive cable; a negative reading signals the negative cable. This method removes any confusion caused by unused topic or unrelated focus on color alone.
Avoid using visual cues that might mislead you due to fading or inconsistent markings. Testing the cables directly ensures safety and functionality before you connect them to a battery, preventing possible damage to your vehicle’s electrical system.
Using a multimeter is a straightforward, reliable way to confirm polarity when color coding isn’t an option.
Color Marking Alternatives
Wondering what to do when your jumper cables lack color coding? You must rely on alternative identification methods to ensure safe and correct connections. Follow these safety reminders to avoid incorrect polarity:
- Check Cable Markings: Inspect the cables for embossed “+” or “-” symbols near the clamps. These markings replace color coding and indicate polarity.
- Use a Multimeter: Test the cable ends with a multimeter to identify positive and negative terminals based on voltage readings.
- Label Yourself: If no markings exist, use electrical tape or permanent markers to create your own color coding before use.
How Different Vehicles Handle Battery Terminal Colors Safely
When connecting jumper cables, you’ll find that vehicle manufacturers follow strict standards to prevent confusion and guarantee safety around battery terminals. Most vehicles use red to indicate positive terminals, establishing a clear red polarity reference that minimizes errors during jump-starting.
However, some manufacturers include additional markings or shapes to differentiate terminals further, improving cable safety by reducing the risk of reverse polarity connections. Hybrid and electric vehicles often have insulated or shielded terminals with specific color codes or covers to prevent accidental short circuits.
You should always consult the vehicle manual to confirm terminal identification before attaching jumper cables. Understanding how different vehicles handle battery terminal colors helps you maintain proper cable safety, ensuring a secure, effective jump-start without damaging the electrical system or risking injury.
Signs of a Faulty Battery or Jumper Cable Connection
Properly identifying battery terminals is only the first step; recognizing signs of a faulty battery or jumper cable connection is equally important to prevent damage or injury. You should watch for these indicators:
- Insulation degradation: Cracked or frayed cable insulation exposes wires, increasing the risk of short circuits or electric shock.
- Rust buildup: Corrosion on battery terminals or cable clamps impedes electrical flow, causing poor connection and starting failures.
- Loose or unstable connections: Wobbly clamps or terminals can cause intermittent contact, sparking, or voltage drops during jump-starting.
Tips for Storing and Maintaining Jumper Cables Safely
A reliable set of jumper cables requires careful storage and maintenance to ensure ideal performance and safety. First, always coil cables loosely to prevent internal wire damage and avoid kinks that compromise conductivity.
Store them in a dry, cool place away from direct sunlight and moisture to reduce corrosion risk, critical in battery basics. Regularly inspect clamps for rust, dirt, or wear; clean terminals with a wire brush if needed.
Check insulation for cracks or frays to maintain cable safety and prevent short circuits. After use, wipe down cables to remove battery acid residue, protecting both cables and your hands.
Following these steps preserves jumper cables’ integrity, ensuring they function correctly when you need them most while adhering to essential cable safety and battery basics principles.
Frequently Asked Questions
Can Jumper Cables Damage My Car’s Electrical System?
Yes, jumper cables can damage your car’s electrical system if connected improperly. Avoid sparks near a loading dock or solar charging setup, and always connect cables correctly to prevent voltage spikes or short circuits.
How Long Should I Keep the Cables Connected During Jump-Starting?
Think of jump-starting like refilling a tank: keep cables connected just 3-5 minutes, accounting for long wire length and battery capacity.
Disconnect once the engine starts to avoid overloading or damaging either battery.
Are Red Jumper Cables Always Positive on All Battery Types?
Yes, red polarity typically indicates positive across battery types, following standard cable color conventions. However, always verify with your vehicle’s manual, as some specialized batteries or systems might deviate from this norm for safety reasons.
Can I Use Jumper Cables on Motorcycles or Other Small Engines?
Before you hop on your horse, know that yes, you can use jumper cables on motorcycles or small engines. Just confirm red is positive, connect carefully, and avoid excessive jumper cables mileage to prevent electrical damage.
What Should I Do if My Car Won’T Start After Jump-Starting?
If your car won’t start after jump-starting, check battery health first. Test voltage and connections, then inspect alternator function.
If issues persist, consult a mechanic to diagnose electrical or battery faults promptly.
Conclusion
You might think connecting the red jumper cable is simple, but it’s essential to remember it’s positive for a reason. If you accidentally swap cables, your car’s electronics could suffer—coincidentally, the same mistake that trips many first-timers.
By always double-checking the red clamp on the positive terminal and following safety steps, you’ll avoid sparks and damage.
So, trust the color code, stay precise, and remember that red is positive on jumper cables to jump-start your ride without a hitch every time.