You might assume jumper cables last indefinitely, but jumper cables can go bad over time even if they look fine. Wear, corrosion, and environmental exposure can compromise their insulation and clamps, reducing safety and effectiveness.
Understanding how to spot these issues and test your cables’ condition is key to avoiding failure when you need them most. Before you rely on them, consider what causes damage and how to ensure they remain reliable.
Key Takeaways
- Jumper cables degrade over time from wear, corrosion, exposure, and internal wire damage, affecting their reliability.
- Visible signs like frayed wires, cracked insulation, and corroded clamps indicate jumper cables have gone bad.
- Corrosion and repeated bending weaken cables, reducing conductivity and causing potential failure during use.
- Electrical testing with a multimeter and voltage drop measurement can confirm if cables are compromised.
- Proper storage and maintenance can extend jumper cables’ lifespan, but replacement is needed if damage or poor performance occurs.
Do Jumper Cables Go Bad Over Time?
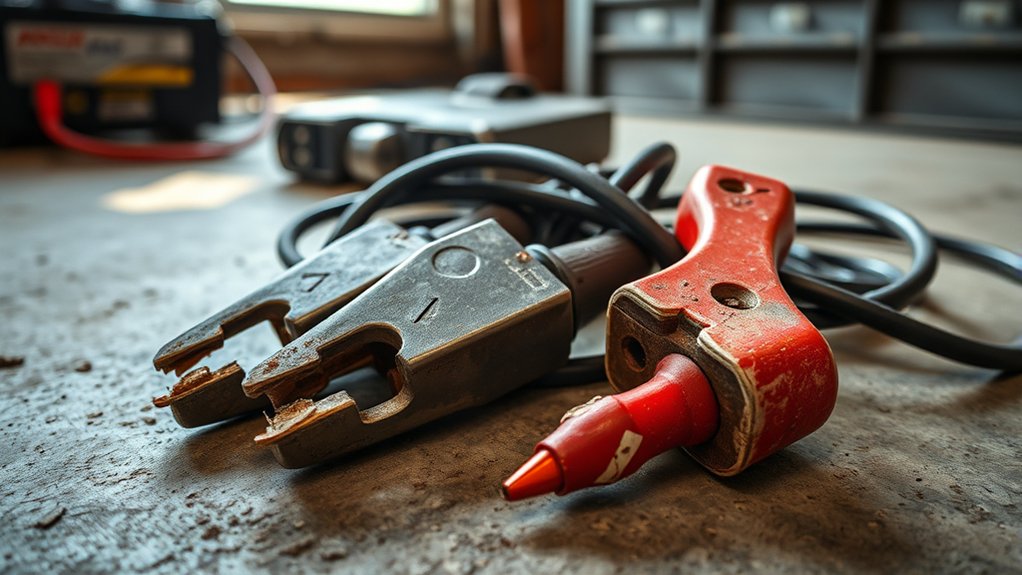
How long do jumper cables last before they become unreliable? Typically, jumper cables don’t have a definitive lifespan but degrade due to wear, corrosion, and exposure to elements.
You might encounter battery myths suggesting cables lose effectiveness solely because of age, but in reality, damage to insulation or clamps plays a bigger role. Safety myths also circulate, implying old cables are inherently dangerous; however, risk arises mostly from neglect or visible damage.
If the copper wires inside the cables corrode or break, electrical conductivity drops, making your jump ineffective. Proper storage and routine inspection can extend cable reliability.
Understanding these factors helps you avoid unnecessary replacement and ensures you maintain safe, functional jumper cables over time.
How to Tell If Your Jumper Cables Are Failing
When should you replace your jumper cables? Inspect them regularly for visible damage such as frayed wires, cracked insulation, or corrosion on the clamps. These physical signs indicate failing conductivity and increased resistance, which can prevent proper current flow.
You can also test the cables with a multimeter to measure continuity; inconsistent readings signal internal breakage. Avoid using jumper cables for non-vehicle topics or unrelated electronics, as these applications can accelerate wear or cause damage not typical in automotive use.
If the clamps don’t securely grip or the cable feels unusually stiff or brittle, it’s time to replace them. Maintaining cables in excellent condition ensures safety and reliability when jump-starting. Don’t risk failure during critical moments by ignoring these diagnostic steps.
What Usually Damages Jumper Cables?
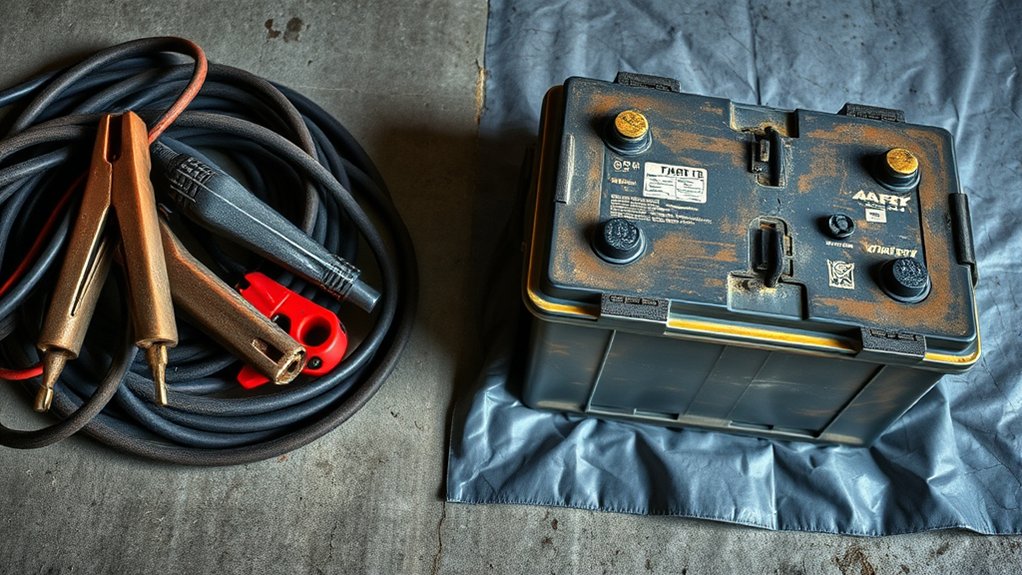
Why do jumper cables fail prematurely? The primary factors that damage jumper cables include corrosion, physical wear, and improper storage. Corrosion occurs when moisture infiltrates the clamps or cable ends, compromising conductivity and reducing jumper cables durability.
Repeated bending or kinking weakens the internal copper wires, causing breaks or increased resistance. Exposure to extreme temperatures also deteriorates the insulation, leading to cracks or brittleness.
Additionally, neglecting storage best practices, such as leaving cables tangled, compressed, or exposed to dirt, accelerates wear and corrosion. To maintain jumper cables durability, you should store them coiled loosely in a dry, clean environment, avoiding direct sunlight or moisture.
Proper care ensures consistent performance and extends the cables’ functional lifespan.
How to Test If Your Jumper Cables Still Work
You’ll want to start by inspecting the cables for visible damage like frayed wires or corrosion on the clamps.
Next, use a multimeter to perform a continuity test and ensure the cables conduct electricity properly.
Finally, check their performance under load by attempting a jump start to confirm they deliver sufficient current.
Visual Inspection Tips
How can you quickly determine if your jumper cables are still reliable? Start with a thorough visual inspection. Examine the cable insulation for cracks, brittleness, or exposed wires, as these compromise conductivity and safety.
Check the clamps for signs of corrosion indicators such as white or greenish residue, which hinder electrical flow. Ensure the clamps open and close smoothly without looseness or deformation. Confirm that the copper inside the clamps is shiny and intact; tarnished or discolored copper suggests diminished conductivity.
Pay close attention to any frayed or broken internal wiring visible near the clamps. By systematically performing this visual inspection, you can identify obvious faults that reduce effectiveness. This step is essential before any electrical testing, helping you avoid unexpected failure during a jump start.
Continuity Testing Method
Where should you begin when confirming the electrical integrity of your jumper cables? Start with continuity testing, a straightforward way to verify that the cables conduct electricity properly. Use a multimeter set to the continuity mode, then touch one probe to a clamp’s metal jaw and the other to the opposite clamp’s corresponding jaw.
If the multimeter beeps or shows near-zero resistance, the cable’s conductor is intact. Always prioritize electrical safety by ensuring the cables are disconnected from any power source before testing.
Follow these steps for effective continuity testing:
- Inspect cable insulation for damage before testing
- Set your multimeter to continuity mode
- Test each cable individually for consistent readings
- Replace cables if no continuity is detected
This method confirms your cables’ functionality without risking electrical hazards.
Performance Under Load
Assess the performance of your jumper cables under load to guarantee they can deliver sufficient current during a jump-start. First, connect the cables between a fully charged donor battery and a discharged battery, ensuring secure and correct polarity connections.
Then, observe voltage drop across the cables while attempting to start the dead vehicle. A significant voltage drop indicates high internal resistance, meaning the cables may have corrosion, damaged conductors, or insulation issues.
Use a multimeter to measure voltage at both ends; there is no acceptable voltage drop beyond 0.5 volts under load. If the voltage drop exceeds this threshold, your jumper cables are compromised.
How to Safely Use Jumper Cables
Why should you prioritize safety when using jumper cables? Improper handling can cause electrical shorts, sparks, or even battery explosions. To ensure effective and risk-free use, follow essential safety precautions when connecting jumper cables.
- Confirm both vehicles are off before attaching cables to prevent electrical surges.
- Connect positive terminals first (red clamps), then negative (black clamps), avoiding contact between clamps.
- Attach the final negative clamp to an unpainted metal surface on the dead vehicle, not the battery, to reduce spark risk.
- Wear safety goggles and gloves to protect against acid or sparks during the jump-start process.
How to Clean and Maintain Jumper Cables
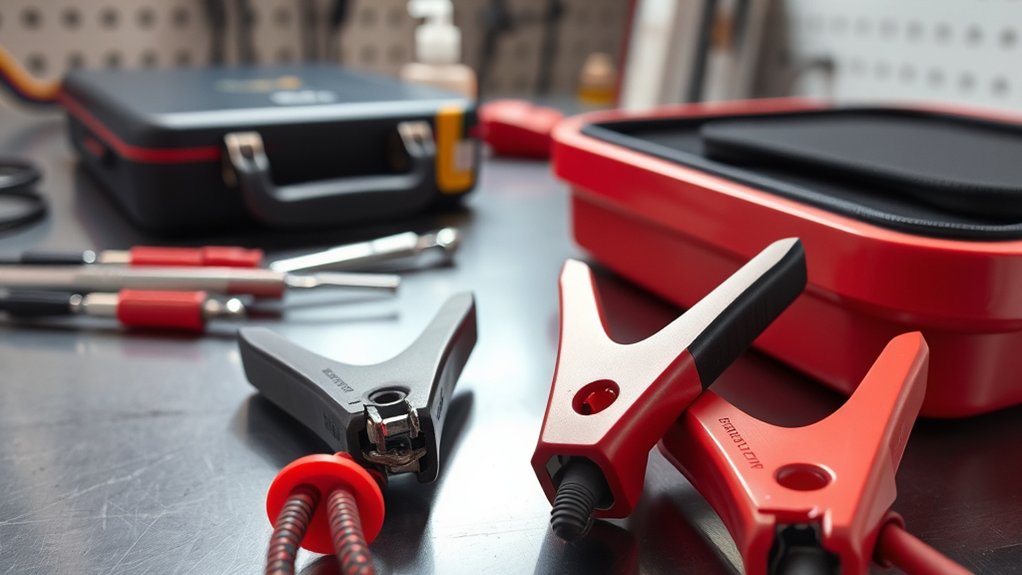
You should regularly inspect your jumper cables for any damage or wear that could affect performance. Remove any corrosion buildup on the clamps using a wire brush or appropriate cleaner to ensure a solid connection.
After use, store the cables properly by coiling them neatly and keeping them in a dry, protected place to prevent deterioration.
Inspect Cable Condition
How often should you inspect your jumper cables to ensure best performance? Regular inspection is crucial to identify issues before they become invalid safety hazards. Neglecting this step renders maintenance efforts irrelevant.
Check your cables for:
- Visible cuts, cracks, or exposed wires compromising insulation integrity
- Loose or corroded clamps affecting electrical conductivity
- Stiff or brittle cables indicating material degradation
- Signs of overheating such as discoloration or melting
Avoid using damaged cables, as they can fail to deliver sufficient current or cause sparks. A precise inspection routine increases reliability and extends cable life.
Remove Corrosion Build-Up
When did you last check your jumper cables for corrosion build-up? Corrosion can degrade cable material integrity, reducing conductivity and risking failure.
To maintain optimal performance, clean any corrosion promptly using a baking soda and water solution with a wire brush. This process aids corrosion prevention and extends cable life.
| Step | Description |
|---|---|
| 1. Preparation | Disconnect cables and wear protective gloves |
| 2. Cleaning Solution | Mix baking soda with water to form a paste |
| 3. Application | Apply paste to corroded areas |
| 4. Scrubbing | Use a wire brush to remove corrosion |
| 5. Rinse & Dry | Rinse with water, then dry thoroughly |
Regularly removing corrosion build-up ensures your cables remain reliable and safe.
Store Properly After Use
Although jumper cables are designed for durability, improper storage after use can lead to damage and reduced lifespan. To store properly, you need to focus on preventing exposure to moisture, extreme temperatures, and physical stress. Environmental storage plays a critical role in maintaining cable integrity.
Follow these guidelines to preserve your cables:
- Coil cables loosely to avoid kinks and internal wire breakage
- Store cables in a dry, cool place away from direct sunlight and humidity
- Use a protective case or bag to prevent dust accumulation and mechanical damage
- Avoid placing heavy objects on coiled cables, which can deform insulation and connectors
How to Store Jumper Cables to Prevent Damage
Where you store your jumper cables markedly affects their longevity and performance. To prevent damage, adopt proper storage practices by keeping cables in a cool, dry place away from direct sunlight and moisture. Avoid areas prone to extreme temperatures, as heat can degrade insulation and cold can cause brittleness, reducing material durability.
Coil cables loosely to prevent kinks and internal wire breakage, securing them with a non-abrasive strap to maintain shape without compressing the insulation. Store cables off the ground to avoid dirt accumulation and accidental crushing.
Using a dedicated storage bag or case designed for jumper cables further protects them from environmental factors and physical damage. By following these precise storage methods, you’ll maintain optimal cable condition, ensuring reliable performance when you need them.
When Should You Replace Your Jumper Cables?
Proper storage substantially extends the lifespan of jumper cables, but even with careful handling, wear and deterioration occur over time. You should replace your jumper cables when you notice any signs that compromise safety or performance. Key indicators include:
- Frayed or exposed wires that risk short circuits
- Corroded or loose clamps reducing conductivity
- Cracked or brittle insulation that could cause electrical hazards
- Difficulty in securely attaching clamps to battery terminals
Ignoring these signs can lead to ineffective jump-starts and potential damage to your vehicle’s electrical system. Avoid confusing this with unrelated concepts or non relevant topic discussions that don’t pertain to cable integrity. If you’re considering discussion ideas on maintenance, focus strictly on physical condition rather than unrelated concepts like battery health or unrelated tools.
Choosing the Right Replacement Jumper Cables
How do you ensure your replacement jumper cables deliver reliable performance when you need them most? Start by selecting cables with high-quality cable material, such as pure copper or copper-clad aluminum, which provide optimal conductivity and minimize voltage drop.
Next, consider the gauge size; thicker cables (lower gauge numbers) handle higher current and reduce resistance. Pay attention to the clamp design. Strong, corrosion-resistant clamps ensure a secure connection.
Don’t overlook storage habits: proper storage prevents cable damage, insulation cracking, and corrosion. Store cables in a dry, cool place and avoid kinks or sharp bends.
Frequently Asked Questions
Can Jumper Cables Damage My Car’s Electrical System?
Yes, using jumper cables with compromised durability can increase electrical system risk. Ensure cables have intact insulation and proper gauge to prevent voltage spikes or short circuits that might damage your car’s electrical components during jump-starting.
Are There Jumper Cables Suitable for Electric Vehicles?
Yes, you can find jumper cables designed for electric vehicles, which protect sensitive electrical systems. Choose cables rated for extreme weather and ensure proper environmental disposal to avoid damaging your EV’s components or the environment.
Can Jumper Cables Be Used in Extreme Weather Conditions?
You can brave extreme weather with jumper cables, but don’t let icy grips or scorching heat compromise electrical safety. Ensure cables have insulated clamps and durable coatings to maintain conductivity and protect you from shocks in harsh conditions.
What Are the Environmental Impacts of Disposing Old Jumper Cables?
You should avoid improper environmental disposal of old jumper cables, as they contain metals and plastics that harm ecosystems. Recycling impacts reduce pollution and conserve resources, so always recycle cables through proper facilities to minimize environmental damage.
Are Wireless Jump Starters a Better Alternative to Jumper Cables?
Wireless jump starters offer short term battery boosts conveniently, but you’ll want to contemplate long term reliability, as jumper cables remain more durable and less prone to failure under varying conditions, making them a dependable choice.
Conclusion
Even if your jumper cables appear ready for action, they can quietly lose their spark over time. Regularly inspect for hidden wear like frayed wires or corroded clamps to keep them dependable. Proper cleaning, careful storage, and timely testing help preserve their vitality.
When signs of wear become more than just cosmetic, it’s wise to retire those cables and invest in a fresh set. This ensures safe, efficient jump-starts every time. Remember, jumper cables can go bad, so staying vigilant is key to reliable performance.