You might not realize that cutting a graphite shaft requires more precision than simply trimming to length. Properly cutting a graphite shaft is essential to maintain its performance and durability. If not done correctly, you risk damaging the shaft’s structural integrity or altering its performance.
Understanding the proper measurement techniques, the right tools to use, and how to finish the cut cleanly can save you from costly mistakes. There’s more to this process than just making a straight cut—let’s explore what it truly entails.
Key Takeaways
- Measure and mark the desired shaft length accurately using a fine-tip permanent marker and a calibrated ruler or digital caliper.
- Secure the graphite shaft firmly in a padded vise or shaft clamp to prevent movement during cutting.
- Use a graphite-specific shaft cutter or a fine-toothed hacksaw to make slow, steady, and clean cuts without splintering.
- Wear protective gloves, safety goggles, and a dust mask to guard against graphite dust and fragments.
- Smooth the cut end gently with fine-grit abrasive cloth to prevent fraying and ensure proper bonding during reassembly.
Essential Tools for Safely Cutting Graphite Shafts
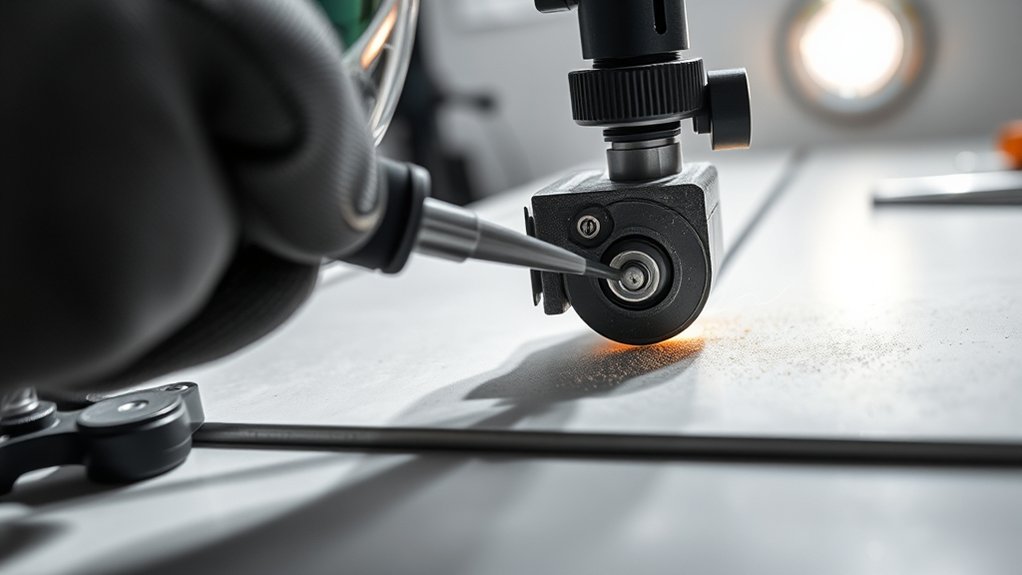
What tools do you need to cut a graphite shaft accurately and safely? First, you’ll require a high-quality graphite shaft cutter specifically designed for clean cuts without splintering. Alternatively, a fine-toothed hacksaw or specialized rotary tool equipped with a diamond or carbide blade works well.
Use a shaft clamp or vise to secure the shaft firmly, preventing movement and ensuring precise cuts. Always wear protective gloves and safety goggles to guard against graphite dust and sharp fragments. Additionally, a dust mask is essential to avoid inhaling harmful particles.
While two word ideas like “shaft clamp” and “dust mask” seem simple, they are critical to safety. Avoid using unrelated subtopic tools like standard wood saws; these can cause damage and unsafe conditions during cutting.
Choosing Between Shaft Cutter and Saw for Cutting Graphite Shafts
When cutting graphite shafts, you’ll find that shaft cutters offer clean, precise cuts with minimal dust, making them ideal for quick adjustments.
However, using a saw requires careful technique to prevent splintering and excessive debris. Understanding these differences helps you choose the right tool for your specific cutting needs.
Shaft Cutter Advantages
Why should you consider a shaft cutter over a traditional saw for cutting graphite shafts? A shaft cutter offers superior control, enabling precise cuts aligned with specific shaft terminology such as butt length and tip length. It minimizes vibration and reduces the risk of delamination or splintering, which are common concerns when cutting graphite material.
From a graphite safety perspective, shaft cutters generate fewer airborne particles compared to saws, lowering inhalation hazards. Additionally, shaft cutters produce cleaner edges, simplifying subsequent assembly or installation steps.
Their design specifically accommodates the composite structure of graphite shafts, preserving integrity while ensuring accurate length adjustments. Choosing a shaft cutter streamlines the cutting process, enhances safety protocols, and maintains the structural performance of your graphite shafts without requiring extensive finishing work.
Saw Cutting Considerations
How do you decide between using a shaft cutter and a saw for trimming graphite shafts? Consider the precision, safety hazards, and storage tips for each tool. A shaft cutter offers clean cuts with minimal dust, reducing inhalation risks.
A saw may require extra safety gear due to airborne particles and vibration but can handle varying shaft diameters. Proper blade storage prevents damage and extends tool life.
| Tool Type | Precision | Safety Hazards |
|---|---|---|
| Shaft Cutter | High, clean edges | Minimal dust, low risk |
| Saw | Moderate, rougher | Dust, vibration risks |
| Storage Tips | Keep dry, blade cover | Store blades safely |
Choose based on your workspace, safety equipment, and shaft specifications.
How to Measure Your Graphite Shaft Before Cutting
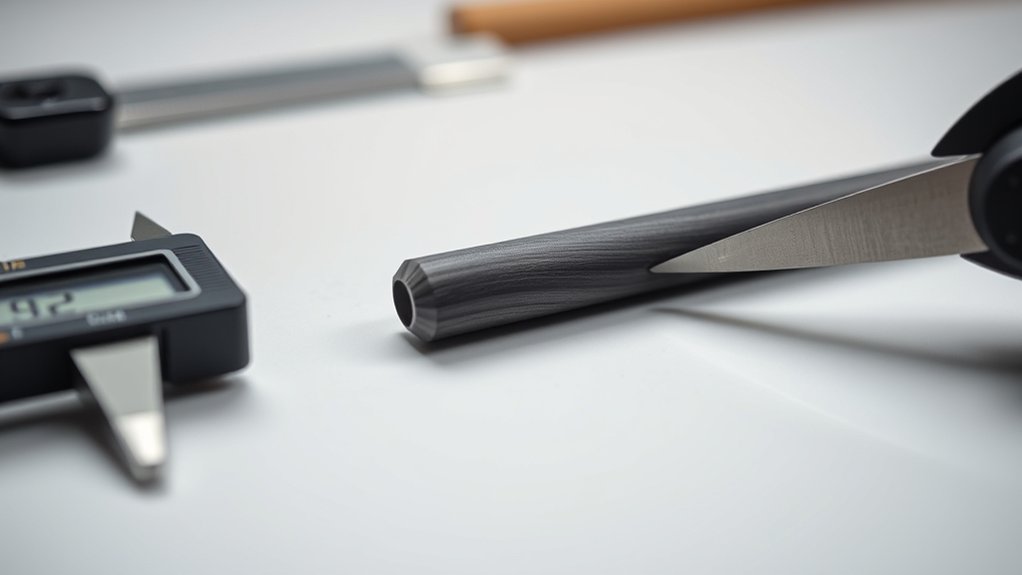
Where exactly should you measure your graphite shaft to guarantee a precise cut? Avoid an unclear purpose by focusing on critical points that directly impact fit and performance. Measuring unrelated objectives leads to errors. Follow these steps for accuracy:
Measure your graphite shaft at key points to ensure precise cuts and optimal club performance.
- Measure from the end of the shaft where the grip sits to the desired finished length, ensuring the club’s overall length matches specifications.
- Account for any ferrules or adapters that affect total length; include their dimensions in your measurement to prevent miscalculations.
- Verify measurements with a calibrated ruler or digital caliper, maintaining consistent pressure and alignment for exact readings.
Marking Your Graphite Shaft for a Precise Cut
Once you’ve measured the exact length needed, it’s essential to mark your graphite shaft clearly for a precise cut. Use a fine-tip permanent marker or specialized shaft-marking tool to create a sharp, visible line.
This guarantees your cutting tool aligns perfectly, preventing errors and maintaining shaft integrity.
Measuring Shaft Length
Why is accurate measurement essential when cutting a graphite shaft? Precise measurement ensures optimal shaft durability and grip compatibility, preventing costly errors.
When measuring, you must consider:
- Final Length: Measure from the butt end to the desired tip length, accounting for any grip adjustments.
- Cut Allowance: Include extra length for trimming and fine-tuning after initial cuts.
- Reference Points: Use consistent, fixed reference marks to maintain accuracy throughout the process.
These steps prevent compromising the shaft’s structural integrity and guarantee the grip fits securely. Accurate measurement also helps maintain the shaft’s performance characteristics, avoiding issues that arise from improper length.
Using Marking Tools
After you’ve accurately measured your graphite shaft, marking it clearly guarantees your cut aligns perfectly with your intended length. Use a fine-tip permanent marker or specialized graphite marking pen to create a single, thin line around the circumference.
Avoid excessive pressure to prevent shaft damage. To ensure precision, rotate the shaft slowly while marking, maintaining consistent alignment to mimic the accuracy demanded in celestial navigation techniques. This meticulous approach reduces error margins, much like protecting groundwater from contamination requires careful monitoring.
Double-check your mark’s position against your measurements, and consider using masking tape as a visual guide if necessary. Proper marking not only ensures a clean, exact cut but also preserves the shaft’s structural integrity throughout the process, critical for optimal performance.
What You Need to Know About Shaft Performance Before Cutting
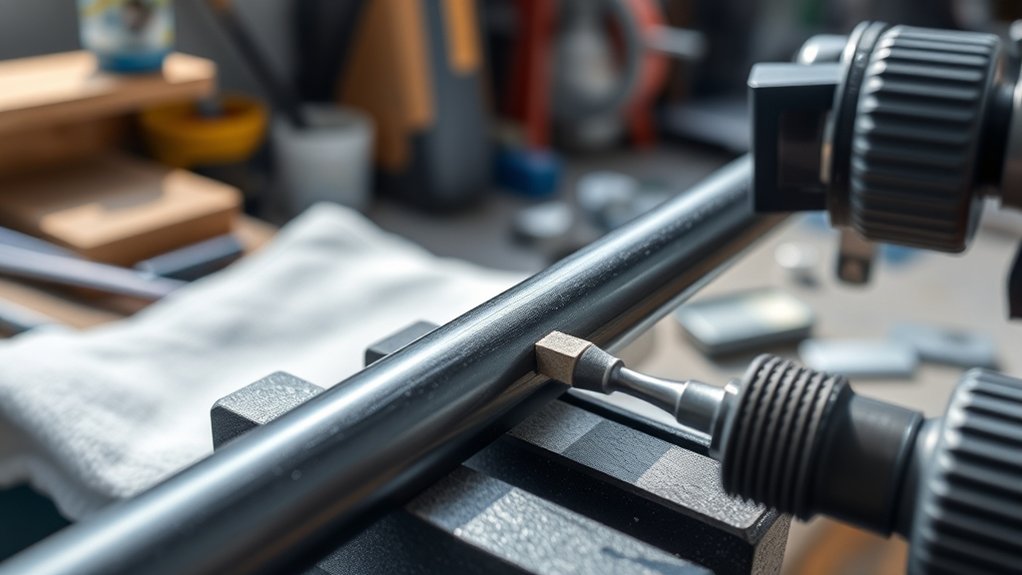
How does cutting a graphite shaft affect its performance characteristics? Before you proceed, understand that altering shaft length changes flex, torque, and balance. Avoid unrelated topics or off-topic discussion that detract from these critical factors.
Here’s what you need to know:
- Flex Impact: Shortening the shaft increases stiffness, affecting feel and shot trajectory.
- Torque Variation: Cutting reduces torque, potentially resulting in less shaft twisting during swings.
- Balance Point Shift: The center of gravity moves closer to the grip, influencing swing weight and control.
How to Cut a Graphite Shaft Step-by-Step
To cut a graphite shaft accurately, you’ll need specific tools like a fine-toothed saw and a shaft clamp to guarantee stability. Follow the cutting steps carefully to maintain the shaft’s integrity and performance.
Let’s walk through the essential tools and precise process required for a clean, professional cut.
Essential Tools Needed
A few specialized tools are essential for cutting a graphite shaft accurately and safely. Unlike non golf-related tasks, cutting graphite requires precision to avoid damaging the shaft’s integrity or affecting its performance due to unrelated physics principles like uneven stress distribution.
Here are the essential tools you’ll need:
- Graphite Shaft Cutter A sharp, fine-toothed saw designed specifically to cleanly cut composite materials without splintering.
- Shaft Measuring Device A caliper or ruler ensures precise length measurement, critical for consistent club performance.
- Protective Tape and Gloves Tape prevents fraying at the cut edge, while gloves protect your hands from splinters and graphite dust.
Using these tools properly sets the foundation for a successful cut and maintains the shaft’s structural integrity.
Cutting Process Steps
Cutting a graphite shaft demands careful attention to detail and adherence to a specific sequence of steps. First, verify the shaft length against factory tolerances to avoid compromising performance. Mark the desired cut point precisely using a fine-tip marker or tape.
Next, secure the shaft firmly in a vise with protective padding to prevent damage. Use a fine-toothed saw or graphite-specific cutting tool to execute a slow, steady cut, minimizing fraying or splintering.
Avoid common non graphite misconceptions, such as applying excessive force or using inappropriate blades, which can lead to shaft deformation. After cutting, smooth the edge with fine sandpaper to remove burrs and maintain balance.
Following these steps ensures a clean, precise cut that preserves the shaft’s integrity and performance.
Avoiding Damage When Cutting Graphite Shafts
How can you guarantee the integrity of a graphite shaft remains intact during the cutting process? Avoiding damage is crucial, as improper handling can cause irreversible waste and void the warranty. To protect your investment, follow these key steps:
- Use the Correct Tool: Employ a sharp, fine-toothed saw or specialized graphite cutter. Dull or inappropriate tools generate excessive heat, leading to delamination or splintering.
- Secure the Shaft Firmly: Clamp the shaft evenly without crushing it. Movement during cutting increases the risk of fractures and material waste.
- Cut Slowly and Steadily: Apply consistent, gentle pressure to prevent micro-cracks. Rapid cutting or forcing the blade compromises shaft integrity and may void the manufacturer’s warranty.
How to Smooth and Finish the Cut End
What tools and techniques guarantee a clean, smooth finish on your graphite shaft’s cut end? Start by using a fine-grit abrasive cloth or sanding sleeve designed for composite materials to gently smooth the exposed fibers. Work carefully to avoid fraying or uneven edges.
After sanding, inspect the cut thoroughly to ensure it meets your shaft calibration specifications, confirming the length and alignment are precise. This step is crucial for maintaining consistent performance.
Once smooth, perform torque testing to verify that the shaft’s structural integrity remains uncompromised by the cut. Proper finishing prevents stress concentrations that could weaken the shaft during use.
Reinstalling Club Components After Cutting Your Graphite Shaft
Once you’ve confirmed the shaft end is smooth and properly calibrated, you can move on to reinstalling the club components. Prioritize cutting safety by wearing gloves and working on a stable surface during assembly.
Ensure the shaft end is smooth and calibrated before reassembling on a stable surface with safety gloves.
Follow these steps to ensure accuracy aligned with your shaft statistics:
- Apply a thin layer of epoxy to the shaft tip for secure hosel bonding, matching the recommended cure time.
- Carefully insert the shaft into the clubhead hosel, twisting slightly to evenly distribute epoxy and maintain correct alignment.
- Attach the grip using grip solvent or double-sided tape, ensuring consistent tension and proper positioning relative to your shaft’s flex and torque specifications.
Adhering to these precise steps preserves shaft integrity and performance after cutting.
Common Cutting Mistakes With Graphite Shafts
After reinstalling the club components, it’s important to recognize frequent errors that can compromise your graphite shaft’s performance and durability during cutting. One common mistake is using improper cutting tools, which can cause splintering or cracking.
Avoid distractions or engaging in unrelated topic conversations during cutting, as lapses in focus increase the risk of uneven cuts. Another error is neglecting to measure and mark the shaft precisely, leading to inconsistent length and balance issues.
Additionally, failing to deburr the cut end can result in poor epoxy bonding when reinstalling components. Don’t let random discussion divert your attention; stay methodical and deliberate throughout the process.
Frequently Asked Questions
Can Cutting a Graphite Shaft Affect My Golf Swing Consistency?
Yes, cutting a graphite shaft can affect your swing consistency if you don’t maintain shaft integrity. Ensuring cutting safety preserves the shaft’s performance characteristics, preventing unwanted flex or damage.
This helps avoid disruptions to your swing mechanics.
How Does Shaft Length Impact Clubhead Speed?
Measure twice, cut once: increasing shaft length can boost your clubhead speed but may reduce control. Finding the optimal shaft length balances speed and accuracy, maximizing your swing’s efficiency and overall performance on the course.
Are There Specific Brands Better Suited for Cutting?
You’ll find brands like Fujikura and Aldila excel in graphite compatibility, offering shafts designed for precise cutter accuracy. Choosing these guarantees clean cuts without damaging fibers, maintaining performance and durability during your shaft modifications.
Can I Cut Graphite Shafts at Home Without Professional Tools?
Yes, you can cut graphite shafts at home using basic home tools like a fine-toothed saw or rotary tool with a cutting wheel. Just guarantee you use masking tape and wear a mask to minimize splintering and dust inhalation.
What Is the Average Lifespan of a Cut Graphite Shaft?
You might be surprised, but the average lifespan of a cut graphite shaft typically ranges from 1 to 3 years, depending on usage and care.
The cut graphite shaft lifespan shortens without proper maintenance and regular inspections for damage.
Conclusion
When cutting your graphite shaft, precision and care are key to preserving performance. For example, a golfer once measured twice, marked carefully, and used a fine-toothed saw, avoiding fraying and torque issues.
By securing the shaft properly and smoothing the cut end, they maintained shaft integrity and consistency. Follow these steps closely, and you’ll avoid common mistakes, ensuring your club performs as designed after reassembly.
Cutting graphite isn’t just a task—it’s a skill. Mastering how to cut a graphite shaft will help you maintain the quality and performance of your golf clubs.