Timing is everything when it comes to how long should I leave jumper cables on, and knowing exactly how long to leave them connected can make all the difference between a successful start and damage to your battery.
You might assume longer is better, but that’s not the case.
Understanding the precise window to apply the boost—usually just a few minutes—can protect your battery and ensure a smooth restart. Let’s explore why this timing matters and how to get it right.
Key Takeaways
- Leave jumper cables connected for about 3 to 5 minutes after the dead vehicle starts to ensure adequate battery charge.
- An initial voltage boost occurs within 1 to 2 minutes of connection.
- Avoid keeping cables connected longer than 7 minutes to reduce risks of overcharging and battery damage.
- Disconnect cables promptly in reverse order once the engine is running to prevent safety hazards.
- Prolonged connection can cause overheating, battery swelling, and potential acid leaks or explosions.
How Jumper Cables Jump-Start Your Car
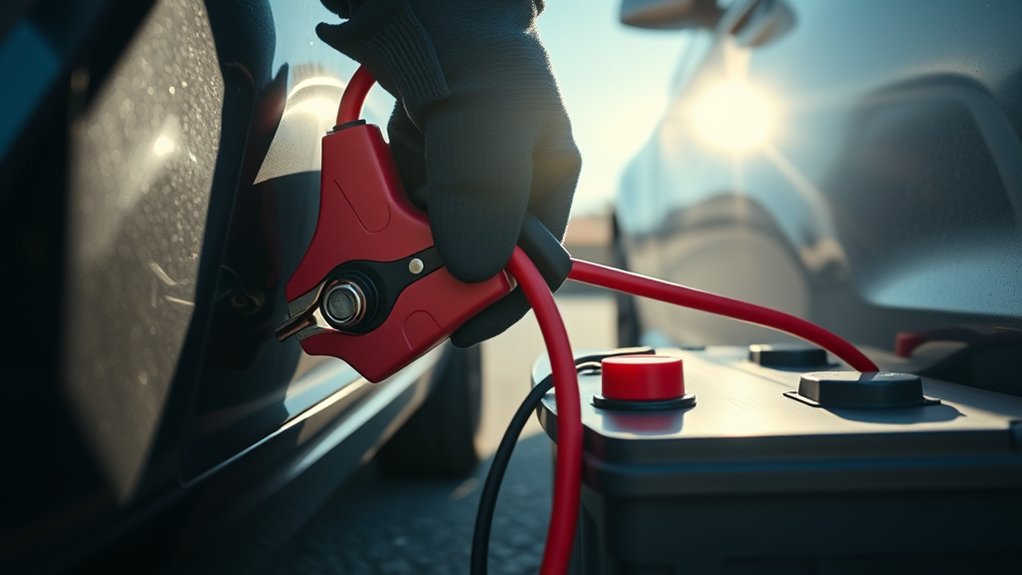
How exactly do jumper cables jump-start your car? When you connect jumper cables, you create a direct electrical pathway from a functioning battery to your dead one. This pathway allows current to flow, providing the necessary power to crank your engine.
You must observe disconnected safety by ensuring both vehicles are off before attaching cables, preventing sparks or damage. Connect positive terminals first, then negative, avoiding contact with metal surfaces.
Once connected, the charged battery transfers energy, temporarily compensating for your dead battery’s inability to start the engine. After jump-starting, disconnect cables in reverse order to maintain safety.
How Long Should You Leave Jumper Cables Connected?
After connecting jumper cables and successfully starting your vehicle, you need to know the best duration to keep the cables attached. Typically, you should leave the cables connected for about 3 to 5 minutes to allow the dead battery to charge sufficiently.
This timeframe balances effective battery maintenance without increasing jump starting risks like overheating or electrical damage. Avoid disconnecting cables immediately, as the battery needs time to stabilize voltage levels.
| Time Connected | Purpose |
|---|---|
| 1-2 minutes | Initial voltage boost |
| 3-5 minutes | Adequate battery charge |
| 5-7 minutes | Extended charge, caution advised |
| Over 7 minutes | Increased jump starting risks |
| After engine runs | Safe to disconnect |
Following this guidance ensures sound battery health and reduces jump starting risks.
How Leaving Jumper Cables Too Long Can Harm Your Battery
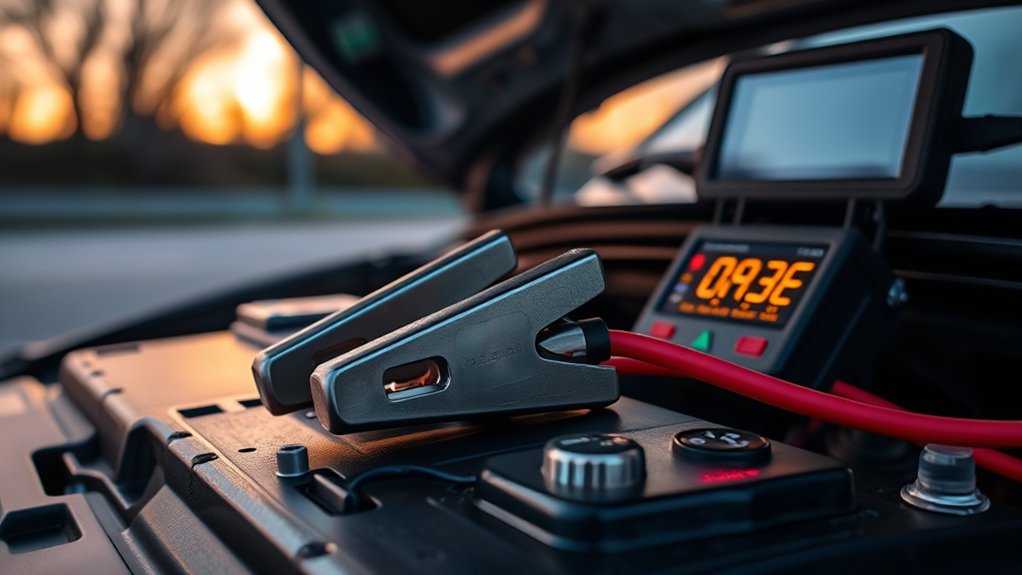
What happens if you leave jumper cables connected for too long? Prolonged connection can cause your battery to overcharge, leading to irreversible damage. Excessive current flow generates heat inside the battery cells, increasing internal pressure.
This pressure can cause battery swelling, which deforms the battery casing and compromises structural integrity. Swollen batteries pose safety risks like acid leaks or even explosion.
Additionally, the overcharging accelerates chemical reactions that degrade the battery’s plates, reducing its capacity and lifespan permanently. To avoid these issues, carefully monitor the jump start process and disconnect cables promptly once the battery has enough charge.
Leaving jumper cables connected beyond the necessary time won’t improve the battery’s condition and only risks costly damage and safety hazards.
How to Know When It’s Safe to Remove Jumper Cables
When can you safely disconnect jumper cables without risking damage or incomplete charging? After connecting the cables correctly and starting the dead vehicle, keep the engine running for at least 3 to 5 minutes. This allows the alternator to recharge the battery sufficiently.
Monitor the donor vehicle’s engine to ensure it remains stable and doesn’t stall. For jump start safety, avoid removing the cables immediately after ignition, as this can cause voltage spikes or insufficient charging.
Once the dead vehicle runs smoothly on its own, you can begin removing the jumper cables in reverse order: negative cable from the dead battery, then negative from the donor, followed by positive from the dead battery, and finally positive from the donor. This sequence minimizes spark risks and protects both batteries and electrical systems.
What to Do If Your Jump-Start Doesn’t Work
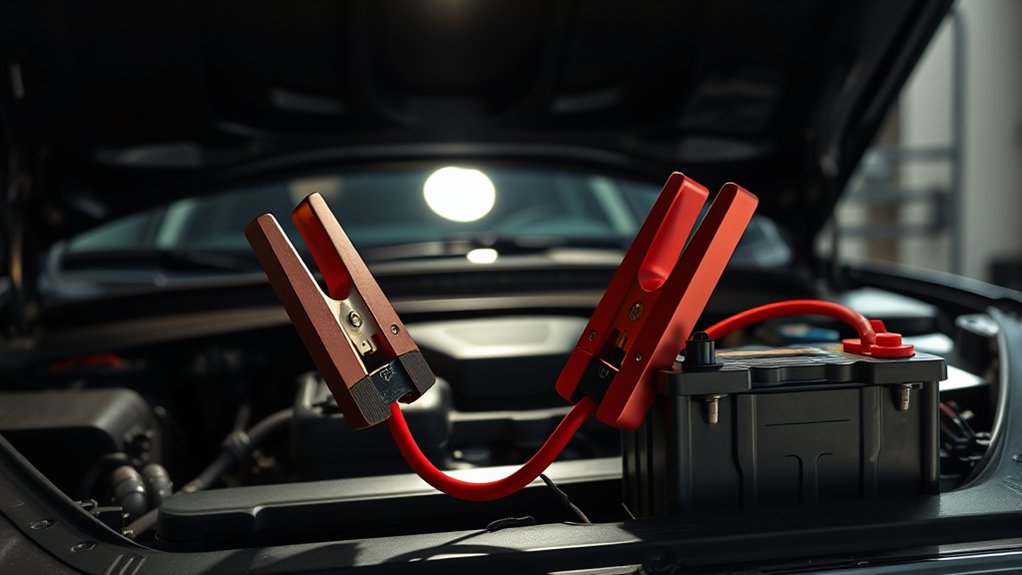
If your jump-start doesn’t work, first double-check that all battery connections are secure and free of corrosion.
You can also try alternative jump methods, like using a different set of jumper cables or a portable jump starter. Ensuring proper contact and power flow is critical before seeking further assistance.
Check Battery Connections
Why isn’t your vehicle starting despite using jumper cables? The first step is to check battery connections. Corrosion buildup on terminals can impede electrical flow, preventing a successful jump-start.
Inspect both battery posts and cable clamps for white, green, or bluish deposits. If corrosion is present, clean it carefully using a mixture of baking soda and water, then dry thoroughly.
Ensure the clamps are securely attached to the correct terminals, positive to positive, negative to negative. Loose or reversed connections can block current.
If connections appear solid and corrosion-free yet the vehicle still won’t start, consider charging alternatives like a portable battery charger or professional assistance. Proper connection and maintenance are critical to restoring power and avoiding further electrical complications during a jump-start.
Try Alternative Jump Methods
How do you proceed when your initial jump-start attempt fails? First, ensure you’re wearing safety gloves to protect against sparks or acid exposure. Missed charges can occur if cables aren’t properly connected or if the donor battery is weak.
Try these alternative jump methods:
- Use a different vehicle with a fully charged battery to avoid missed charges.
- Employ a portable jump starter, following the manufacturer’s instructions carefully.
- Check for corrosion on terminals and clean them before retrying the jump.
If these methods don’t work, the issue may be beyond a dead battery, such as a faulty alternator or electrical system problem. In that case, it’s best to consult a professional mechanic to avoid further damage or safety risks.
Preparing Your Car Battery Before a Jump-Start
When preparing your car battery before a jump-start, you need to make certain both vehicles are turned off and parked securely to prevent any electrical hazards. First, inspect the battery terminals for corrosion or damage; clean them if necessary using a wire brush to ensure proper connection.
Check the battery case for cracks or leaks, as these indicate poor battery maintenance and potential safety risks. Ensure the jumper cables are in good condition without frayed wires or exposed metal.
Position the cables correctly, connecting positive terminals first and negative last, to maintain charging safety. Proper preparation minimizes risk and maximizes efficiency during the jump-start, safeguarding both vehicles’ electrical systems from voltage spikes or short circuits.
Following these steps ensures a safe, effective jump-start process.
Common Mistakes to Avoid When Using Jumper Cables
You need to connect the jumper cables correctly to avoid short circuits or sparks that can damage your battery or electrical system. Make sure the positive and negative clamps are attached to the right terminals on both vehicles.
Also, avoid leaving the cables connected too long to prevent overcharging, which can reduce battery lifespan or cause damage.
Incorrect Cable Connection
Why do incorrect cable connections pose such a significant risk during jump-starting? When you mix up the positive and negative terminals, you create a dangerous short circuit that can damage batteries and electrical systems.
It’s essential to avoid this common mistake because it can lead to sparks, battery explosions, or permanent alternator damage. Unlike unrelated concepts or topic ideas that don’t affect functionality, the polarity here directly impacts safety and success.
To prevent incorrect cable connection:
Always connect positive (red) clamps to positive terminals first.
Attach negative (black) clamps to a grounded metal part, not the negative terminal.
Double-check each connection before starting the donor vehicle.
Following these steps ensures a safe and effective jump-start without risking costly damage.
Overcharging Battery Risks
How long should jumper cables remain connected to avoid damaging your battery? Leaving them on too long can cause overcharging risks that degrade battery health. Once the dead battery receives enough charge to start the engine, disconnect the cables promptly.
Prolonged connection allows excessive current flow, generating heat that damages internal plates and reduces battery lifespan. Overcharging risks also include electrolyte loss and potential swelling, compromising battery performance.
For effective battery maintenance, monitor the charging process closely and avoid relying on jumper cables as a long-term solution. Use a regulated battery charger if extended charging is necessary. By minimizing jumper cable connection time, you prevent overcharging and ensure your battery maintains optimal functionality and durability.
How to Care for Your Battery After a Jump-Start
What steps assure your battery remains reliable after a jump-start? Prioritize battery safety by avoiding common jump start myths, such as leaving cables connected for excessive periods. Once the engine starts, disconnect cables promptly to prevent overcharging and potential damage.
Then, take these key actions:
- Drive your vehicle for at least 20-30 minutes to allow the alternator to recharge the battery fully.
- Inspect battery terminals for corrosion or loose connections and clean or tighten as needed.
- Monitor battery voltage regularly with a multimeter to detect early signs of deterioration.
When to Call a Professional Instead of Jump-Starting
When should you avoid jump-starting your vehicle and call a professional instead? If your car shows physical damage around the battery or electrical system, or if the car color has faded due to prolonged exposure, indicating potential overheating issues, it’s safer to seek expert help.
Severe weather conditions, like freezing temperatures or heavy rain, can complicate jump-starting and increase risks of electrical shorts or battery damage. Additionally, if you’ve attempted jump-starting multiple times without success, the problem may extend beyond a dead battery to the alternator or starter motor.
In these cases, a professional technician can perform a thorough diagnostics check and prevent further damage. Avoid guesswork; your safety and your vehicle’s integrity depend on timely professional intervention under such conditions.
Frequently Asked Questions
Can Jumper Cables Work on Motorcycles or Other Vehicles?
Yes, jumper cables can work on motorcycles and other vehicles, but be cautious. Motorcycle charging systems are sensitive, and improper use may cause alternator wear.
Always connect cables properly to avoid electrical damage and ensure safety.
What Gauge of Jumper Cables Is Best for My Car?
Wondering why using the wrong gauge matters? You need cables with the proper weight, typically 4 to 6 gauge, for efficient current flow and safety.
Thicker cables handle higher amperage and prevent voltage drop during your jump-start.
How Do I Store Jumper Cables Properly to Avoid Damage?
You should coil jumper cables neatly, avoiding sharp bends to prevent wire damage. Store them in a dry, cool place using sealed bags or cases to guarantee storage best practices and corrosion prevention for long-lasting performance.
Are There Any Safety Precautions When Jump-Starting in Cold Weather?
You should wear safety gear like insulated gloves and eye protection to prevent injury. Stay aware of outdoor hazards such as icy surfaces and traffic.
Ensure cables connect correctly to avoid sparks or damage during cold-weather jump-starting.
Can Using Jumper Cables Cause Damage to Electronic Systems?
Don’t let car battery myths cloud your judgment; using jumper cables correctly won’t fry your electronics. Understanding electricity basics guarantees you connect cables properly, protecting your vehicle’s sensitive systems from voltage spikes or reverse polarity damage during jump-starting.
Conclusion
Think of jump-starting your car like giving your battery a quick, controlled sip of energy—not a long drink. Leave the jumper cables connected for about 3 to 5 minutes after the donor car starts to provide an adequate boost without risking overheating or damage.
If your battery won’t respond, double-check connections or seek professional help. Following these precise steps guarantees a safe, effective jump-start and helps protect your battery’s health for the road ahead.
Knowing how long to leave jumper cables on is key to ensuring a successful jump-start without causing harm to your vehicle.