When you need to jump-start a vehicle, knowing the correct order to attach jumper cables is essential for safety and effectiveness. You’ll start with both cars off and cables untangled, then connect the positive terminals before moving to the negatives.
Missing a step can cause sparks or damage. Understanding this sequence guarantees a smooth process, but knowing exactly where to place each clamp matters just as much.
Key Takeaways
- Attach the red clamp to the positive terminal of the dead battery first.
- Connect the other red clamp to the positive terminal of the live battery.
- Attach the black clamp to the negative terminal of the live battery next.
- Connect the remaining black clamp to an unpainted metal surface on the dead vehicle.
- Ensure both vehicles are off, parking brakes engaged, and cables untangled before attaching.
Why It’s Important to Attach Jumper Cables in the Right Order
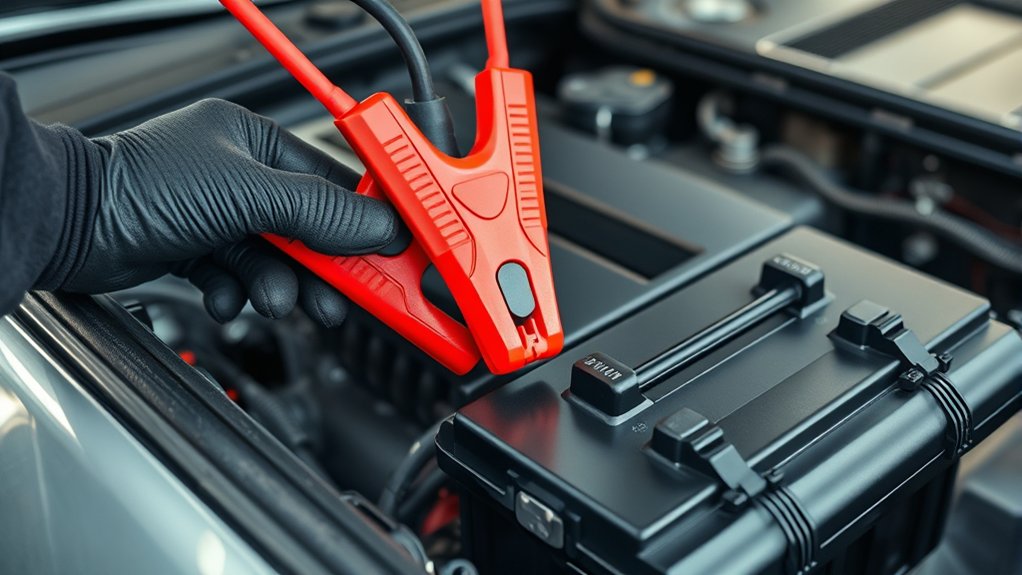
Why does the order of attaching jumper cables matter? Following the correct sequence minimizes the risk of sparks, short circuits, and potential battery damage. You need to apply awareness training to understand that improper connections can cause dangerous electrical arcs, leading to injury or equipment failure.
Battery safety protocols emphasize starting with the dead battery’s positive terminal, then the donor battery’s positive terminal, followed by the donor battery’s negative terminal. Finally, connect the last cable to an unpainted metal surface on the dead vehicle, away from the battery.
This methodical approach prevents hydrogen gas ignition and protects both vehicles’ electrical systems. Adhering to these discussion ideas ensures you handle jumper cables safely and effectively, reducing hazards and promoting reliable jump-start procedures.
How to Identify Positive and Negative Battery Terminals
Properly attaching jumper cables depends on correctly identifying the positive and negative terminals on both batteries. Misidentifying polarity risks sparks, damage, or injury, so prioritize battery safety by following these steps:
Correctly identifying battery terminals is crucial to avoid sparks, damage, or injury when attaching jumper cables.
- Locate the battery terminals: The positive terminal usually has a red cover or a “+” symbol, while the negative terminal often has a black cover or a “–” symbol.
- Confirm terminal markings: Check for clear “+” (positive) and “–” (negative) signs stamped or printed near each terminal.
- Inspect cable colors: Jumper cables’ red clamps connect to positive terminals, and black clamps connect to negative terminals, reinforcing correct polarity identification.
How to Attach Jumper Cables in the Correct Order
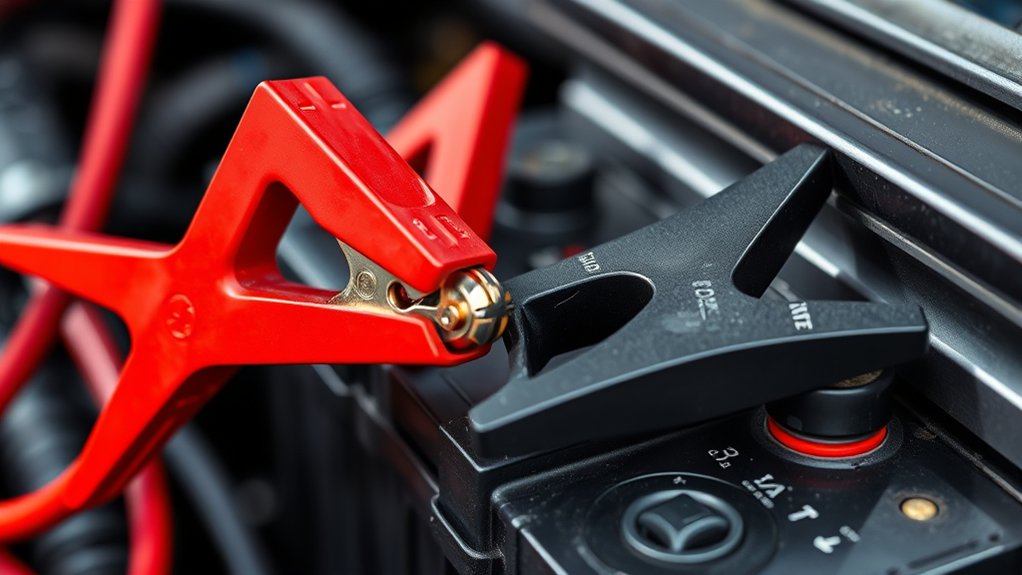
How exactly should you connect jumper cables to guarantee safety and functionality? Begin with an essentials checklist: ensure both vehicles are off, parking brakes engaged, and cables untangled.
First, attach the red clamp to the positive terminal of the dead battery. Next, connect the other red clamp to the positive terminal of the live battery. Then, attach the black clamp to the negative terminal of the live battery.
Finally, connect the remaining black clamp to an unpainted metal surface on the dead vehicle, away from the battery. This sequence minimizes sparks and prevents damage.
Following this precise order helps avoid common mistakes such as reversing polarity or causing electrical shorts. Stick to this methodical approach to ensure a safe and effective jump-start every time.
Common Jumper Cable Mistakes to Avoid
You need to connect the jumper cables correctly to prevent electrical damage or injury. Always confirm vehicle compatibility before proceeding to avoid battery or system failures.
Don’t skip essential safety steps like wearing gloves and ensuring engines are off when attaching cables.
Incorrect Cable Connection
Why do so many jumper cable connections fail to deliver power? The main culprits are incorrect cable attachment and improper sequence. When you connect jumper cables, even a slight misstep can prevent current flow or cause sparks.
Here are the three most common mistakes you must avoid:
- Connecting the negative cable to the dead battery’s negative terminal instead of a grounded metal surface.
- Attaching the positive cable to the wrong terminal, mixing positive and negative connections.
- Reversing the proper order of connections, which risks short circuits and battery damage.
Always follow the correct sequence and double-check terminal polarity to ensure a safe, effective jump-start. Avoiding incorrect cable connections is crucial for success.
Ignoring Vehicle Compatibility
When should you consider vehicle compatibility before connecting jumper cables? You must assess compatibility every time. Ignored compatibility can lead to electrical system damage or battery failure.
Different vehicles have varying voltage systems, battery types, and grounding methods. If you connect cables between incompatible vehicles, you risk causing power surges or short circuits. This mistake often stems from a lack of risk awareness.
Always verify both vehicles’ voltage ratings and battery specifications before proceeding. For instance, connecting a 24-volt system to a 12-volt battery setup can severely damage components.
Overlooking Safety Precautions
How exactly do safety oversights during jumper cable use lead to accidents or equipment damage? When you ignore safety, you increase risks of sparks, short circuits, or battery explosions. Using an improper technique can damage vehicle electronics or cause personal injury. To avoid these issues, follow these critical steps:
- Always wear protective gloves and eyewear to shield against acid splashes or sparks.
- Connect cables in the correct order: positive terminals first, then negative to prevent short circuits.
- Ensure both vehicles are off before attaching cables to avoid electrical surges.
What to Do Immediately After Connecting Jumper Cables
Once the jumper cables are securely connected, start the engine of the donor vehicle first. Watch carefully for any sparks or unusual reactions at the cable connections.
If everything appears stable, proceed to start the dead vehicle’s engine.
Start The Engine
Turn the key in the working vehicle’s ignition immediately after attaching the jumper cables. This initiates the power flow necessary to start the dead battery’s vehicle. Follow these steps precisely:
- For manual transmission, ensure the clutch is fully depressed to prevent ignition risk due to unintended vehicle movement.
- Keep the working engine running to maintain voltage and avoid draining its battery.
- Attempt to start the dead vehicle promptly; prolonged cranking can cause electrical system strain.
Adhering to this procedure minimizes ignition risk and maximizes the chances of a successful start. If the engine doesn’t turn over within a few seconds, pause and reassess cable connections before retrying. This methodical approach ensures safety and efficiency in jump-starting your vehicle.
Check For Sparks
After you start the engine of the working vehicle and attempt to ignite the dead battery’s engine, observe the jumper cable connections closely for any signs of sparks. Check for sparks at each clamp connection point, focusing on the clamps attached to the dead battery, as improper contact or a poor connection can cause arcing.
If you notice sparks, immediately turn off both engines and disconnect the cables in reverse order to prevent damage or injury. Additionally, monitor the dead battery for any signs of battery overheating, such as excessive heat or swelling. Battery overheating indicates internal failure or incorrect connections and requires immediate attention.
Ensuring stable, spark-free connections protects both vehicles’ electrical systems and guarantees a safer jump-start process.
How to Safely Disconnect Jumper Cables After Jump-Starting
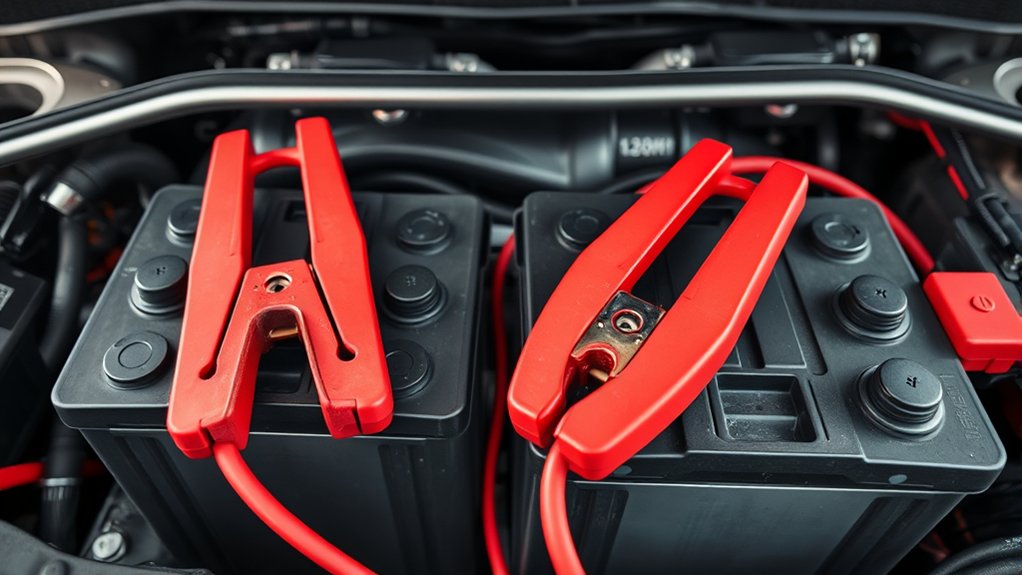
How should you proceed to disconnect jumper cables safely once your vehicle has started? Follow these steps methodically to ensure safety and proper battery maintenance, especially if your vehicle uses alternative fuel sources that may have sensitive electrical systems.
- Turn off the engine of the donor vehicle to reduce electrical load.
- Remove the cables in reverse order of connection: first, disconnect the negative (-) clamp from the previously dead battery, then the negative clamp from the donor battery.
- Next, detach the positive (+) clamp from the donor battery, followed by the positive clamp from the revived battery.
This precise sequence prevents sparks and electrical surges, protecting both vehicles’ batteries and electronic components. Properly maintaining your battery and understanding alternative fuel source sensitivities ensures longevity and reliable starts.
Frequently Asked Questions
Can I Use Jumper Cables on a Motorcycle Battery?
Yes, you can use jumper cables on a motorcycle battery, but ensure jumper cables safety by confirming motorcycle battery compatibility. Use cables designed for smaller capacities and avoid sparks to prevent damage or injury during the jump-start process.
How Long Should the Dead Battery Charge Before Starting the Car?
Like warming up a cold engine, you should let the dead battery charge for at least 5 minutes before attempting a safe starting time.
This guarantees enough current flows for a reliable, damage-free engine start.
Are There Alternative Methods to Jump-Start a Car Without Cables?
Yes, you can use alternative methods like portable jump starters or no contact jump starts, which use electromagnetic induction to transfer power without cables. These methods provide a safe, precise way to revive your car’s battery efficiently and quickly.
Can Jumper Cables Damage Modern Hybrid or Electric Vehicles?
Like handling a live wire, jumper cable safety is essential because improper use can cause hybrid vehicle risk, damaging sensitive electronics.
You must follow manufacturer guidelines strictly to protect your hybrid or electric vehicle’s complex systems effectively.
What Is the Best Way to Store Jumper Cables for Longevity?
You should coil jumper cables loosely, avoiding tight bends to prevent wire damage. Use airtight bags or containers for storing techniques that minimize moisture exposure, effectively aiding corrosion prevention and extending the cables’ functional lifespan.
Conclusion
By carefully connecting cables correctly, you can confidently conquer car troubles. Start with switched-off systems, secure the red clamps to positive posts, then attach black clamps to grounding points, preventing sparks and safety slips.
Staying systematic safeguards your setup, sparing stress and setbacks. Remember, meticulous method matters—mastering the methodical march of jumper cable connection ensures success, safety, and swift starts every time you face a flat battery.
Stay sharp, stay safe, and start smart. Understanding the correct order to attach jumper cables is key to a smooth and secure jump-start every time.